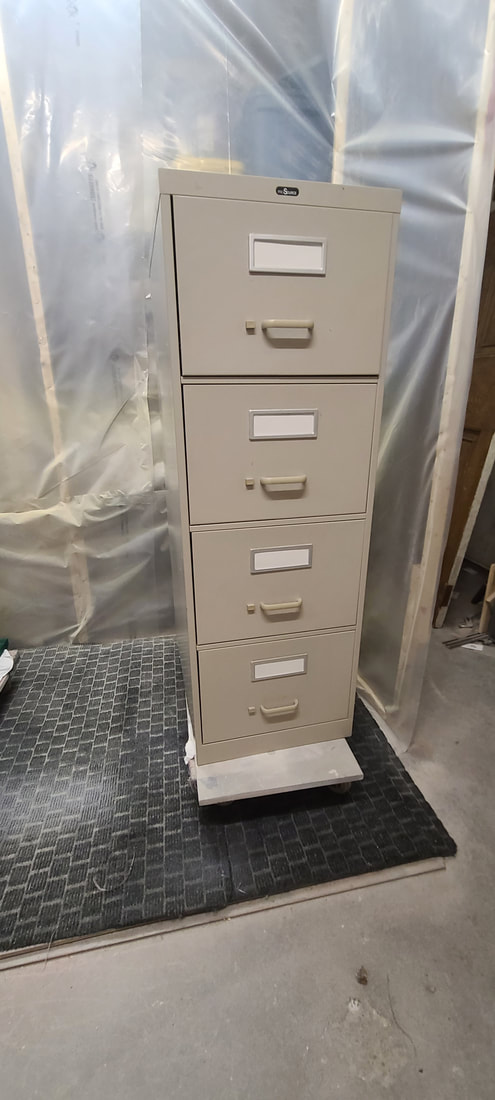
  Hey Everyone, welcome back to my blog. I hope you enjoyed last weeks DIY post on how to add texture to a jug or vase. Definitely a fun project to do and budget friendly. In this blog post I am sharing on how to paint a metal filing cabinet. I have a YouTube video on the entire process if you are more of a visiual person and find videos a better way to learn, ill add the link below so you can take a look at that. The before of the filing cabinet is above and thats what i started with, a boring metal cabinet that needed some love and life. Let's get started....... 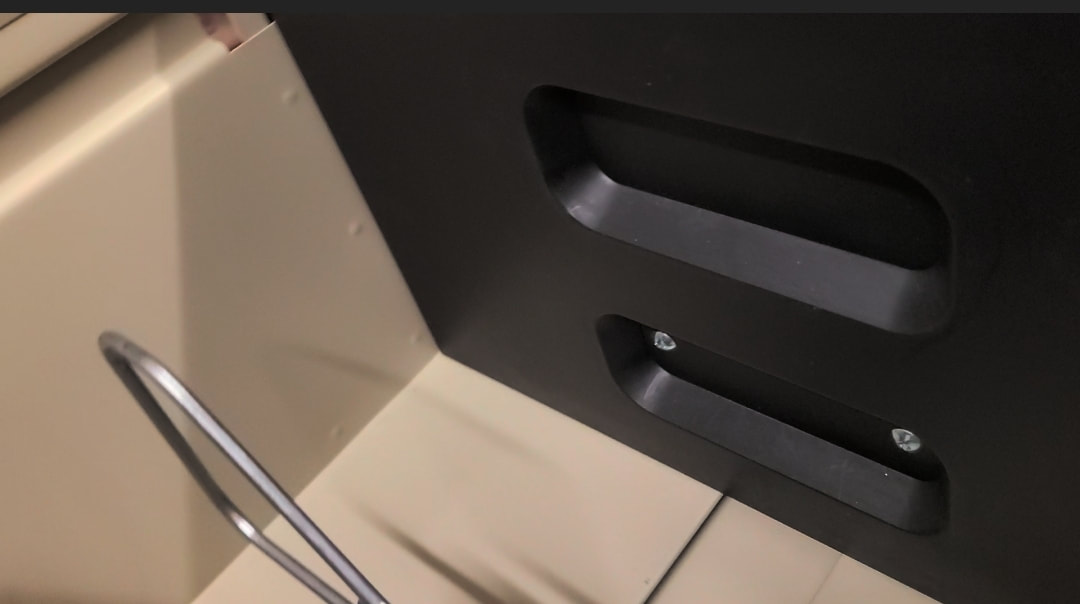 First things first, take off the hardware and place in a bag so screws and handles don't get misplaced. We don't want panick mode. If your filing cabinet has the letter slots take those off as well and store in a bag. 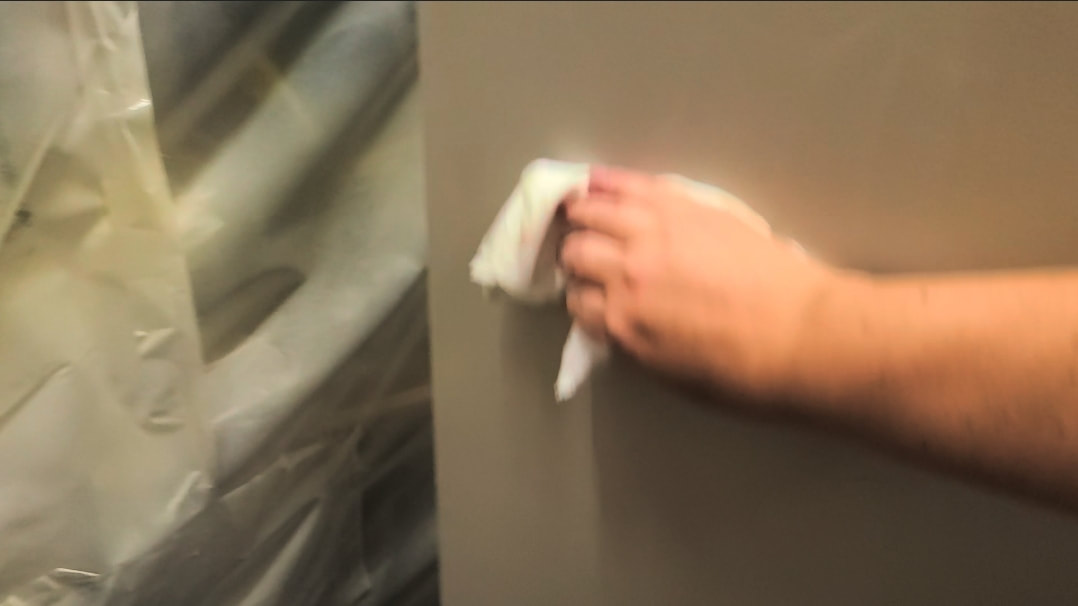 Scuff sanding metal you need either your orbitol sander with 220 grit sanding discs or 220 sanding paper to scuff sand by hand if you choose to do it that way. I used my orbitol and went over the entire cabinet. After I was done that I used a cloth and Krud Kutter to clean it. Making sure it was completely dry afterwards. 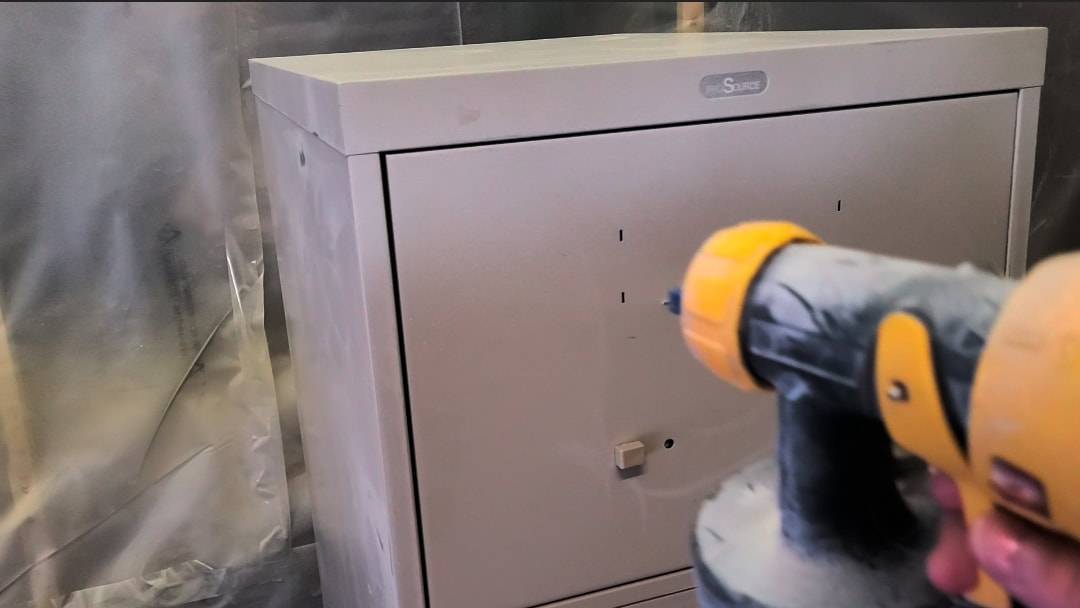 Next up is prime time, always prime your pieces including metal. I used Zinzer Bin 123 in white with my Wagner Flexio 5000 sprayer. You can use a brush as well. I did about two coats of primer.  I sanded in between primer coats with 400 grit sanding paper, then got to the fun painting part. I sprayed Country Chic Paint in Elegance in 2-3 coats and sanded in between with 600 grit sand paper for a smooth finish. 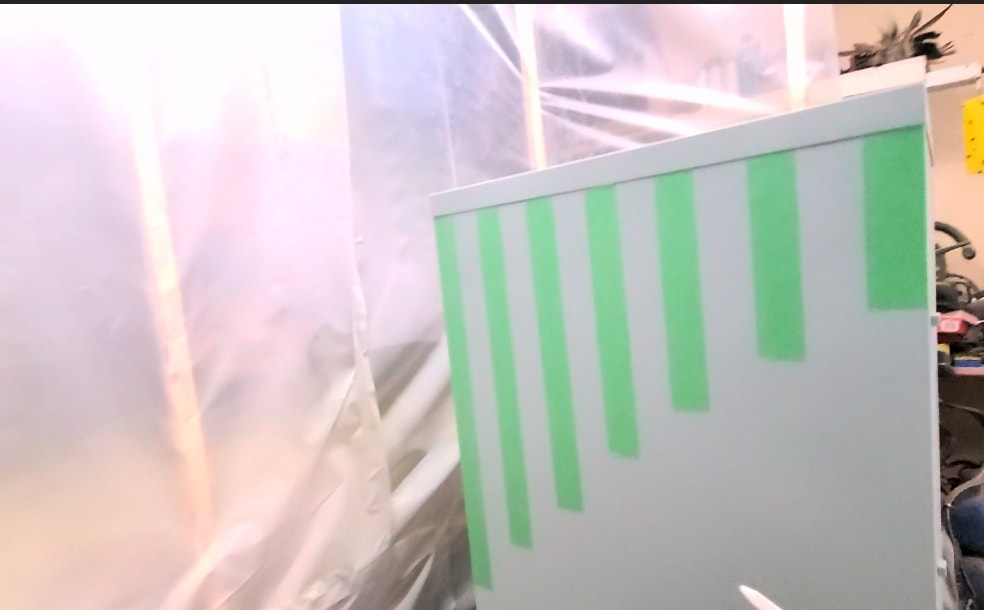 Once the paint was dry I wanted a design so I created stripes at different lengths with green tape on the top and bottom on both sides. You can do a different design or not have stripes at all. 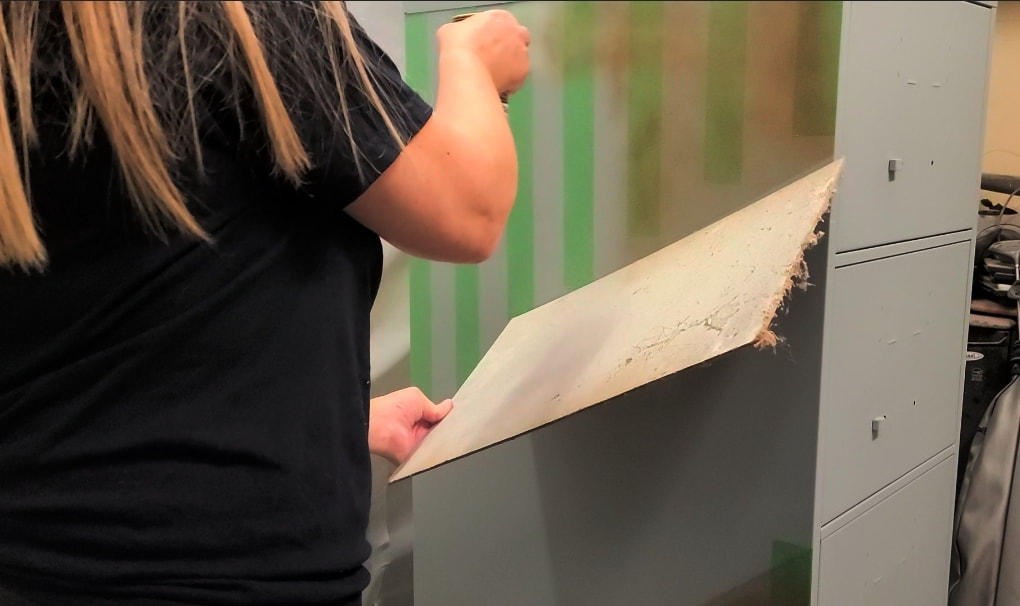 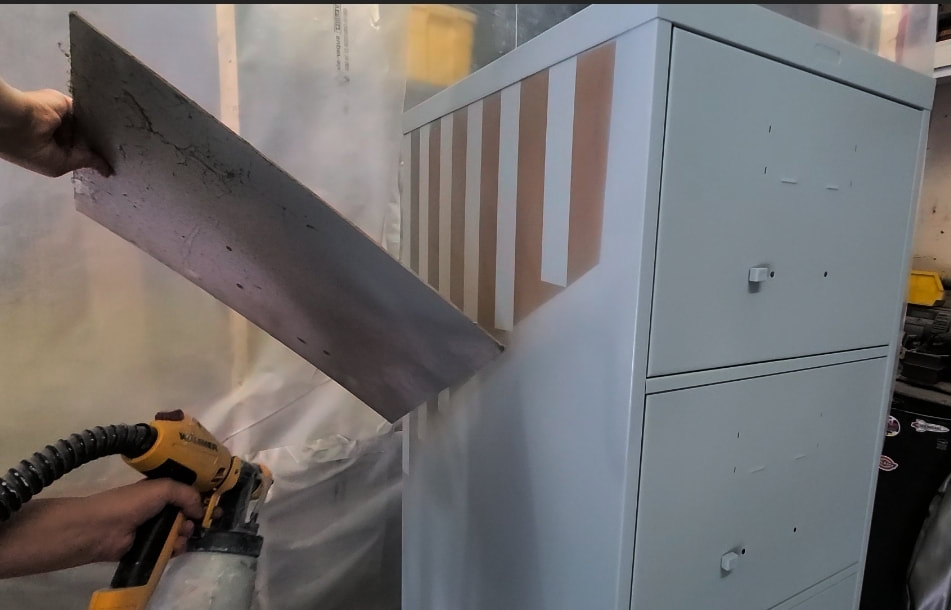 What i did was sprayed the stripes with rustoleum spray in champagne mist using a cardboard sheet to contain the spray where I wanted it to go. I realized after that there was a line from the cardboard and needed to remove that. I got my sprayer with the paint in it and sprayed along the edges to hide the sharp gold lines and created a mist and faded look which I really liked. 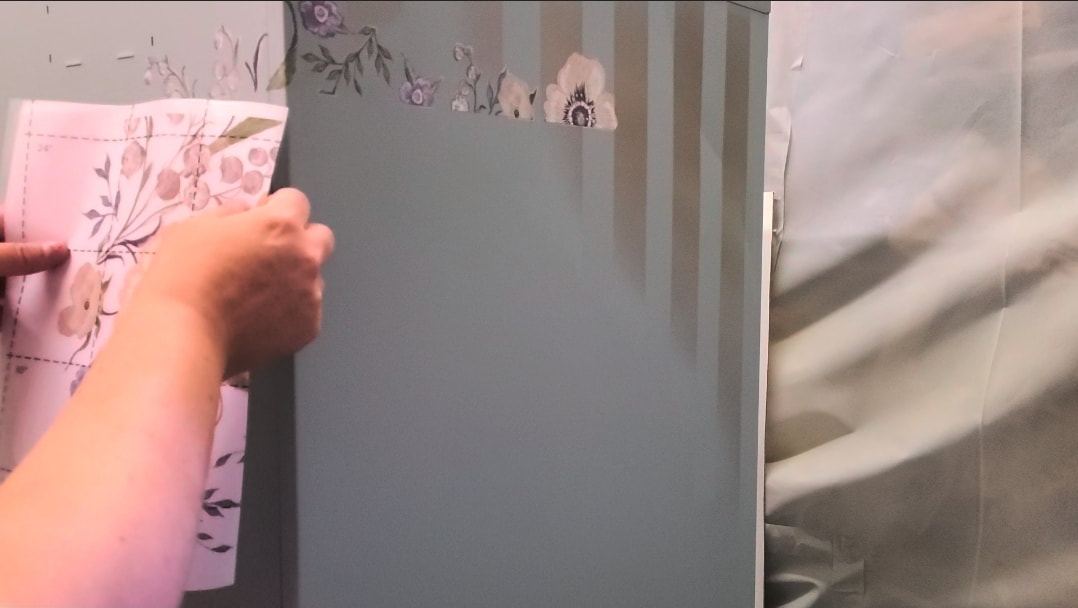 Once the stripes were completely dry to the touch I added a Redesign With Prima transfer called Goldenrod Florals to both sides. It was really starting to look so pretty. 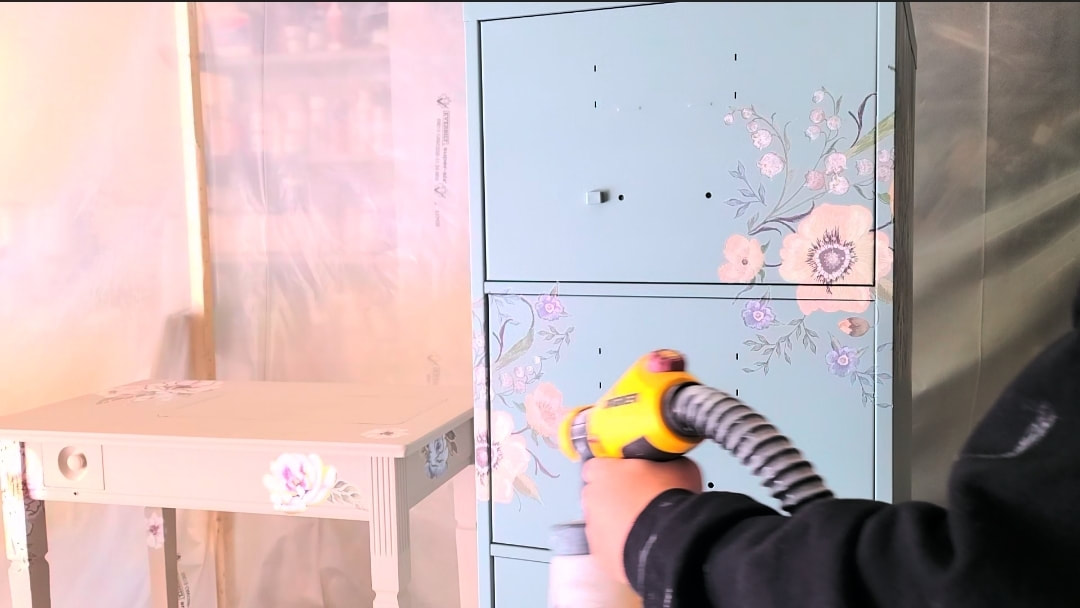 Last thing to do was to seal the entire cabinet with Country Chic Paint tough coat. Tough coat repels water and chemicals and is very durable. Here is what the filing cabinet looks like in the end. It turned out so beautiful, this is something anyone can do and you can turn something boring into something fun and pretty to liven any space up. Don't forget the Youtube video is below at the end. Thanks for reading and watching and I hope to see you back here on my blog next week. Take care Meg 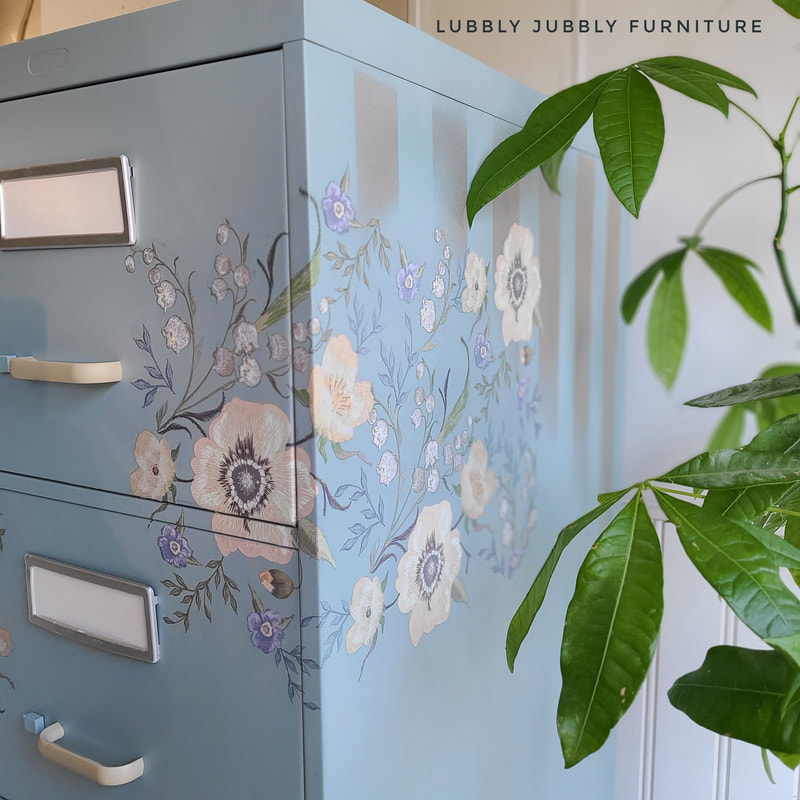 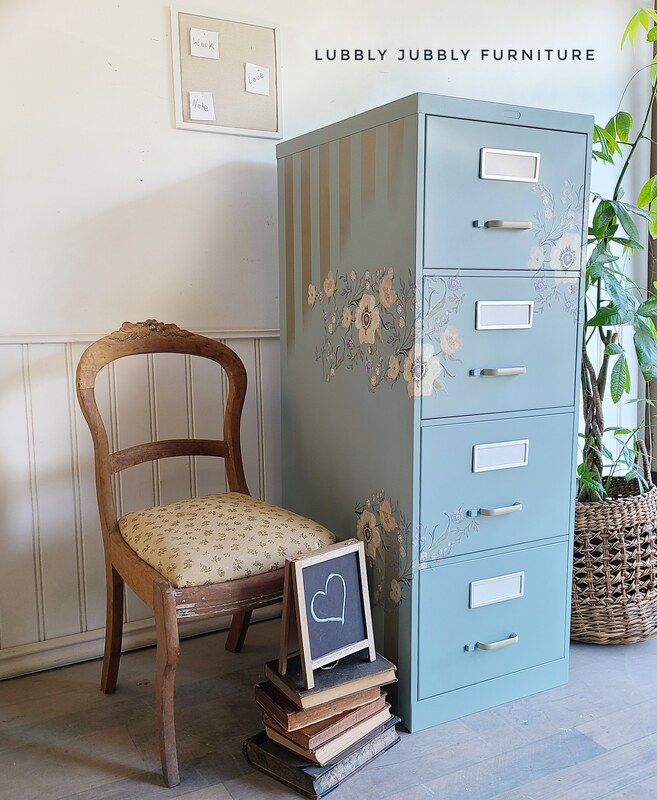  
0 Comments
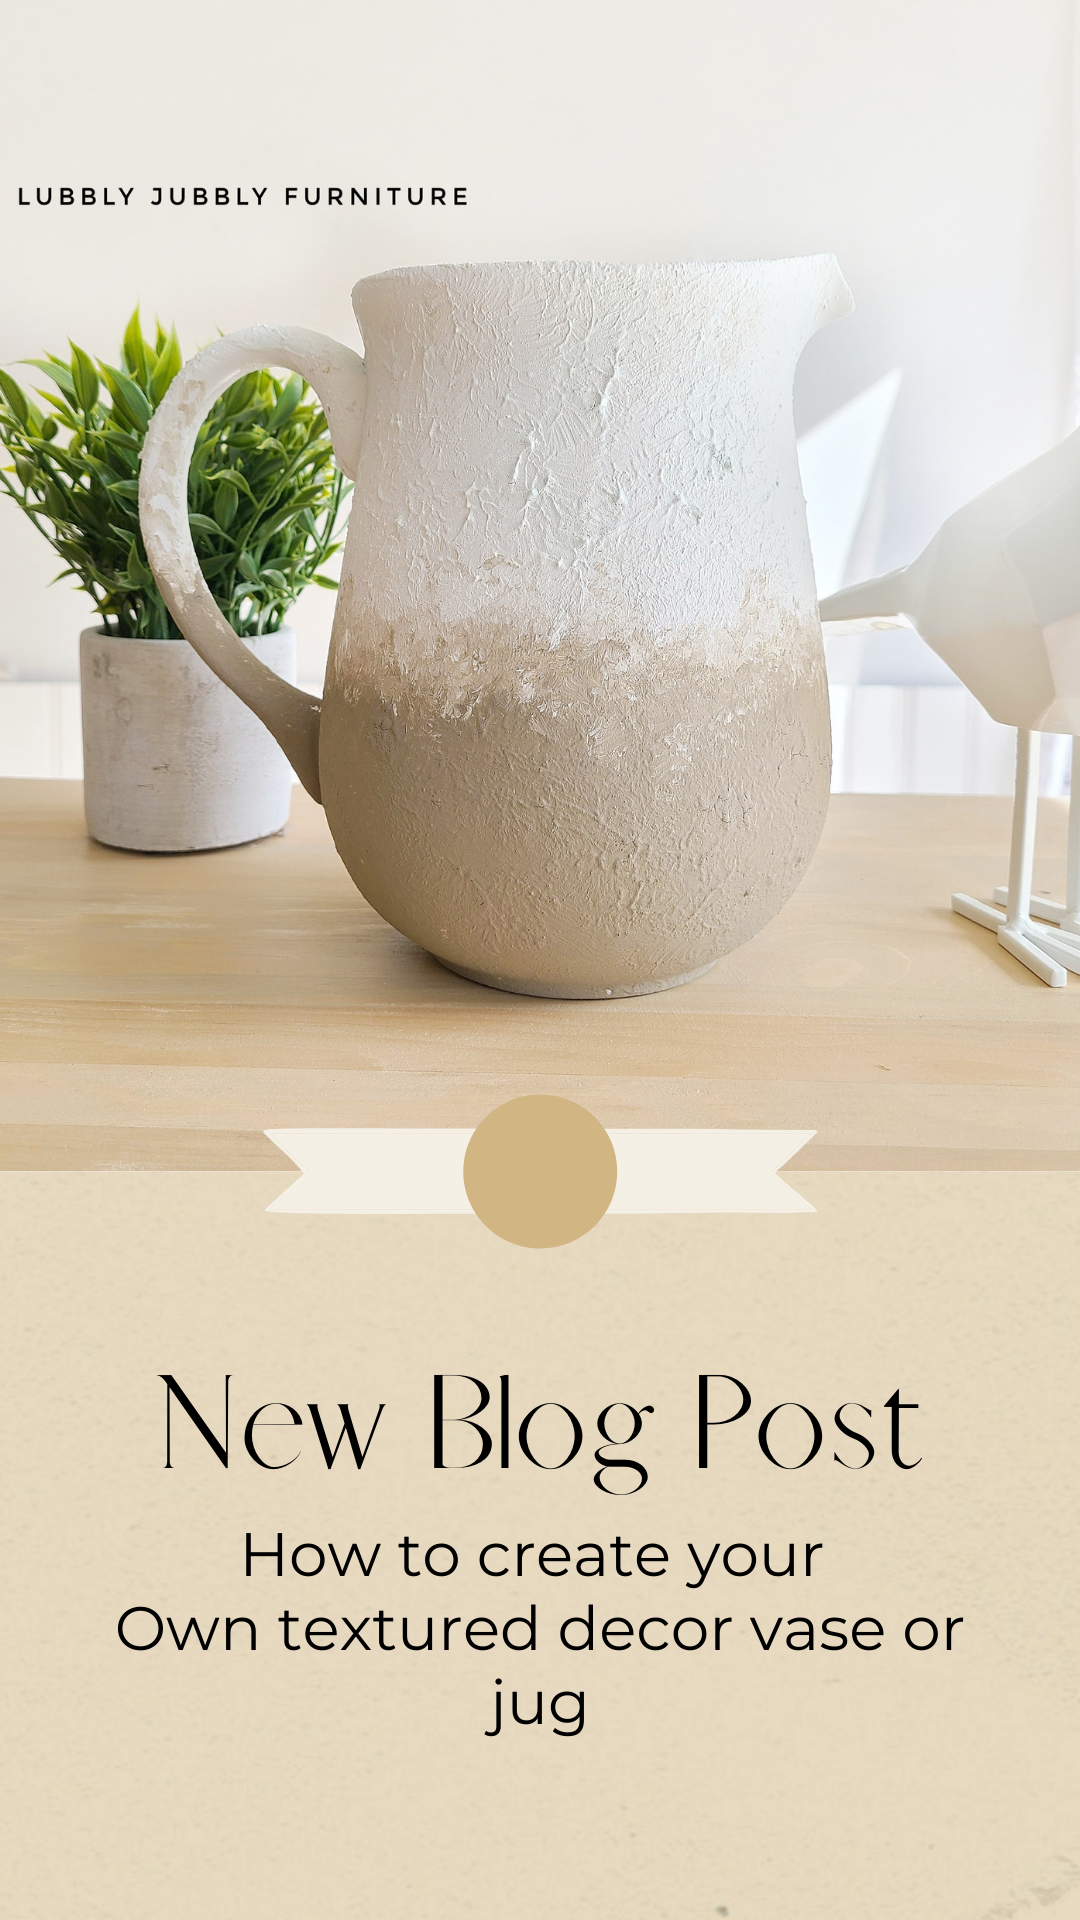 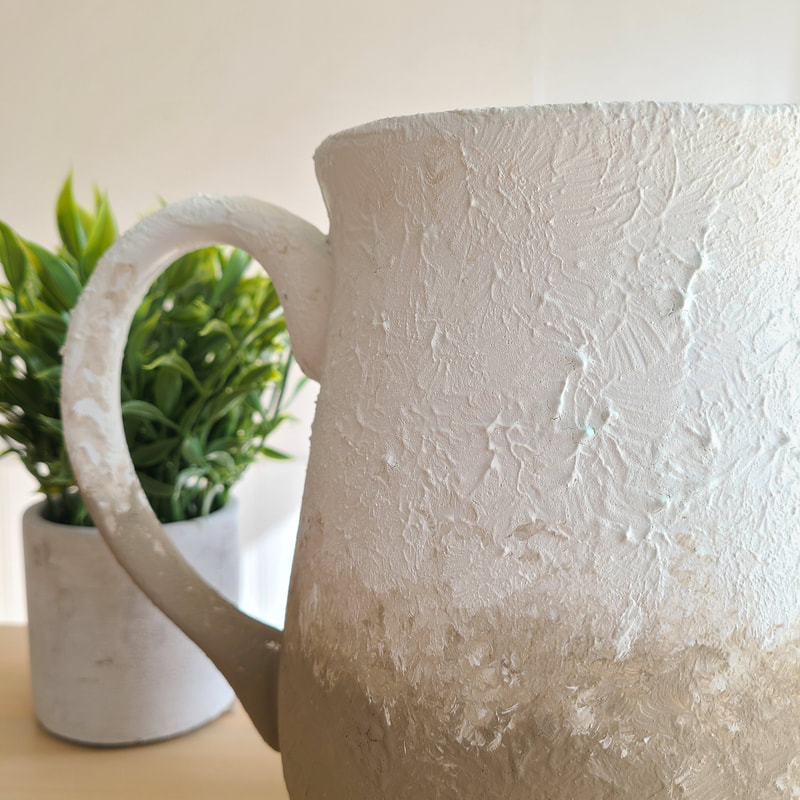 ITEMS NEEDED FOR THIS PROJECT: VASE OR JUG PAINT IN YOUR CHOICE OF COLOURS CHIP BRUSH AND A SMALL BRUSH RUSTOLEUM SPRAY IN WHITE BAKING SODA OR SEA SALT WASH OR COUNTRY CHIC PAINT TEXTURED POWDER 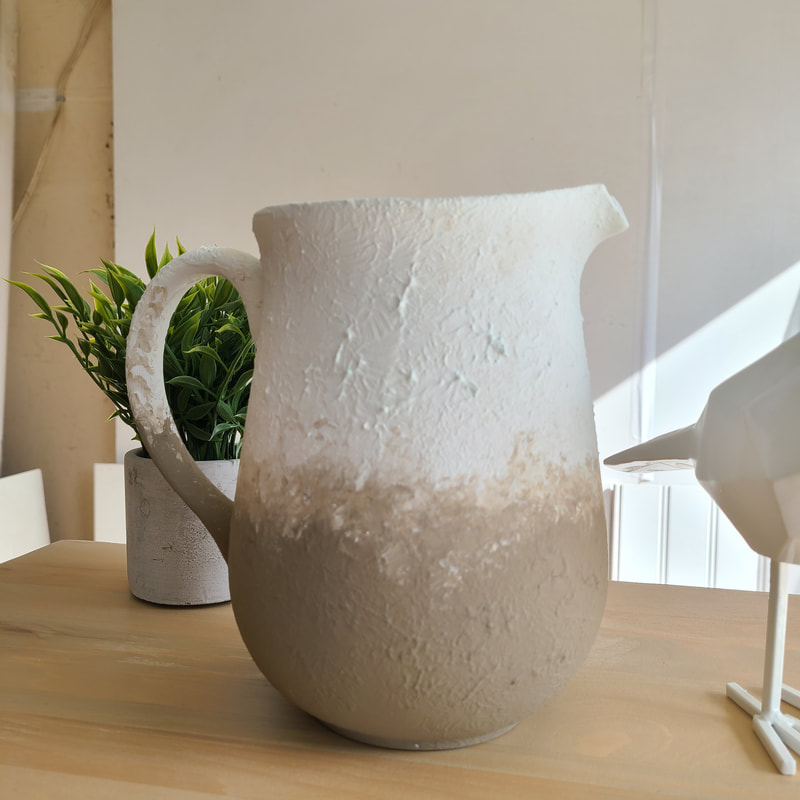 I Created this jug that I found at the thrift store because I needed some staging items for my Furniture and this was the perfect thing to do and I get to keep it on my fireplace mantle. It looks store bought as though I got it from a fancy place and in fact I made it myself. I now want to create more jugs and vases in different colours and textures, its so much fun. Lets get started... 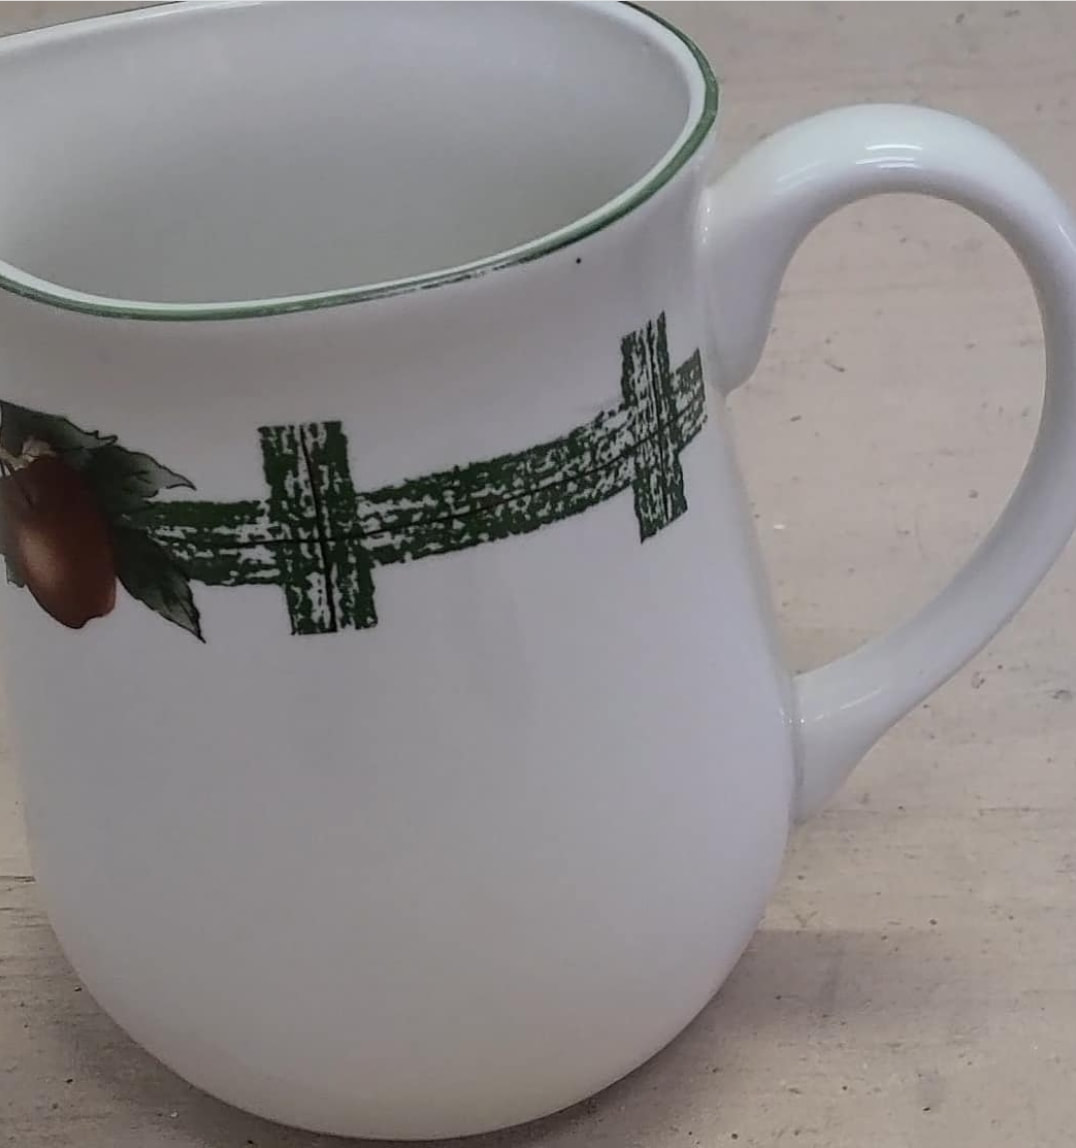 This is not the greatest BEFORE picture but you can see what I started with. To cover up any graphics or designs on a vase or jug it needs a primer and that is where the rustoleum primer spray or white spray comes in to play. Spray the jug or vase with the Rustoleum spray, you may need several coats. Let each coat dry for a few hours so that it doesnt appear tacky to the touch. 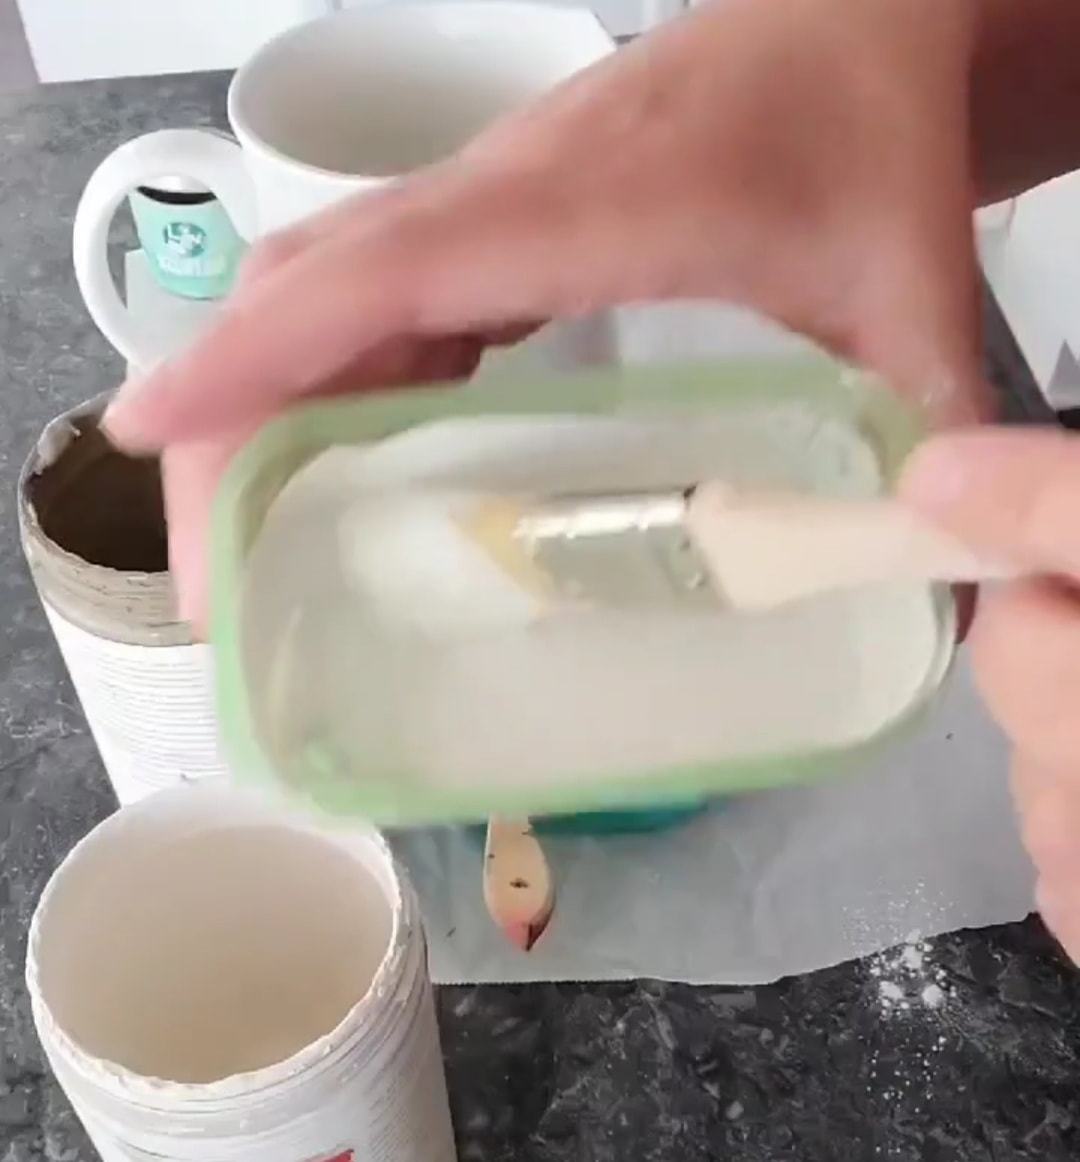 Mix up your paint colour that you are using for the top half of your jug/vase in a container with the textured powder/ baking powder 1:1 ratio. You want it to be thick. Mix in another container the second paint colour you want on the bottom of your jug/vase. You may need several brushes. 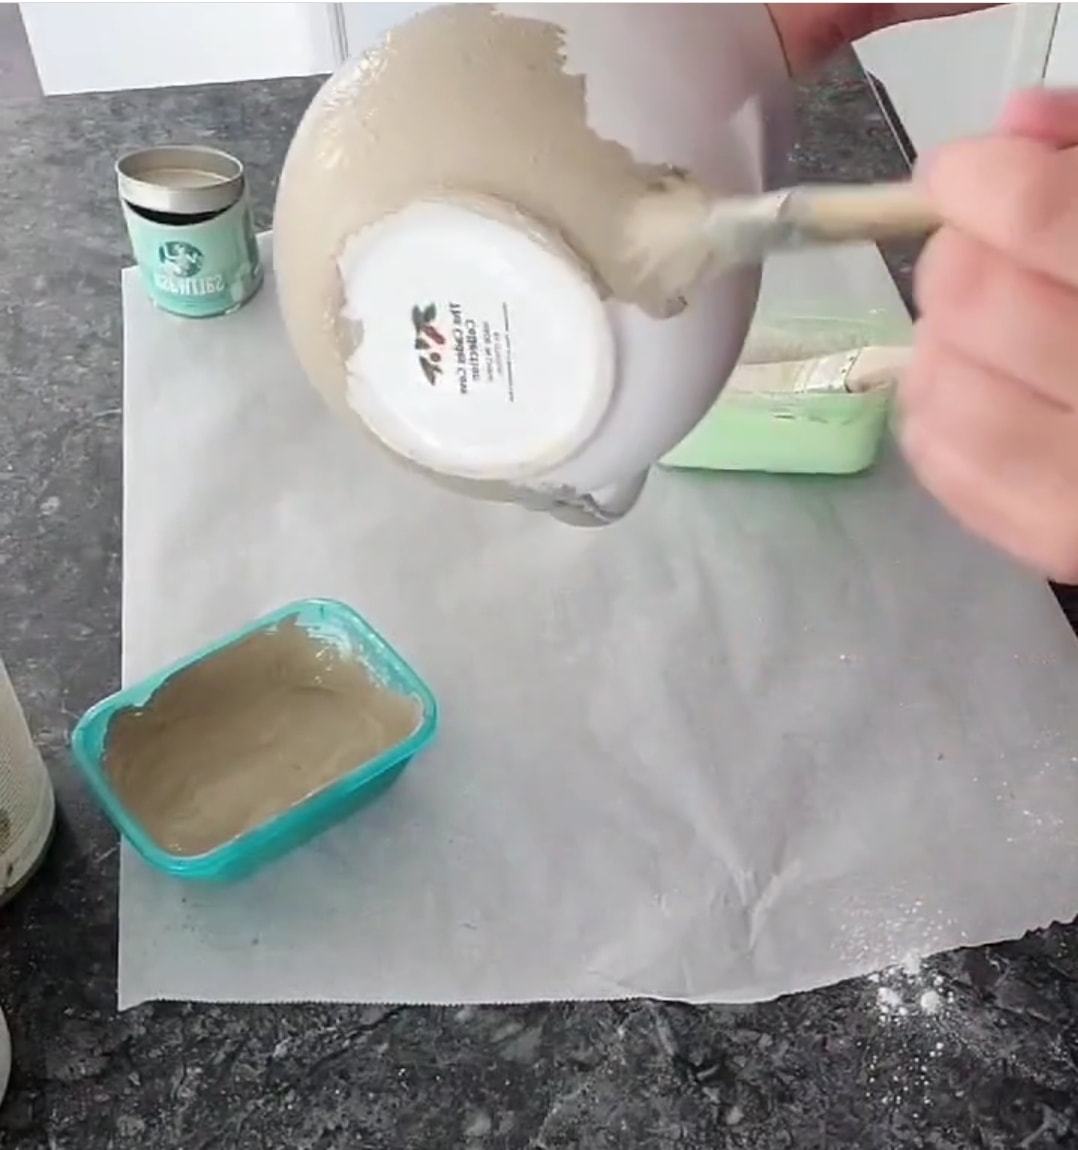 Brush and dab the bottom colour on to the jug/vase making sure the entire bottom half is covered in that paint colour, creating a dabbing effect, creates the texture with the thickness of the paint. Make sure that you can see the texture coming out. Once the bottom half is done, start on the top half, dab the paint almost over the lip of the jug/vase so it appears more natural. Again creating texture. Use a seperate clean brush to blend in the middle, in between the two colours. You'll want to move your brush around and see how you can blend the two so that they are combining into each other naturally. 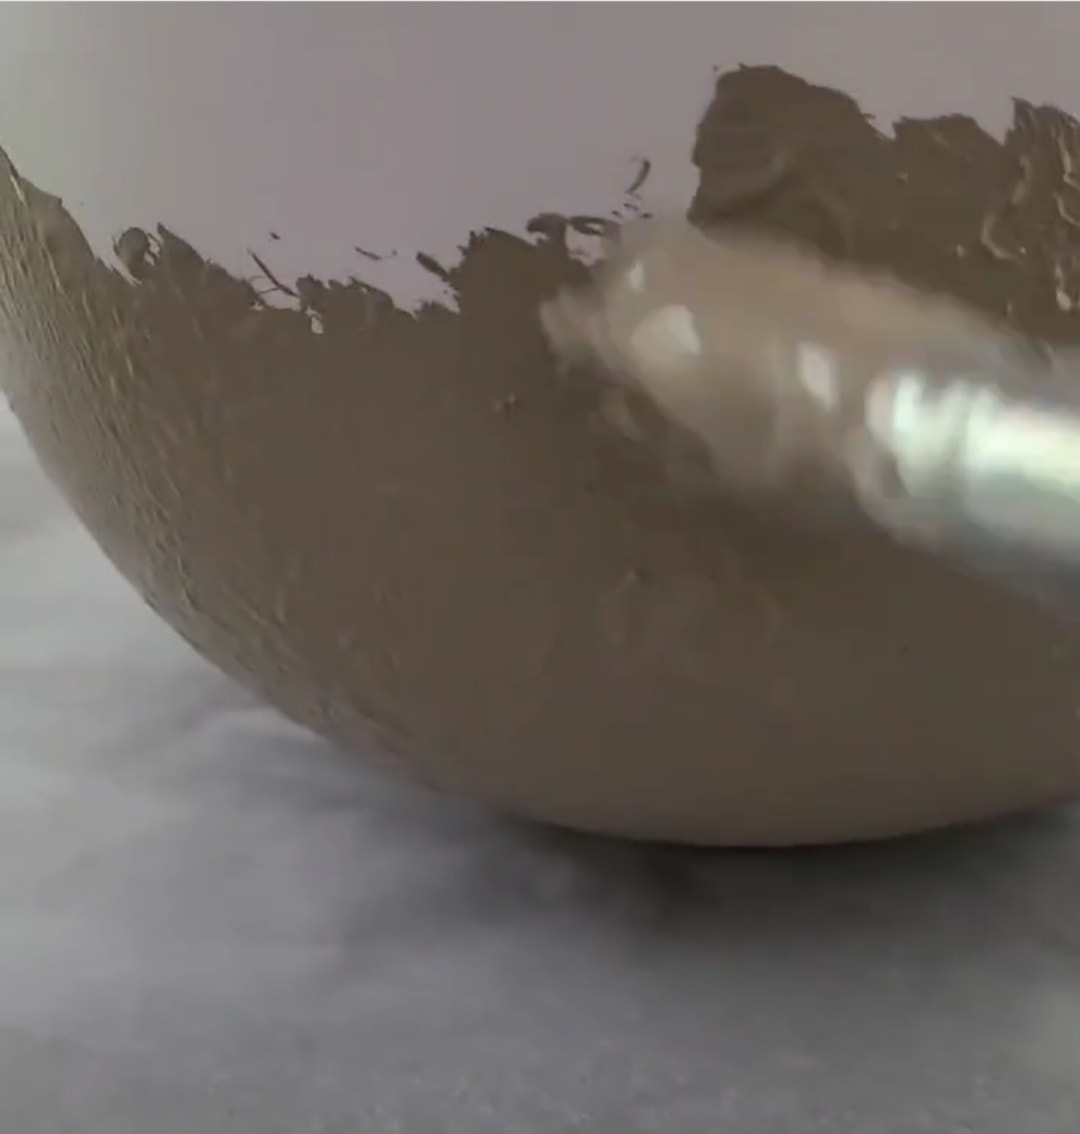 Once you have completed that make sure if there is a handle that you have painted that also and you don't have to seal it, I didn't seal mine, but it is up to you. If you choose to seal it then you can use Country Chic Paint Clear Coat or a water based topcoat. Use your jug or vase for staging anywhere in your home and you can use any colours you'd like. I hope you enjoyed this DIY project and will return here for more projects in the future. Have a wonderful day and weekend! sincerely Meg  I am happy to announce that I am now a Redesign With Prima Content Creator. This is so exciting!!! Lots of creative pieces coming your way. I do have a page now that I am working on which is in the menu all about Redesign With Prima.
  Happy Canadian Thanksgiving Canada!!!!! Even though we won't be having family over this year I am definitely making a turkey dinner and being thankful for everything I have. On a fun note I wanted to share with you all some great colours to use to decorate for Halloween and Thanksgiving using Country Chic Paint. Sparklers, With A Twist and Liqourice are great colour's to use for Halloween and Fall home decor items, even furniture. www.countrychicpaint.ca head on over to their website and you can use my code in the paint picture to get 10% off your online order. The colour of the month is With A Twist so check out all the beautiful pieces on their Instagram page in this colour. www.instagram.com/countrychicpaint/ Head over to Instagram to share your piece painted in With A Twist and use the hashtag below..... With a Twist is a warm, cognac brown colour reminiscent of suede jackets and brown leather boots. I think you'll love how it pairs with other warm autumn tones like Sparklers and Fresh Mustard, or try a contrasting colour like Whoop-de-do. We can't wait to see what you can create with this colour! At the end of the month we will be picking our favorite piece painted in With a Twist and the winner will get a $150 gift certificate to Country Chic Paint! So be sure to share your pieces in the comments below to enter, or post them to Instagram using the hashtag, #ccpwithatwist Happy Painting!  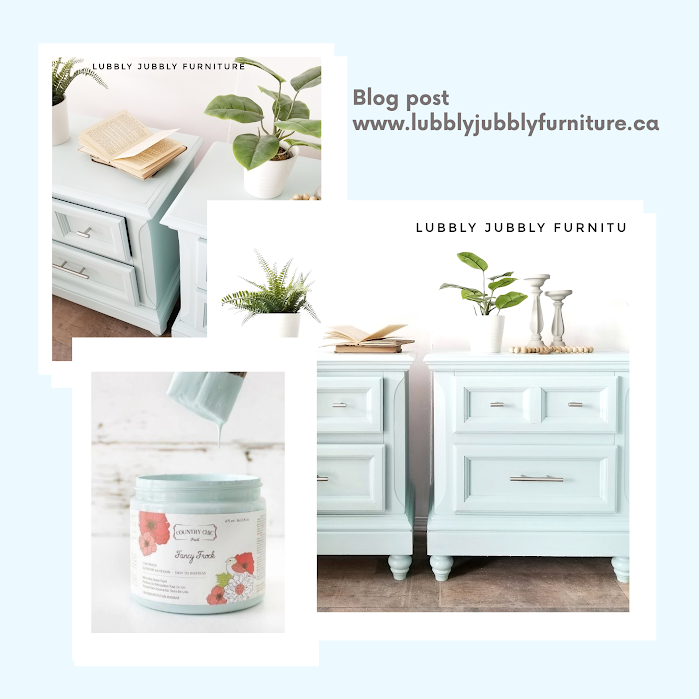 Hey everyone! Hope everyone is safe and well during this time. I wanted to share a blog post with you on how I refinished this pair of nightstands. 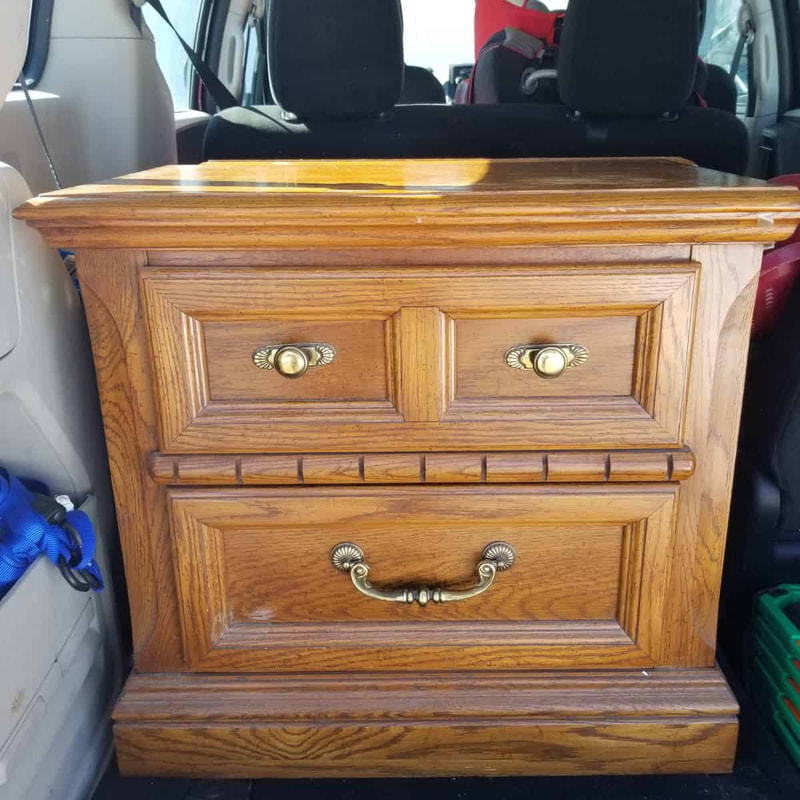 First I cleaned both tables with a vinegar solution, scuff sanded them, then wiped them down again. I then removed the trim that was in between the drawers as I felt it made them look outdated. 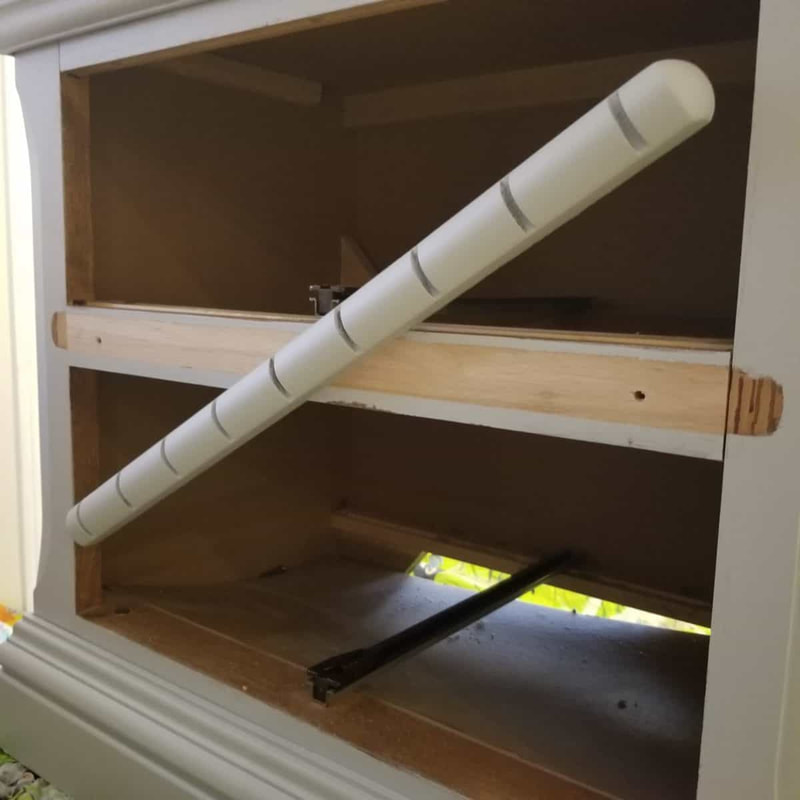 I filled all the holes where the previous hardware was because I knew I wanted to change up the handles. I applied two coats of white primer to both tables and then let dry for 4 hours. 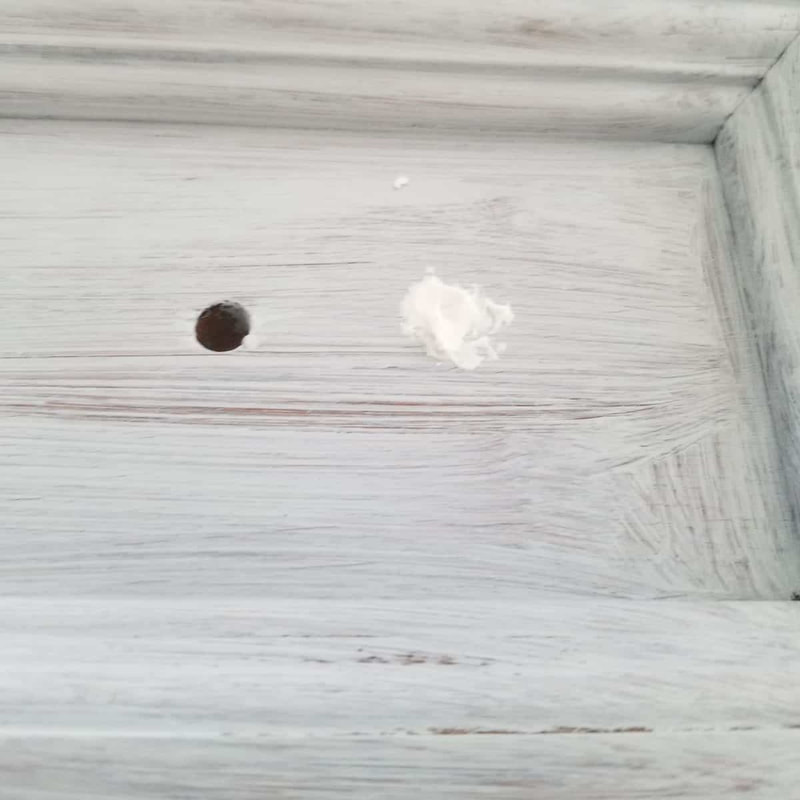 I then applied 2-3 coats of Country Chic Paint in the color, Fancy Frock. 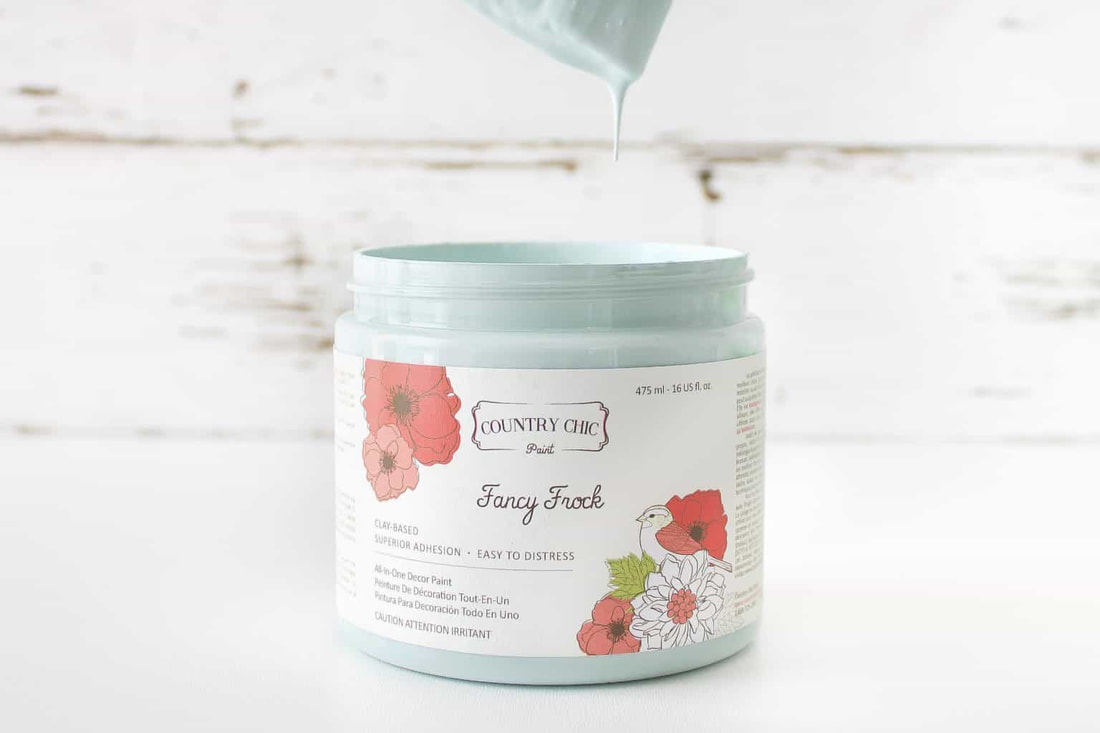 Once the paint was completely dry I sealed them with Country Chic Paint’s Tough Coat because I knew they would be used a lot and I wanted to give them extra durability. 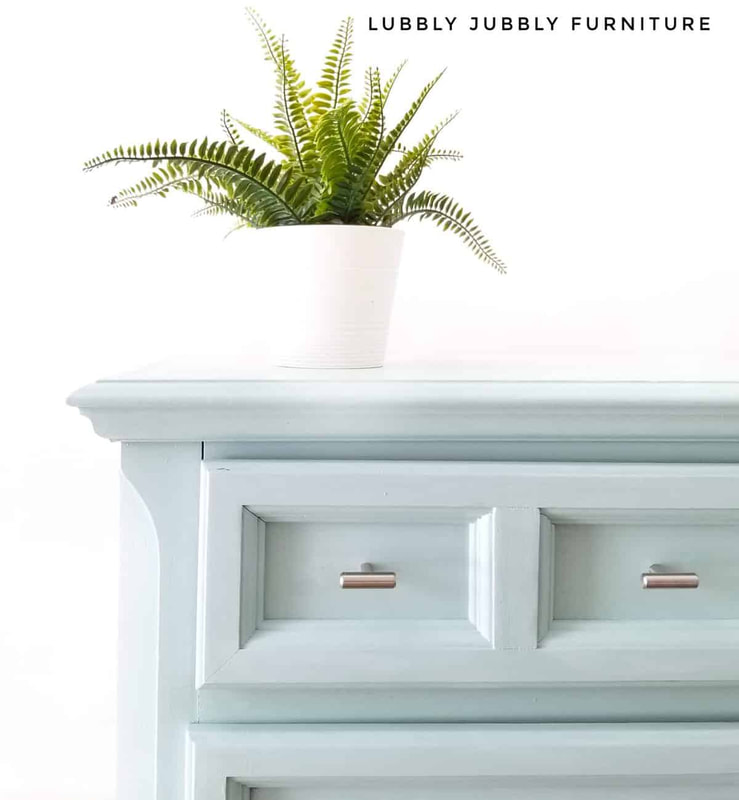 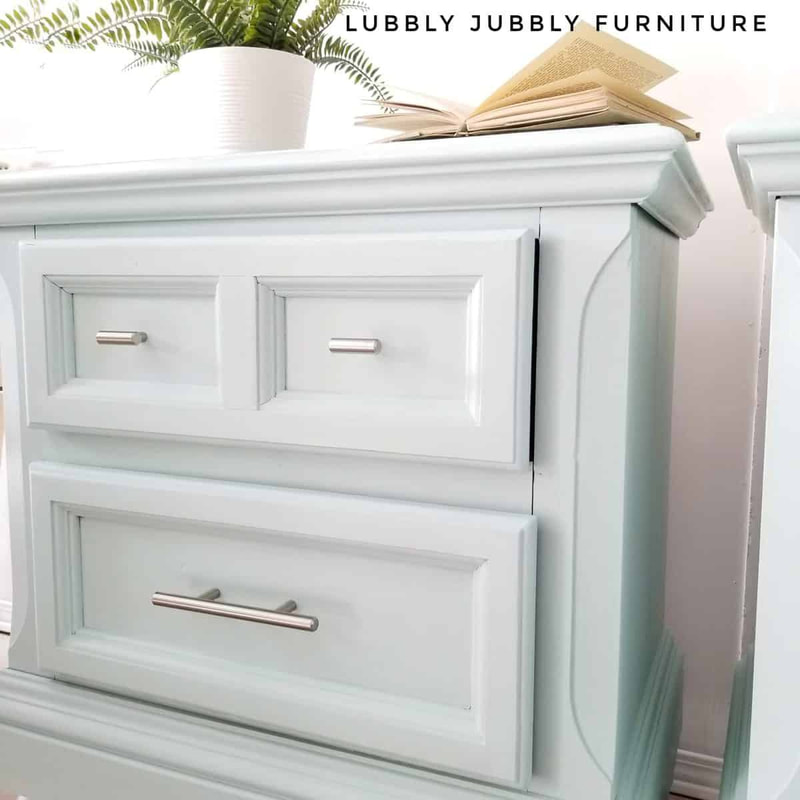 I put the tables on their backs so I could work on the bottoms to attach the legs. I created a block platform in each corner so that the legs were able to attach to something flat. Each leg comes with a metal plate that you can attach to the wood blocks. 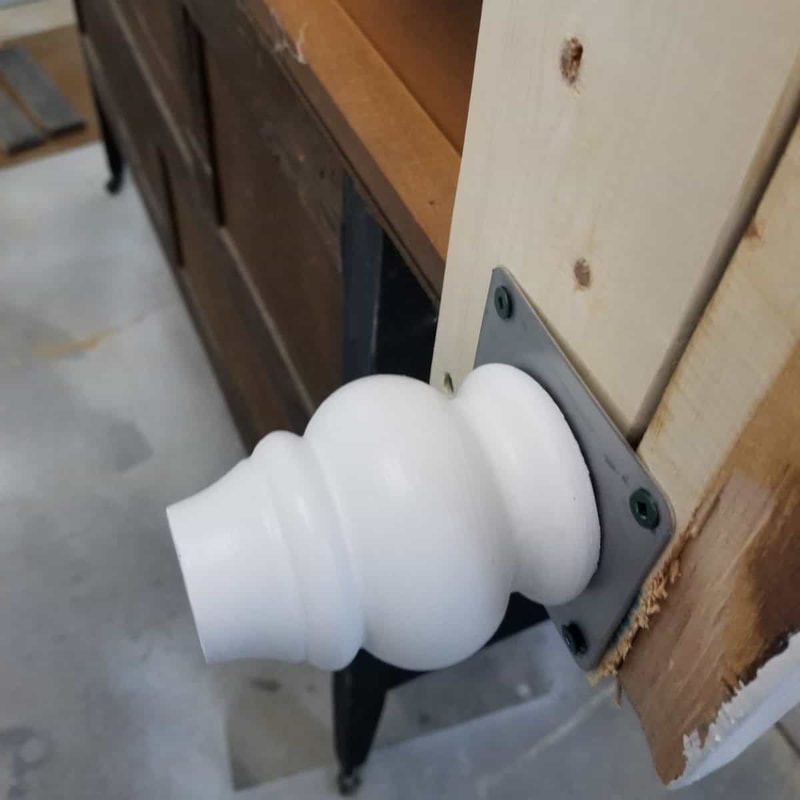 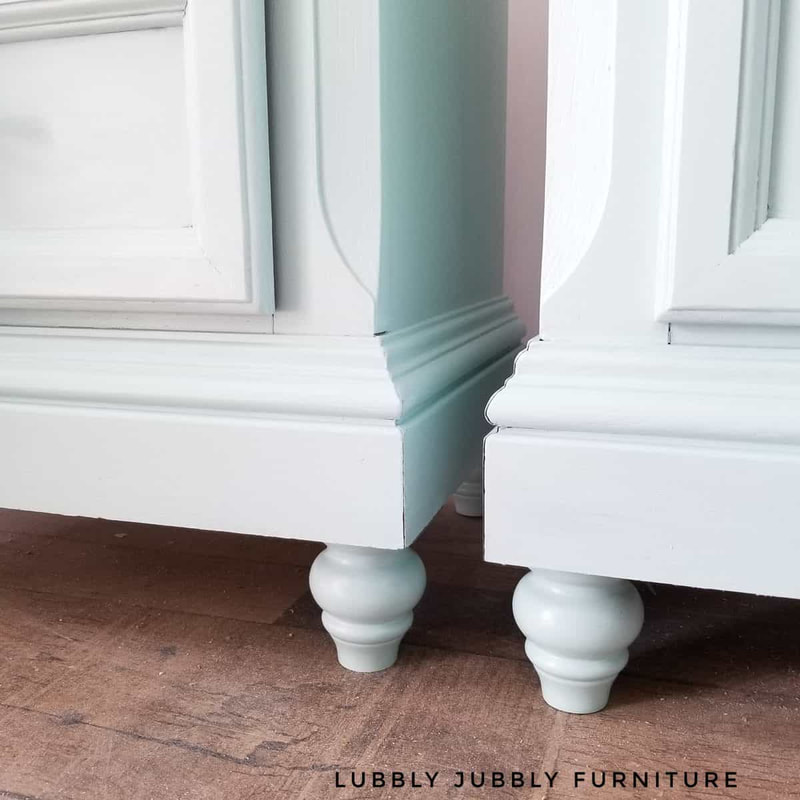 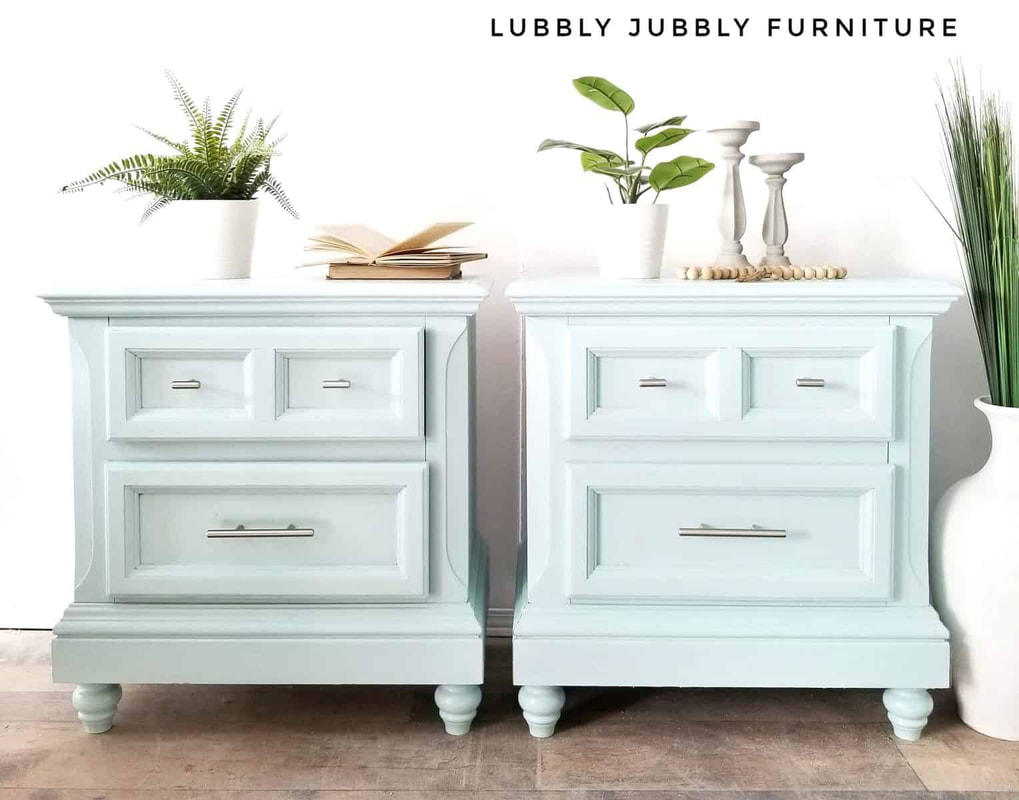 Thank you everyone for reading!To see more examples of painted nightstands
Megan  Hey everyone hope you are all well. I haven't blended a piece in so long and really felt the need to blend some colours together. This piece has a subtle blend of jitterbug, vanilla frosting and liquorice. First i scuff sanded the dresser and fixed anything that needed fixing or filling on the drawers using wood filler and 220 grit sand paper. I then cleaned the whole piece and the mirror with vinegar and lemon solution, making sure all the dust and small particles were pixked up with the paper towel. I used my Country Chic Paint oval 2" and 1.5" paint brushes to apply the different colours to blend. I also used a spray bottle of water. I like to have a base coat of paint when i blend sometimes depending on the piece and how old it is. This dresser i painted two coat of liquorice first then lightly sanded when it was dry so i had a really smooth finish. Country chic paint when lightly sanded becomes so smooth its amazing. I then painted two coats of jitterbug and while it was drying i sprayed water on the middle of each drawer and used my small paint brush to swipe a small amount of vanilla frosting. I then sprayed water of the vanilla frosting and used my paint brush to blend it in leaving a highlighted area in the middle of each drawer and sides. I added a bit of liquorice on the edges and legs to create a dark shadow. Once the whole piece was dry i used my sprayer which i use mostly to spray on my topcoats. I applied the clear coat to seal. I did two coats allowing dry time in between. The hardware was last and i made sure my mirror was shiny and clean . Then you have your finished piece. Thank you for reading Megan 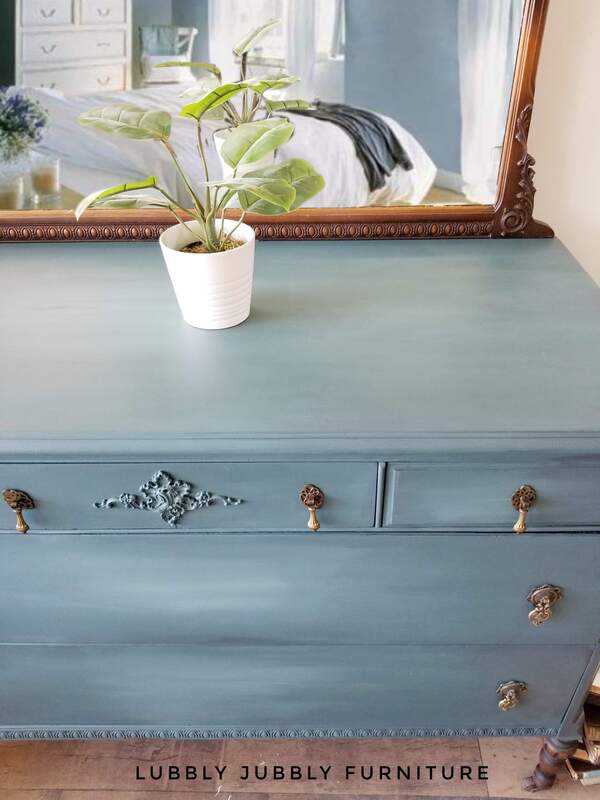 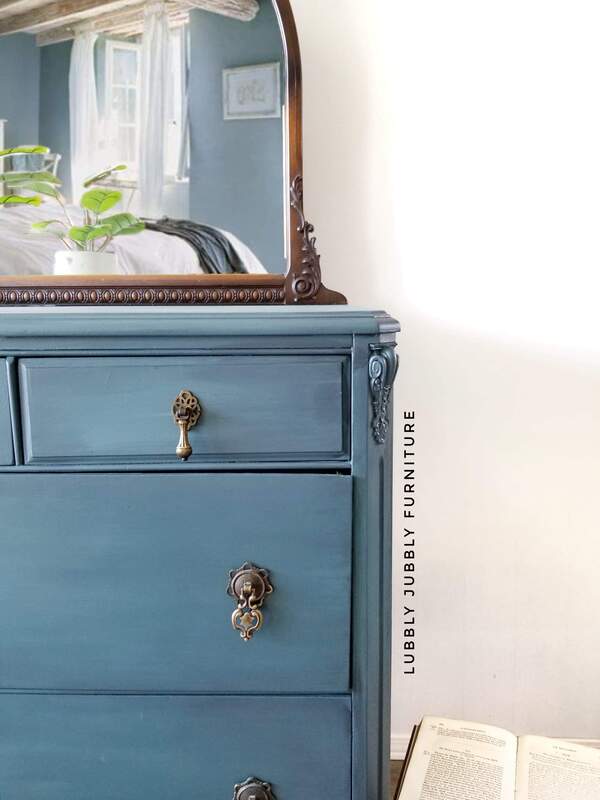 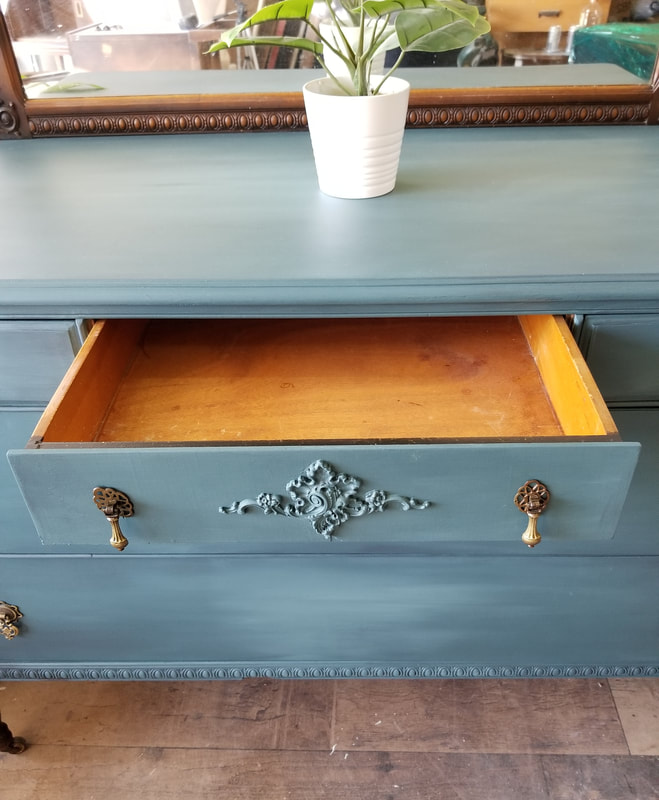 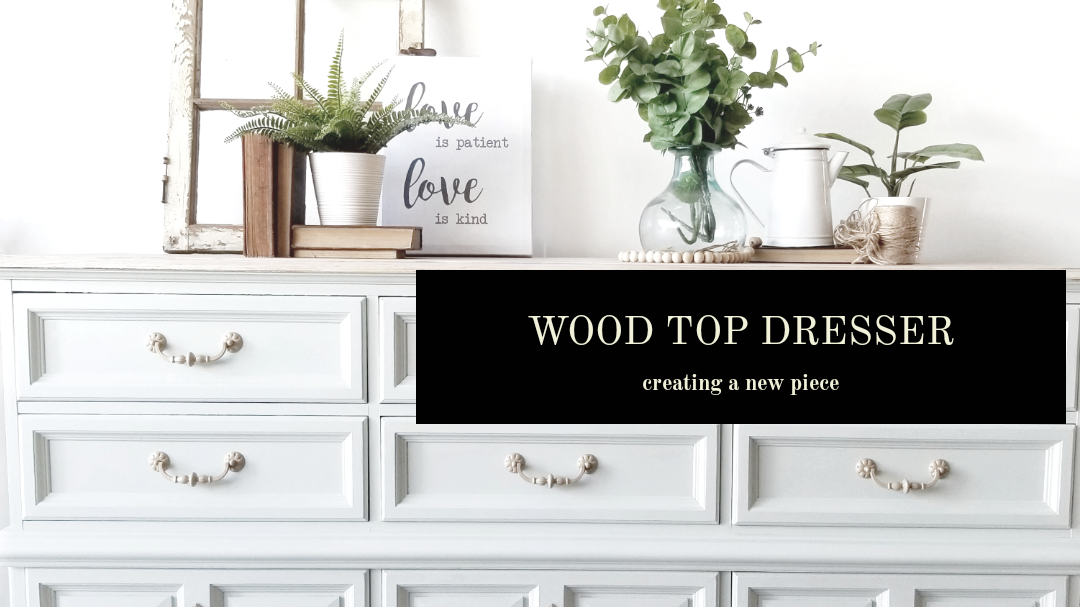 Hey everyone. Hope you are all well and getting some painting done. I’ve been held up for a few days due to my back but it gives me this chance to write this blog post for you. This dresser I’m in absolute love with, I wish I had the space to keep it because it’s definitely my style and in my opinion it looks beautiful. If you would like to try this refinish project yourself then read along on how I did it. First you need to have legs ordered or legs available to add to this piece. If you don’t want legs added that’s fine, they aren’t needed, it just gives extra character and height. You can find furniture legs in all styles and sizes on Amazon. I made sure to scuff sand the whole piece except the top and give it a good clean with vinegar solution. I then sanded down the top to raw wood using my belt sander with 80 grit paper. Then using my oribtal sander with 400 grit paper to smooth the finish. I then poured some Country Chic paint limestone glaze into a jar and added a little bit of water to thin the consistency because I wanted it to be a thin application. I used my Country Chic paint sponge to apply the glaze. I wiped the glaze on the wood top making sure to go over it several times until I liked the look. I let dry and then applied my clear coat, I did two to three coats. Its very durable and leaves a nice sheen. I then had help to tip the entire dresser on to a small table on its back so that I could work on the legs. The legs come with metal plaques. You’re going to need extra pieces of wood to make a platform from edge to the other depth wise. See pictures. Then the metal plates can be screwed into the wood either side and the legs attached. Its very easy to do. You got this!!! Once that is done I left the dresser on its back so that I could paint the legs and seal them. I also primed two coats and painted 3 coats of paint (luna) while the dresser was in that position. Once that was done I managed to lift the dresser with help back up right on the ground. I then sealed it with Country Chic paint clear coat with 2 coats. Let dry and cure. The original hardware I mixed beige acrylic paint with Rustoleum metalic gold paint and came up with this soft wood style colour and painted the hardware with it and then used clear coat to seal them. Once all this was done it was finished and ready to sell. I hope you enjoyed reading on how to create this look and I can answer any questions you may have. Thank you Megan 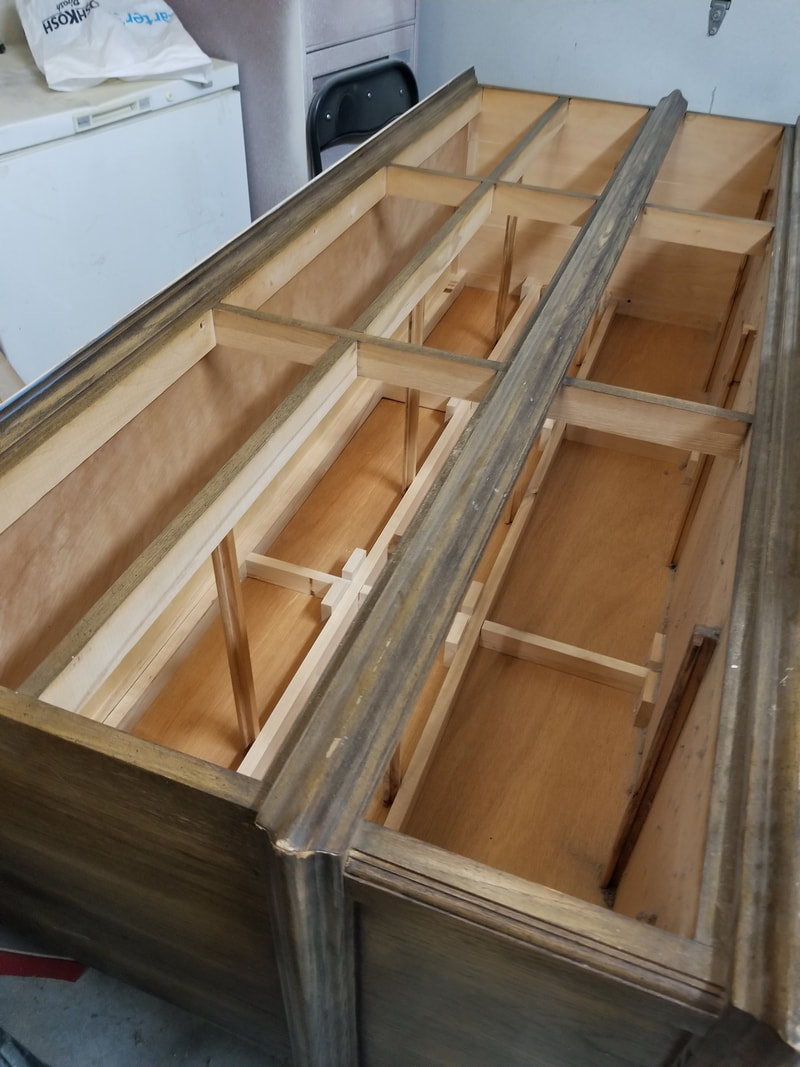 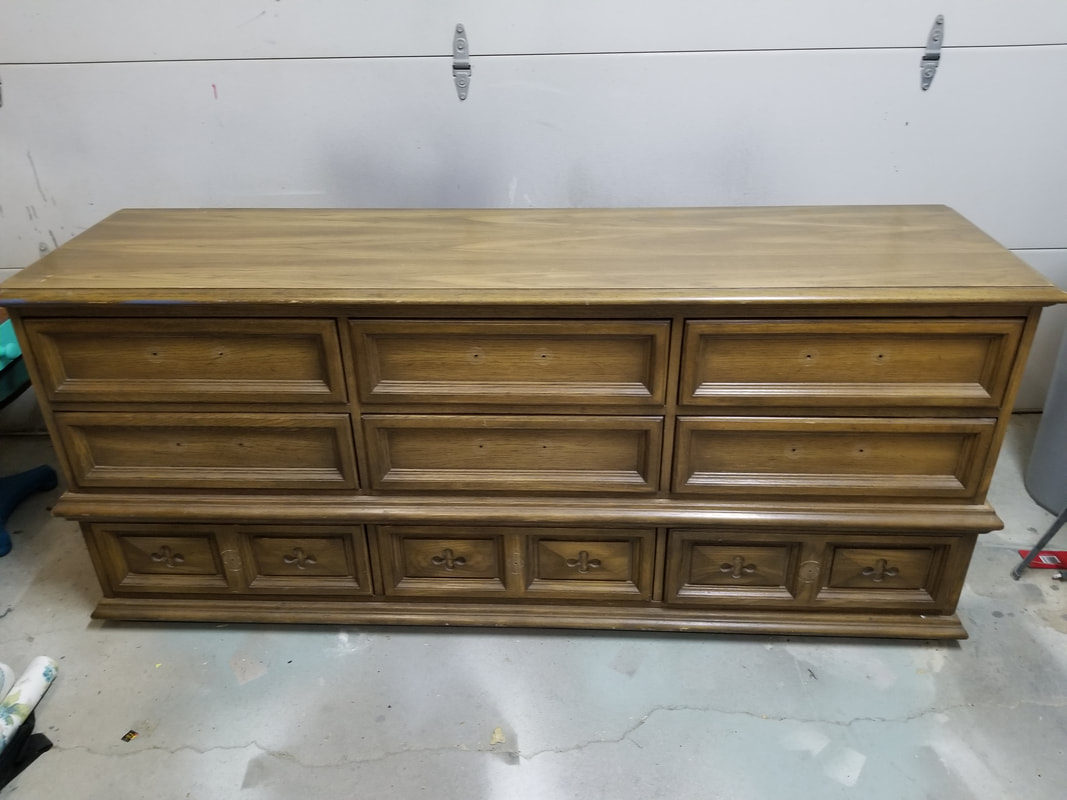  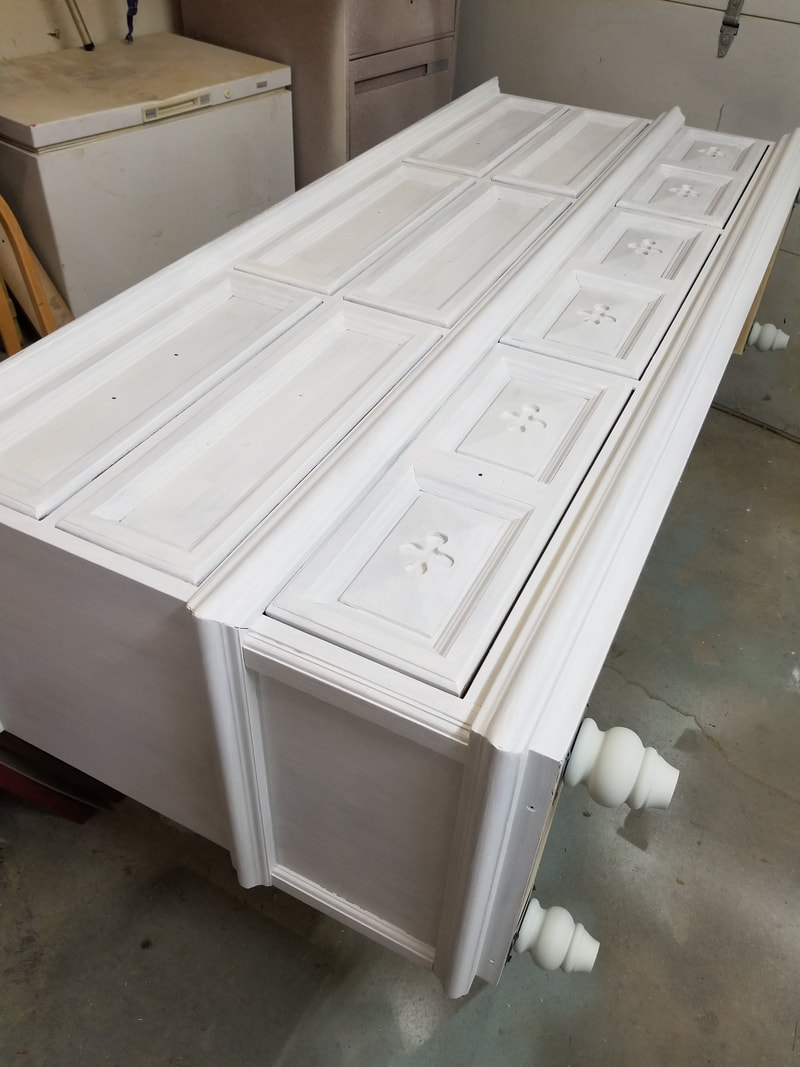 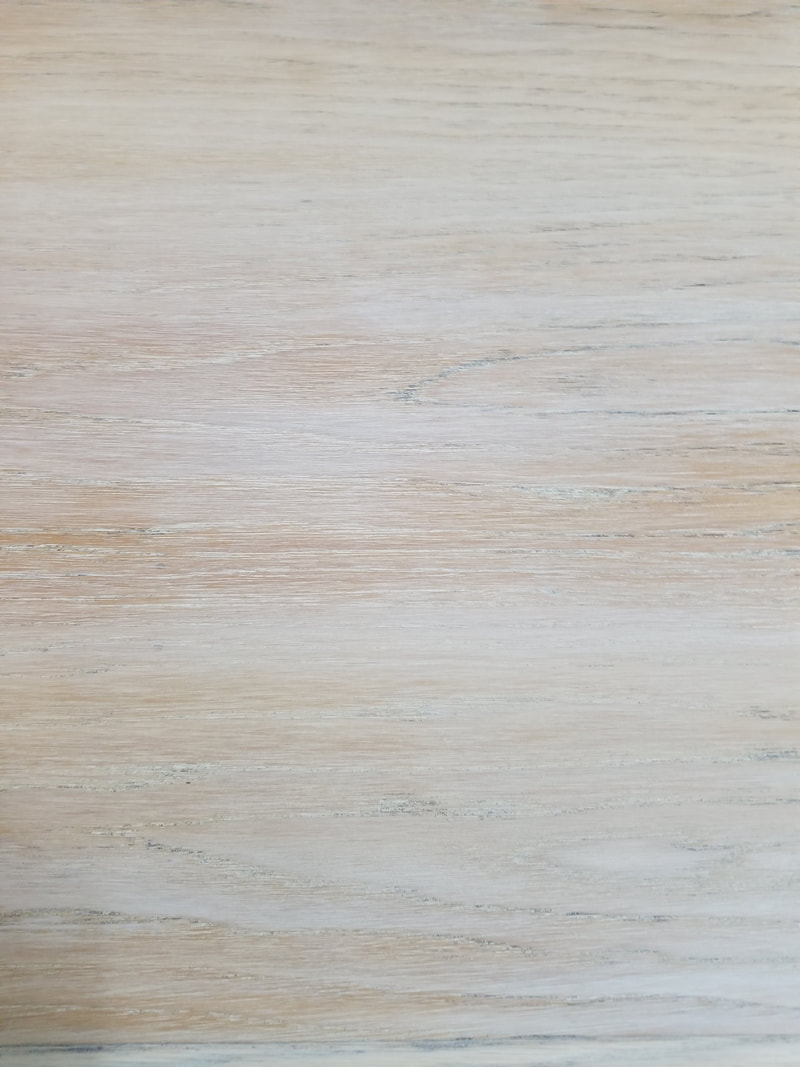  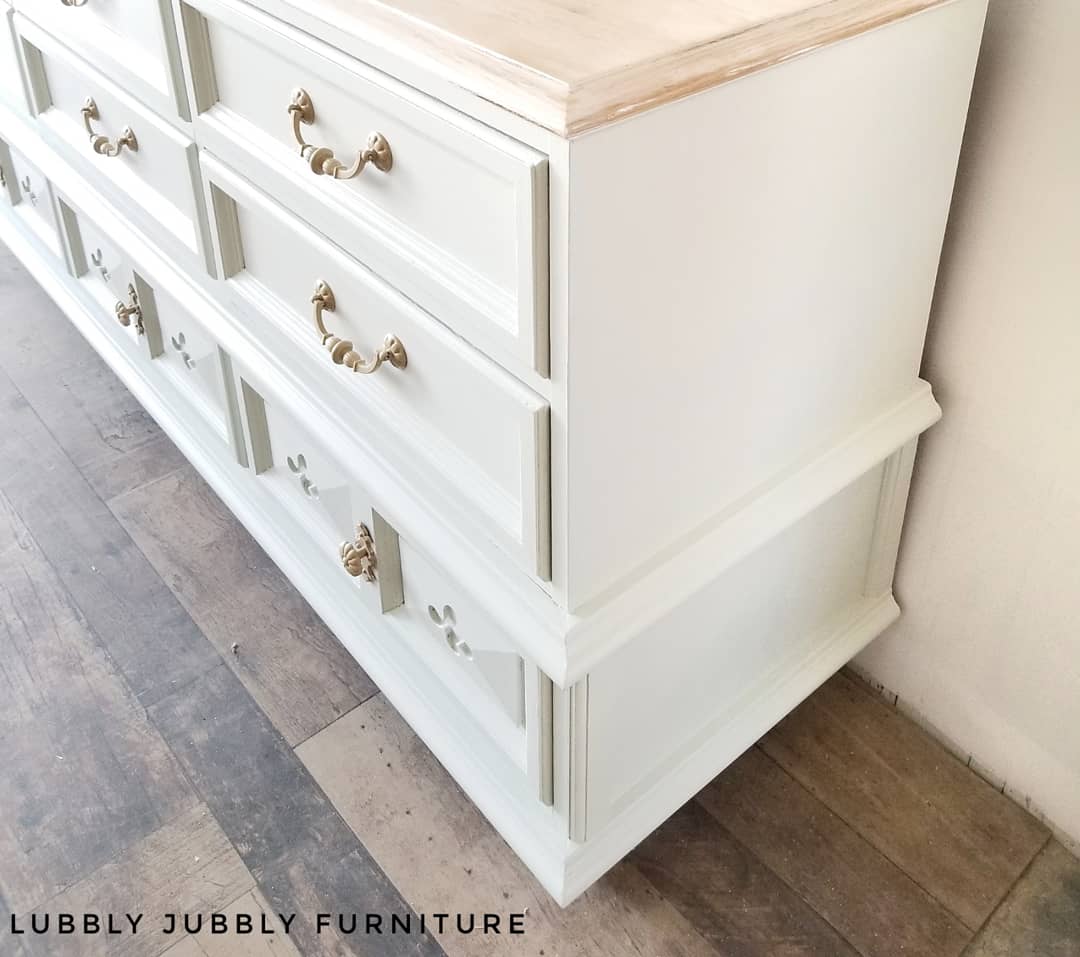 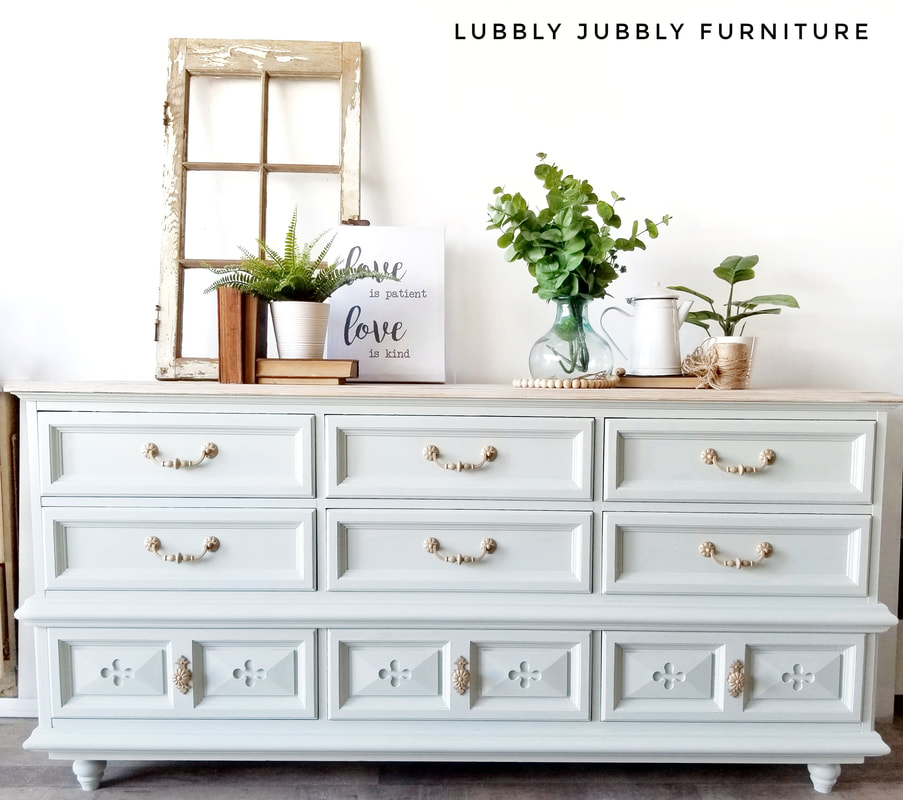 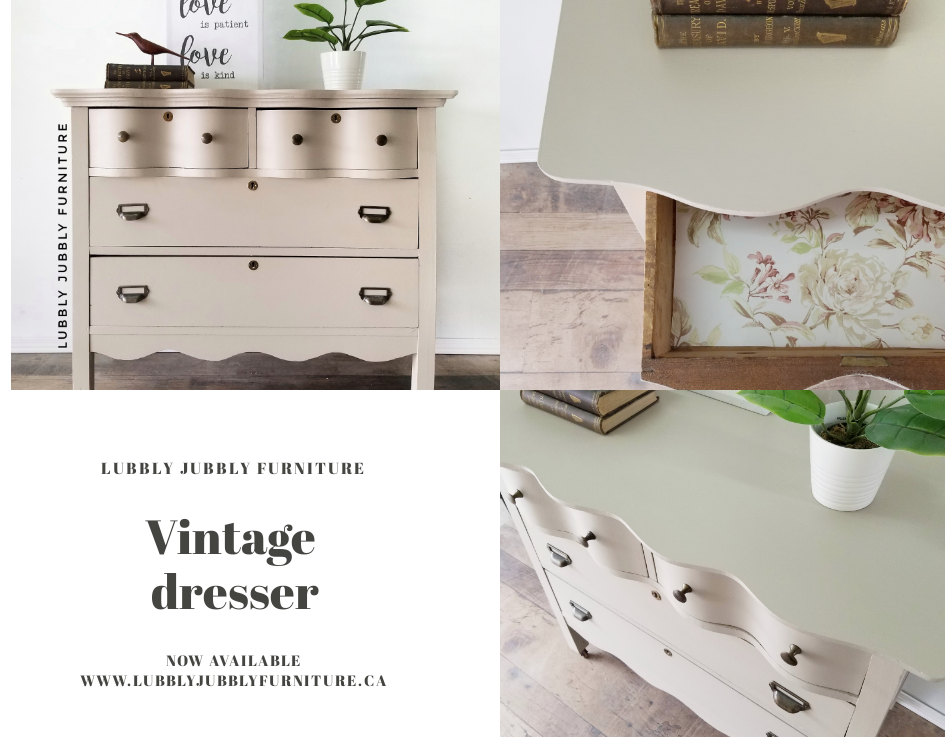 Hope you are all having a great start to the New Year. I have got quite a few pieces in this year already and I can’t wait to get started on them. First piece this year was this beautiful small dresser with curvy top drawers that gave this piece awesome character. At first I didn’t know what to do with it, I couldn’t decide on a colour, if you have ever taken a look on Country Chic paint page you will see picking a colour is so hard because there are so many beautiful colour's to choose from. I ordered a few that I hadn’t tried before and one colour was called Soiree. I fell in love with this gorgeous colour and I think you’ll agree when you see it. First off I lightly sanded my dresser so the previous gloss was removed and cleaned it down with a vinegar solution. This dresser is vintage and I usually keep the original hardware but the pulls that came with it were a little flimsy, so I had a set of cardholder drawer pulls which I knew would match this piece. I used wood filler to fill in the holes where the new handles would go. I left the single holes open as I was keeping the drawer knobs for the top drawers. Once the wood filler is set and dry I sanded them down flat. When this was done it was ready to be painted. I primed the whole piece with 2 coats leaving a few hours in between dry time. Then I painted 3 coats of paint, yes three coats, and that was using a pint. Country Chic paint goes along way and has great coverage. Once I had painted the third coat I let it settle for a few hours. I then marked out where my new handles would go and drilled new holes making sure I didn’t drill where I had previously filled. I then sealed the dresser using Clear Coat and applied 2 coats. You can apply Country Chic paint clear coat with their sponges that they sell, brush or spray. Once sealed I attached the hardware and then lined the drawers with wallpaper. Voila it was done. I hope this helps you in creating something of your own. Thank you for reading 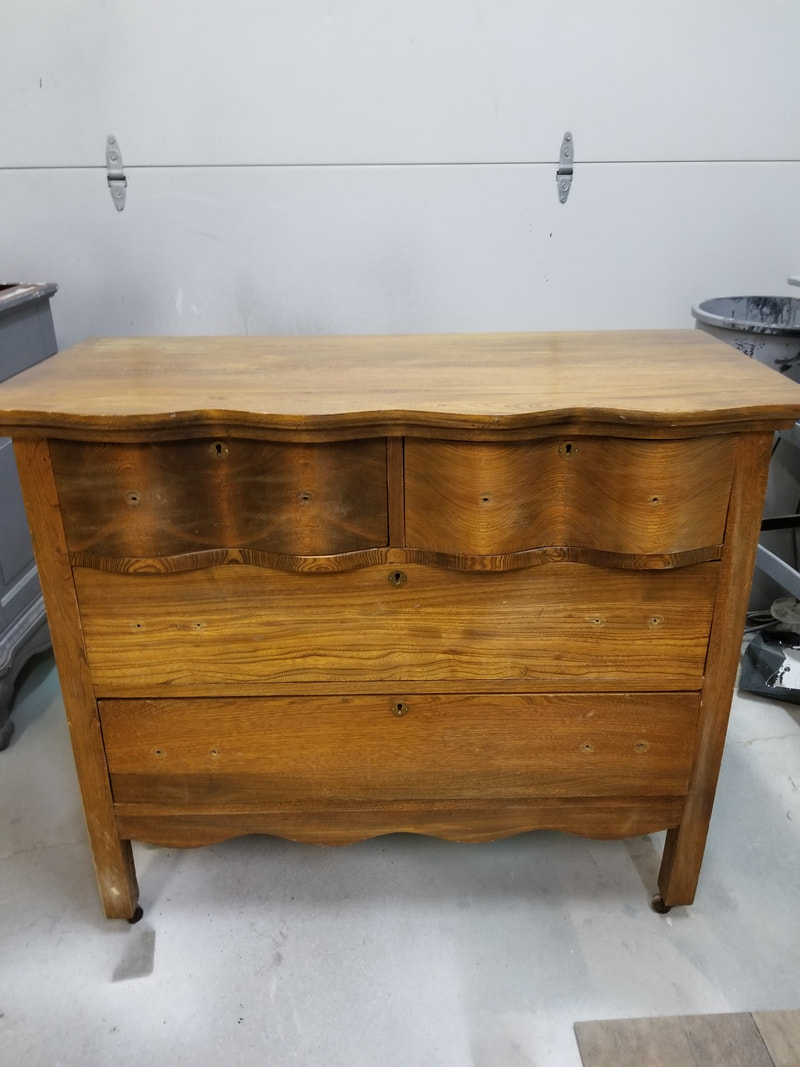 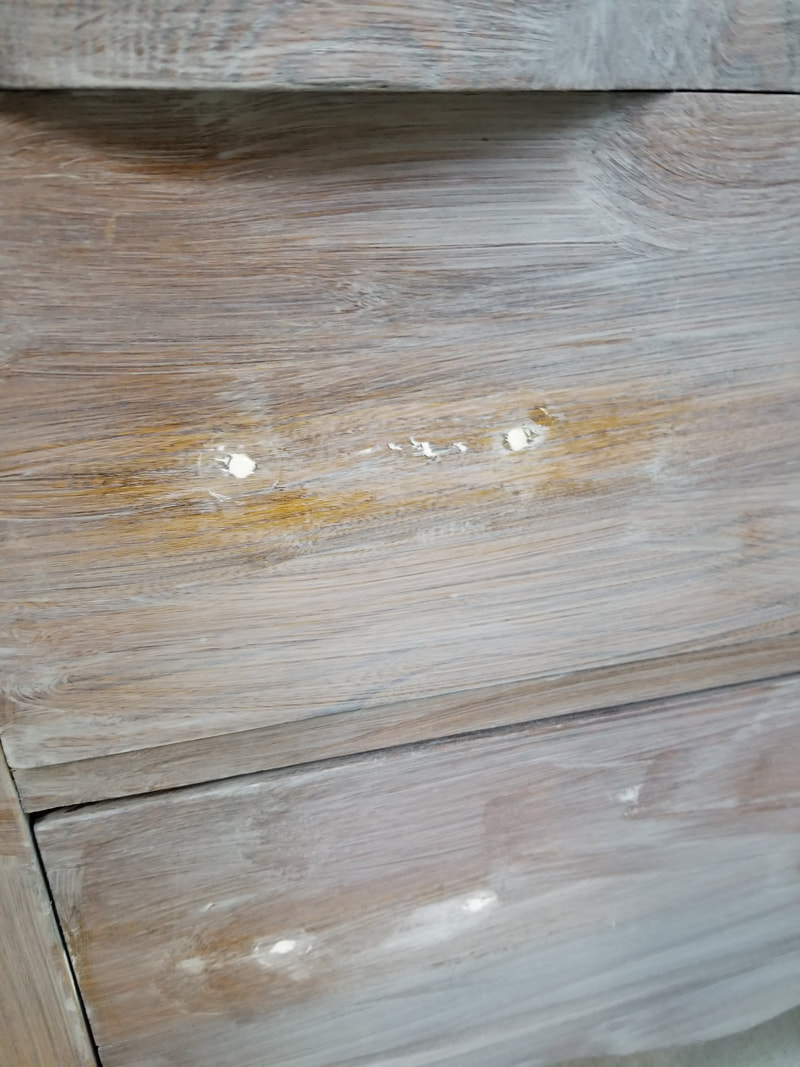   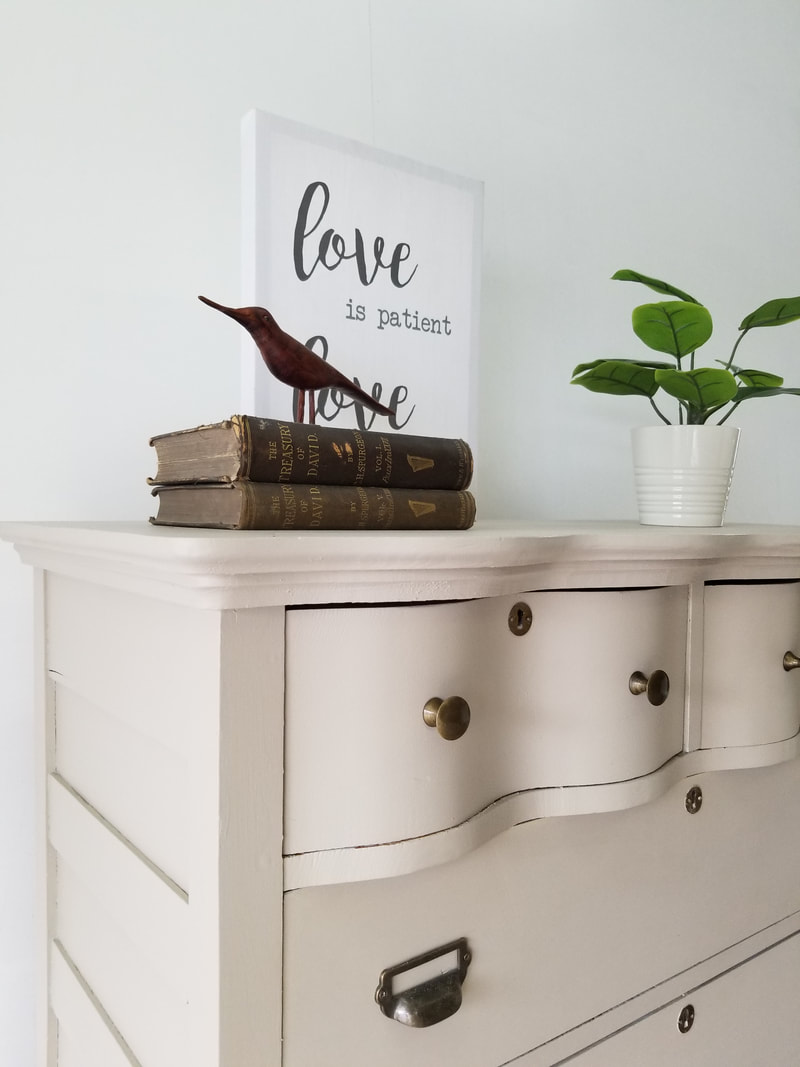 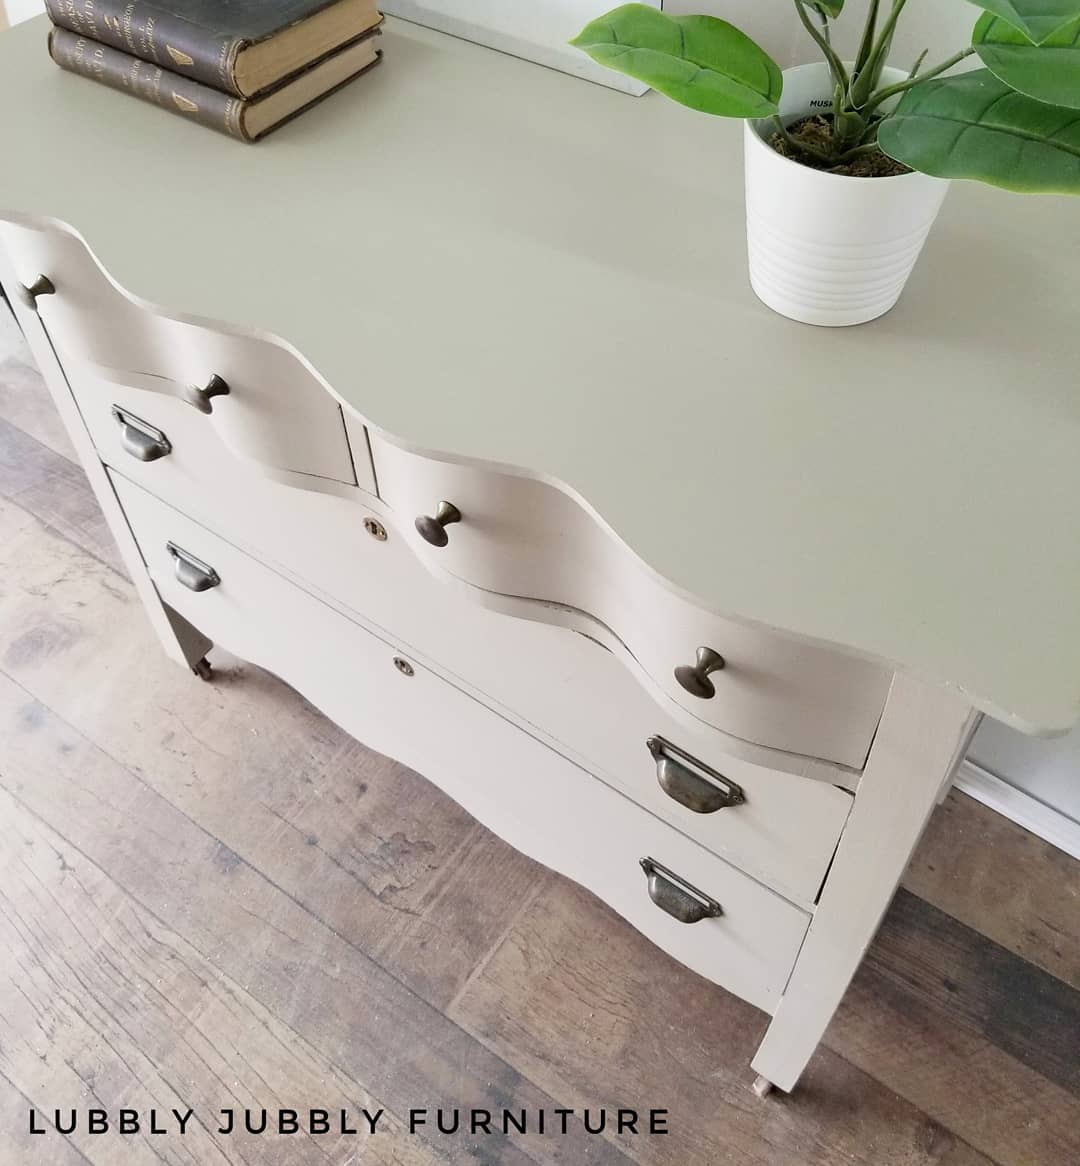 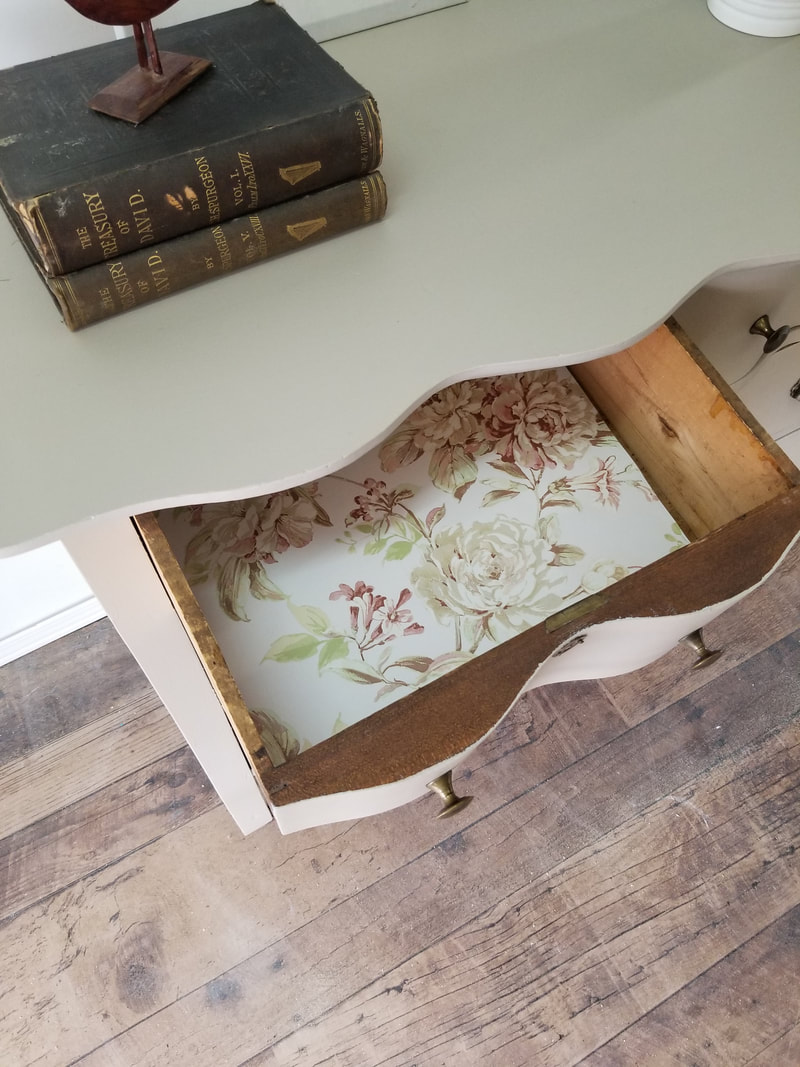 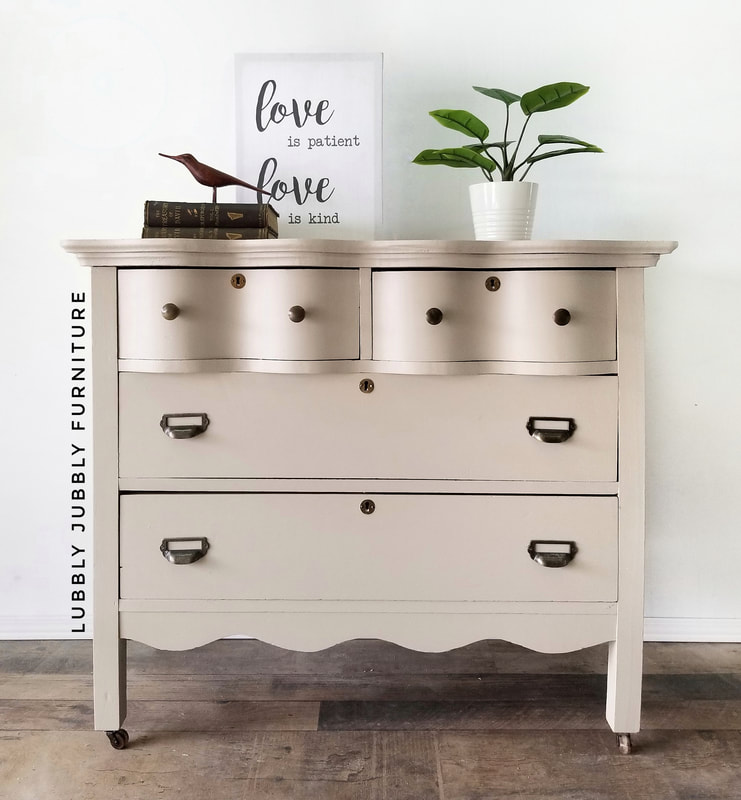  Happy New Year! 2019 was a great year for me, I feel I really learnt a lot in my business and created many pieces that were out of my comfort zone, but I did them and I was happy about it. This piece was my first vanity and not only was it a vanity it was a double, but I will say that it was a piece that I did not have to change too much. I used Licorice and tough coat. This piece needed to be cleaned in a big way especially inside. It came from a home that was its first home but they were renovating and changing things up so I took the vanity to make new again. I used a vinegar solution to clean but it didn’t get everything off so I sanded slightly using 400 grit paper inside the vanity. Then I cleaned again and I used hemp oil to go over the surface inside and the inside of the doors to make it look new again. I lightly scuffed the entire outside and cleaned it with the vinegar solution. Then I started to paint with my liquorice . I did 3 coats. Usually only needs two but this is a vanity in a bathroom so I wanted an extra coat. I then topcoated with tough coat. Tough coat is very durable and I felt that it was a good product to use for this piece, especially when water is involved. I also painted the hardware and sealed them. The taps came with this vanity which were great but you can also get affordable taps at Lowe’s or Home Depot along with Habitat of humanity. If you don’t have sinks you can find affordable drop sinks or bowl sinks at Home Depot for $50 a sink and cut the spaces for them into your top. If your top is wood I suggest using two -three coats of tough coat for durability and let cure for 21 to 30 days. If you ever have yellow rust grime around the sink gap where the plug goes you can use an exacto knife to lightly scrape it off. I hope this helps you and have fun creating. 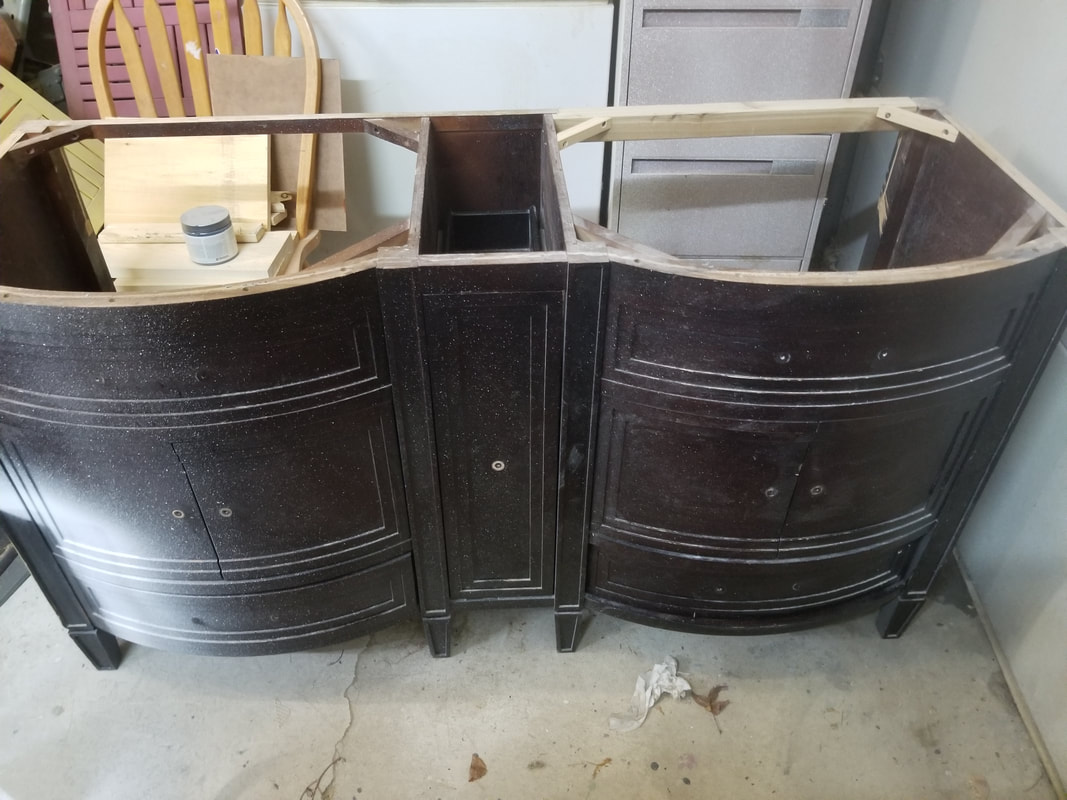 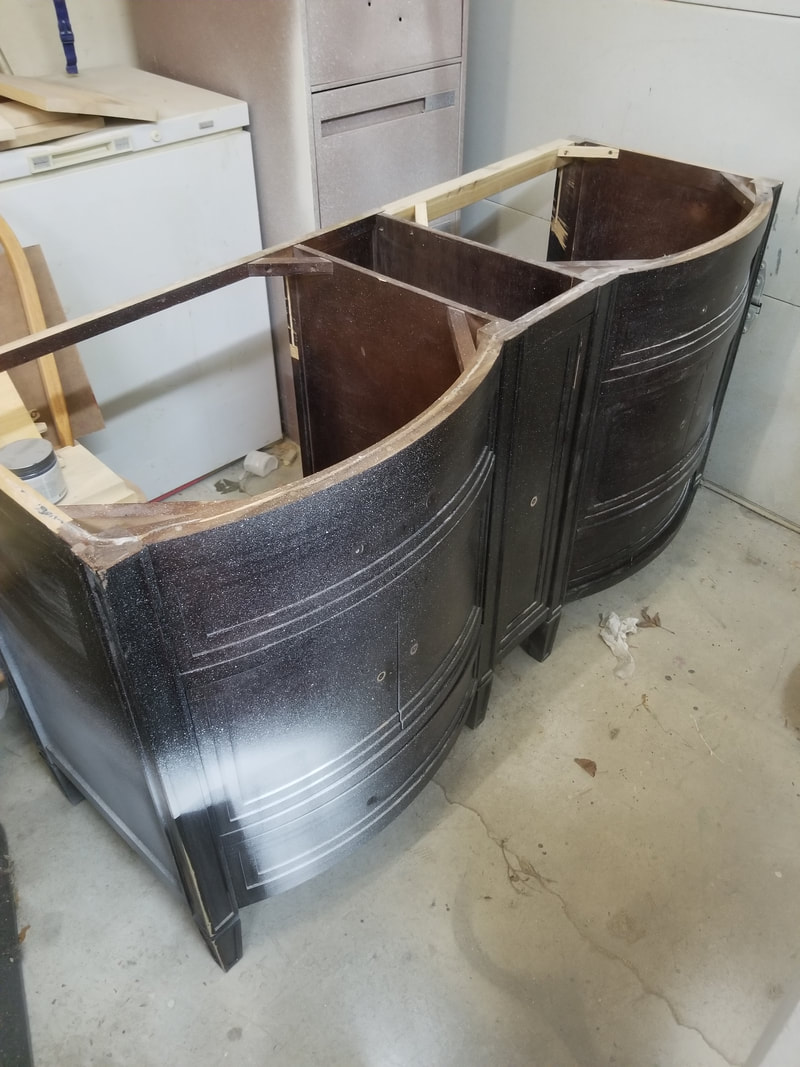 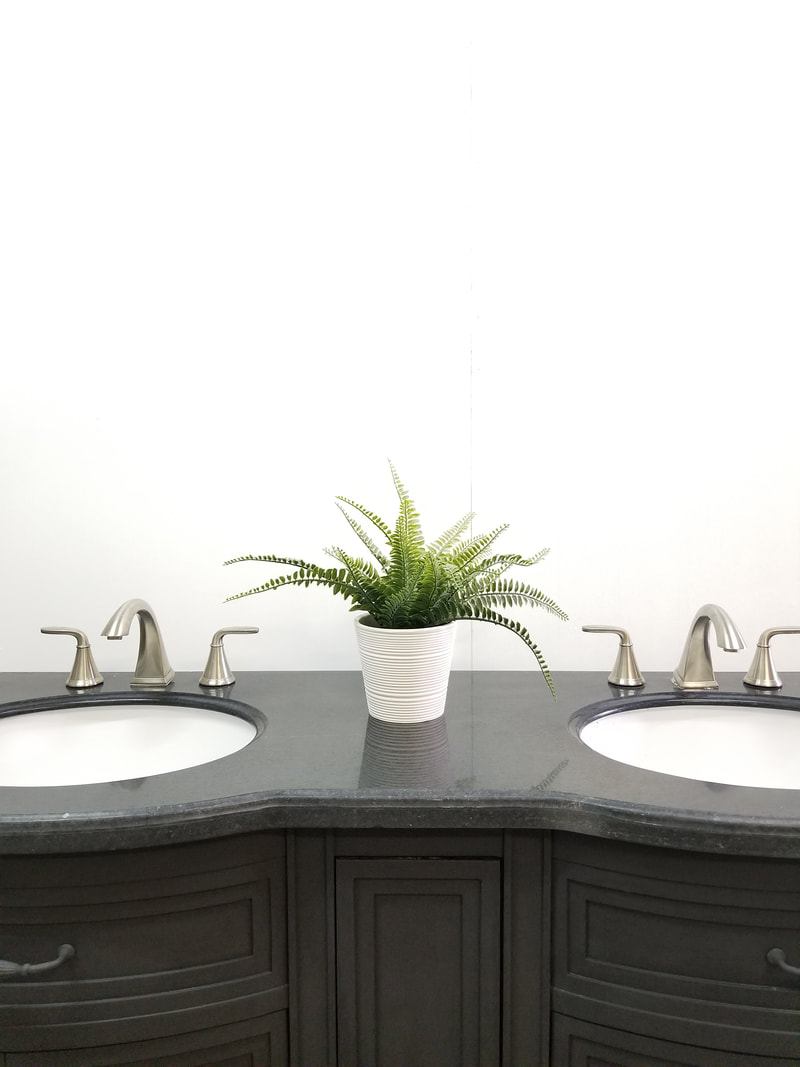 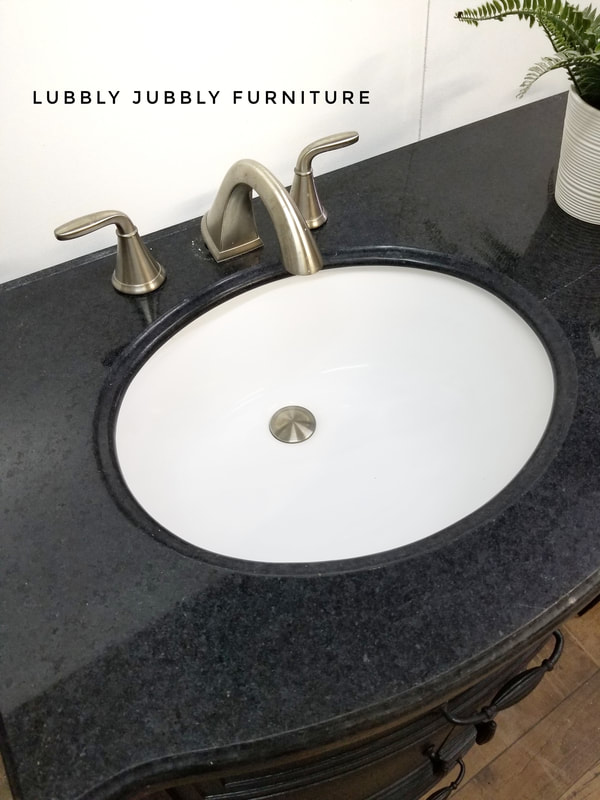 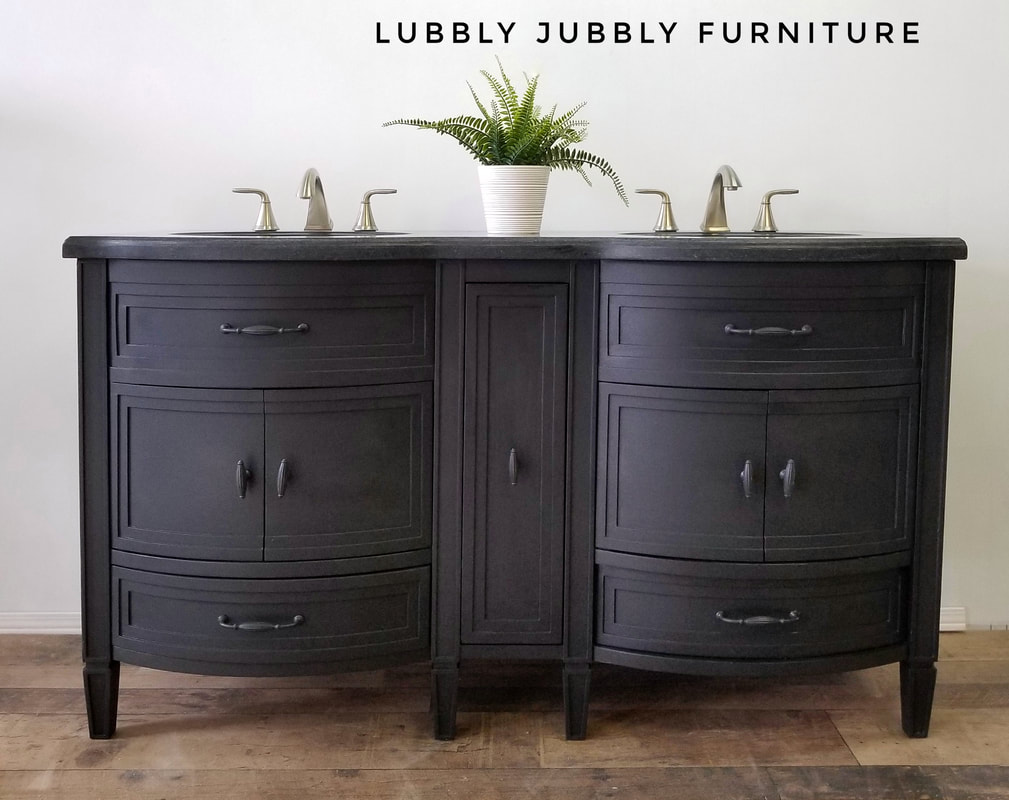 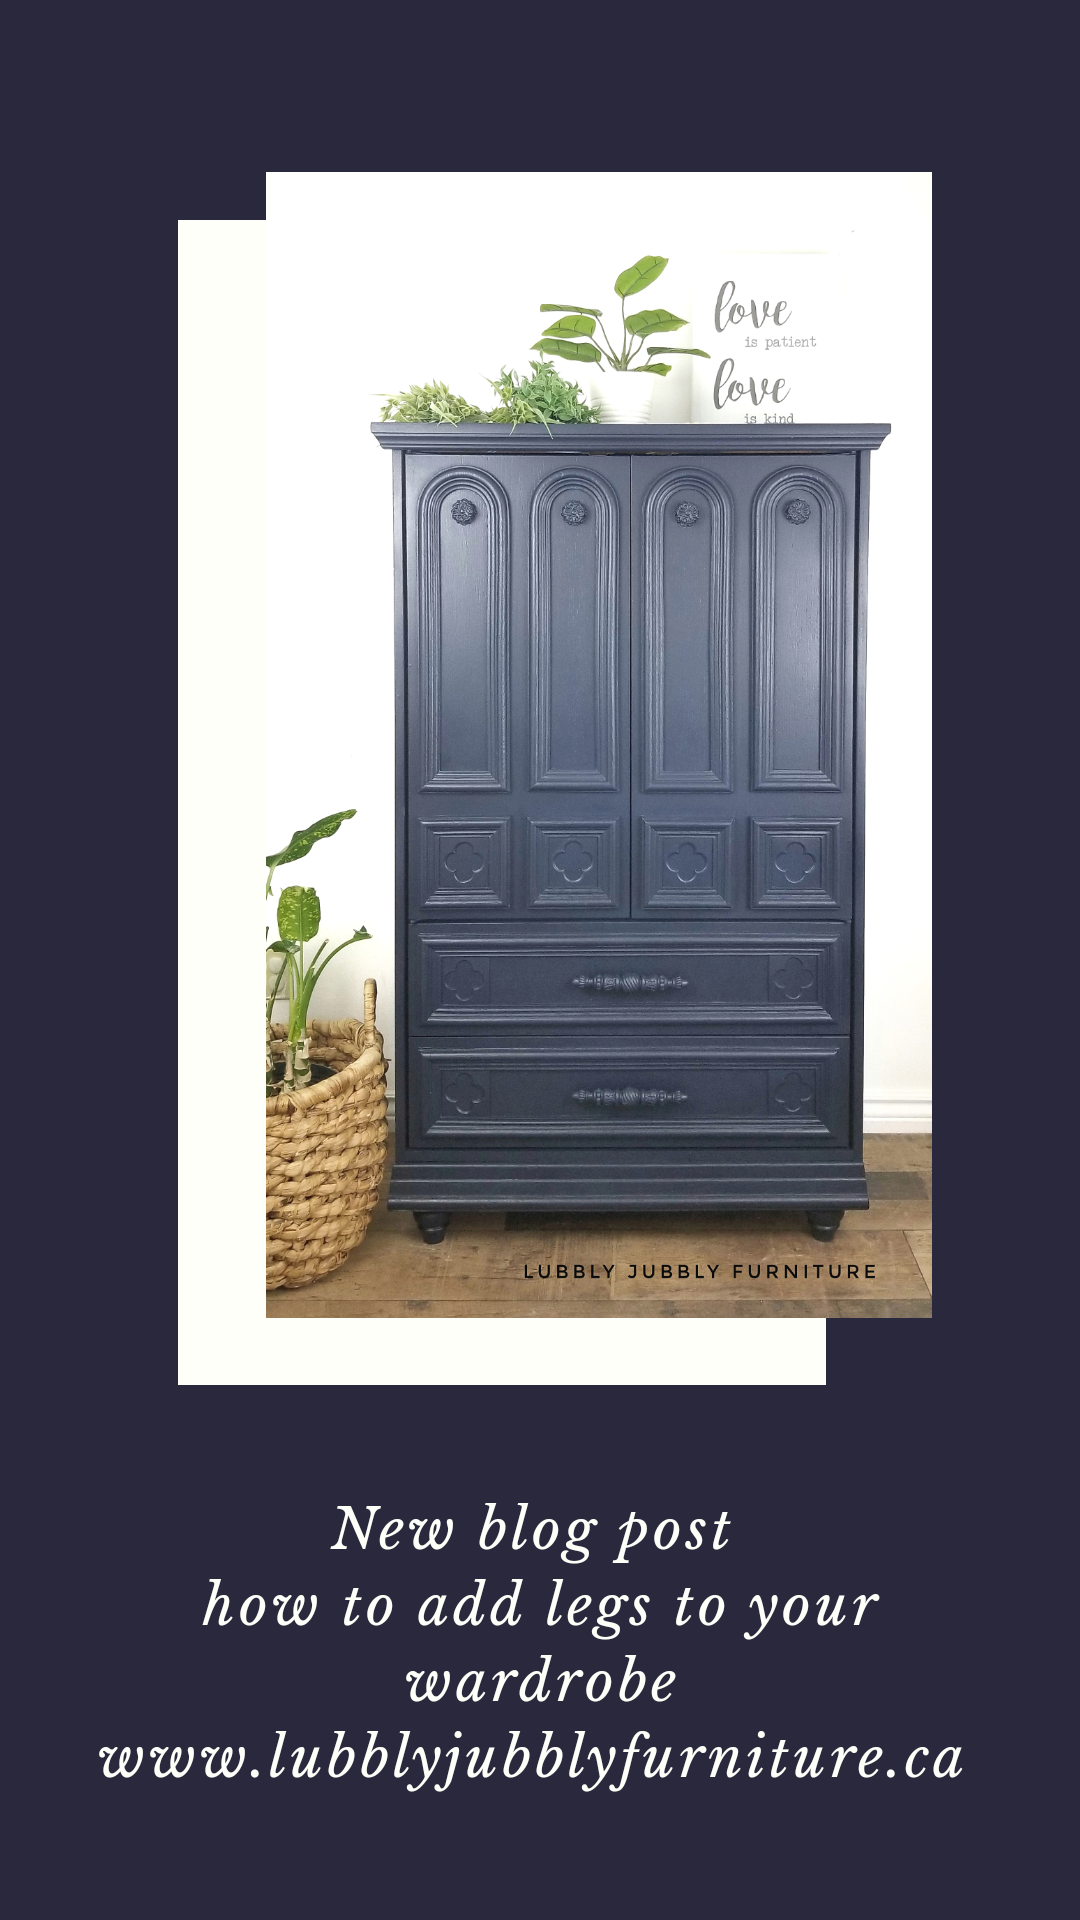 Hello everyone, I feel winter came a little too early this year for my liking back in December, but now it feels some ehat lile Spring which I love. I thought I’d write about the wardrobe I painted and refinished in this past month using Country Chic Paint Peacoat. This wardrobe needed some love and a good makeover, not to mention legs. I had to add legs to this piece and give it some sass and character, along with a little height. If you add legs to your piece you have to pre order them. First I lightly sanded the whole piece and cleaned it using my vinegar solution. I primed this piece with grey primer, but priming with a dark colour like this isn’t needed. It really depends on the piece your painting whether you feel it needs some extra grip or that extra step. I then painted the wardrobe two coats of Peacoat. I tipped the wardrobe on to its back so that I could work on the legs. I had painted the legs in Peacoat and sealed them while they were off. I made a platform for each corner and nailed them on. I used the plates that the legs came with to secure the legs. Once they were on I stood he wardrobe up right and sprayed the Country Chic Paint clear coat on. Two coats. I had previously painted the original hardware in peacoat and put them back on. The piece was finished. 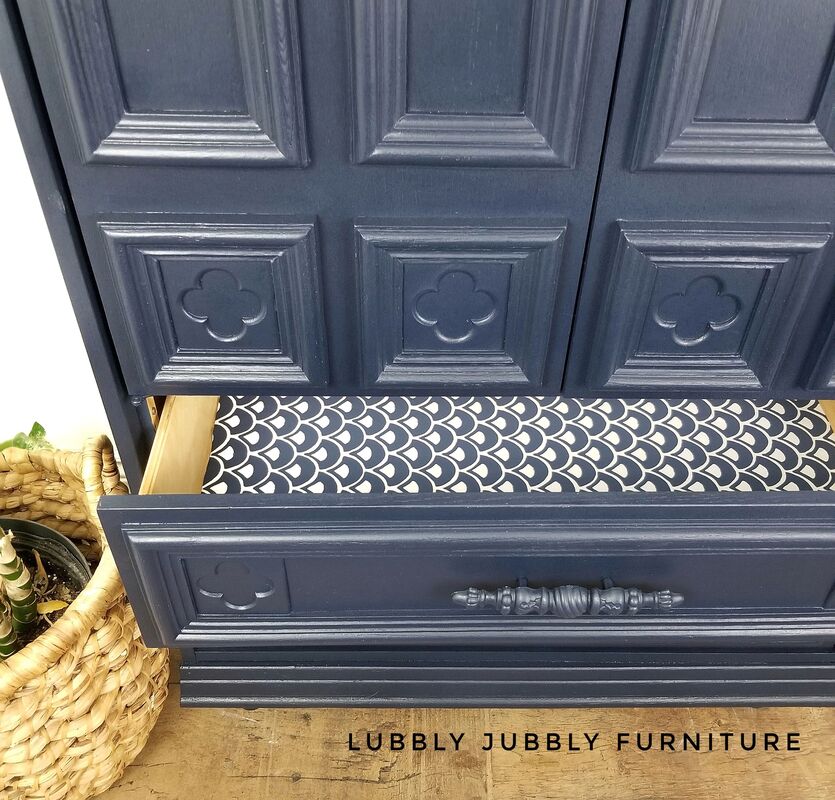 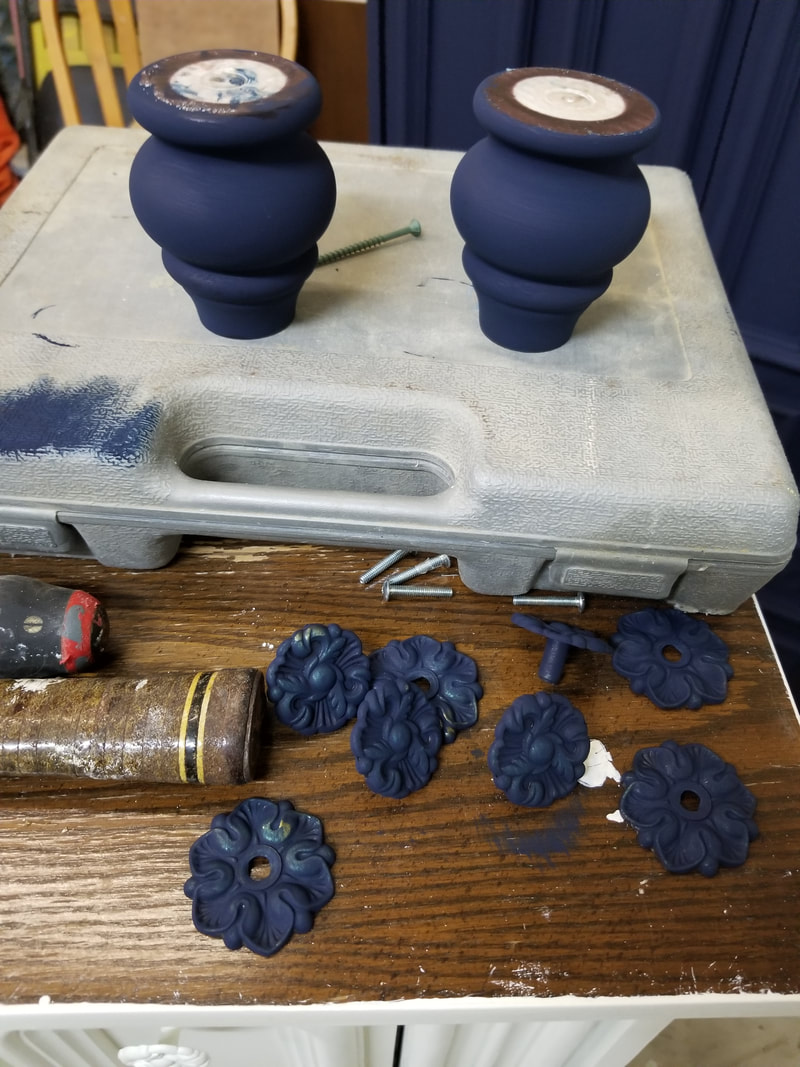 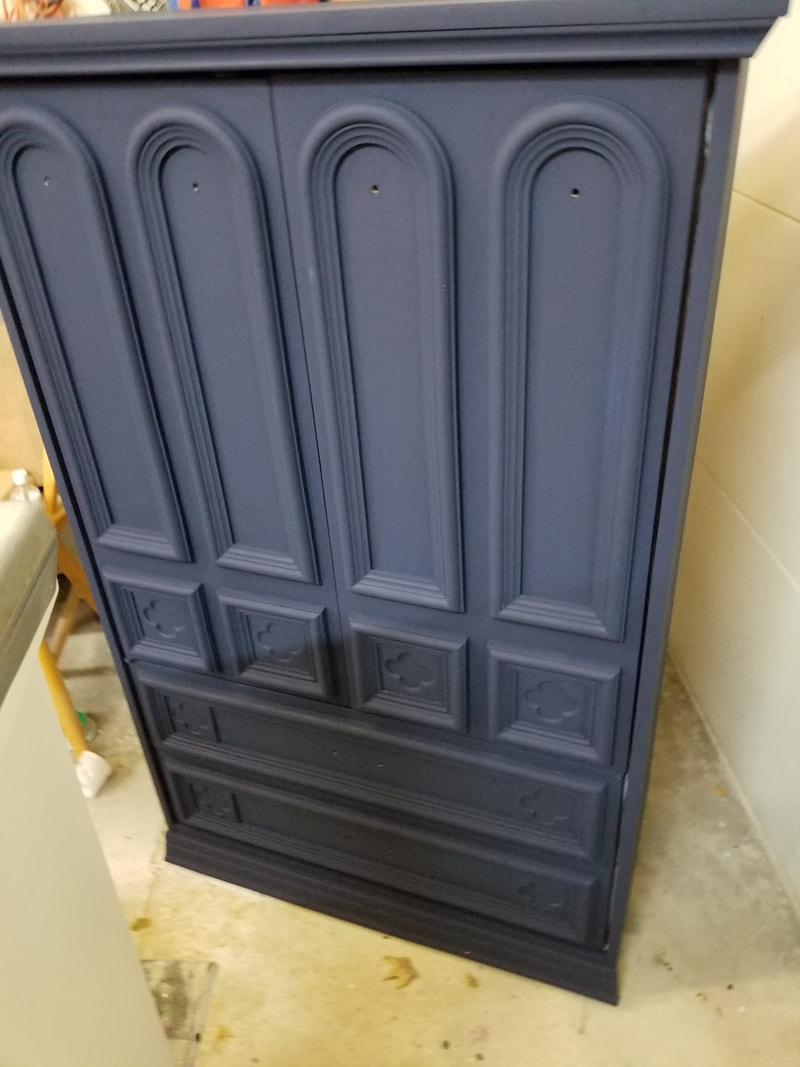 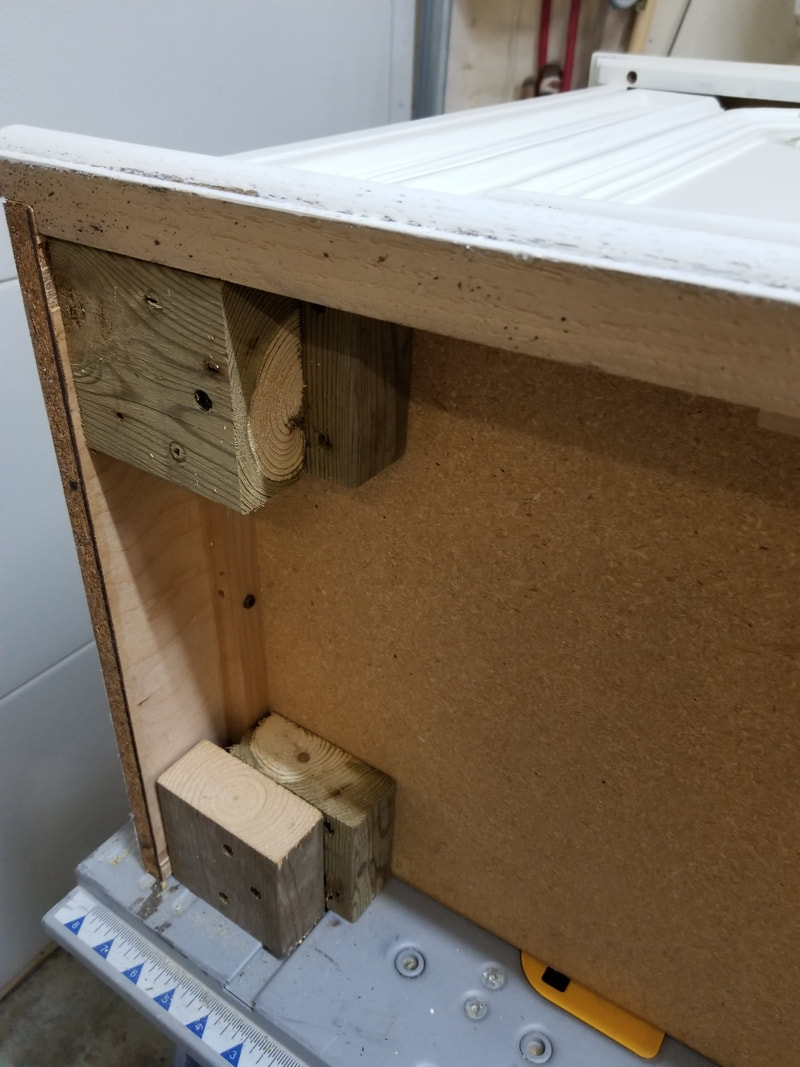 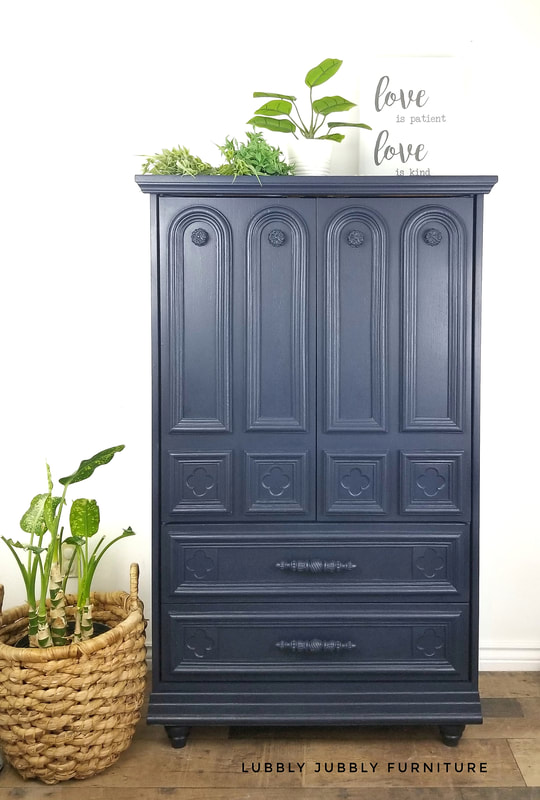 |
|
 RSS Feed