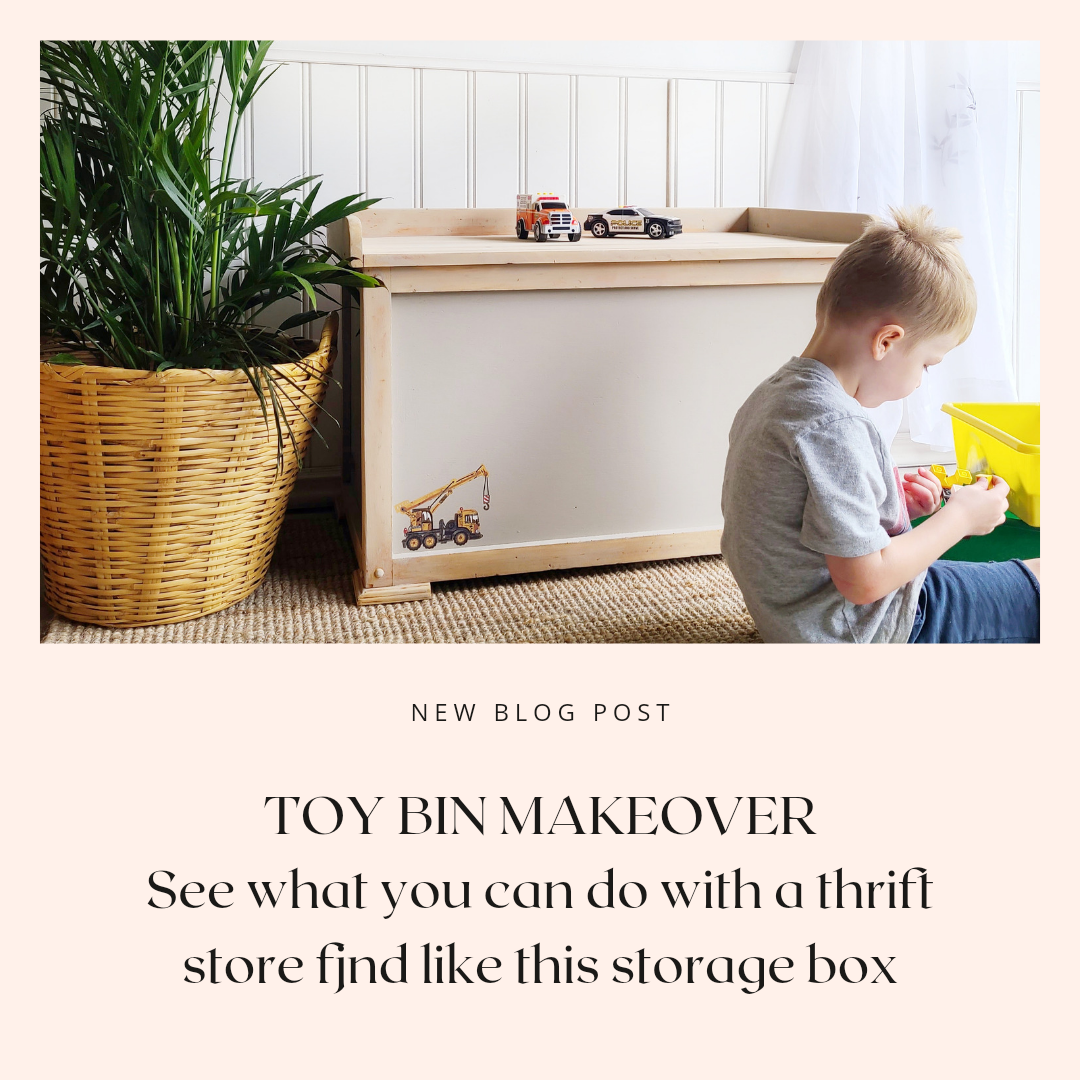
 Who doesn't need a toy bin or storage box? I think we all do. I found this wooden box with a lid from the thrift store, as soon as I saw it I knew it would be the perfect piece for the transfer I needed to use. Now you don't have to use the construction transfer I used you can use so many of the other designs available at Redesign With Prima. let's get started!! 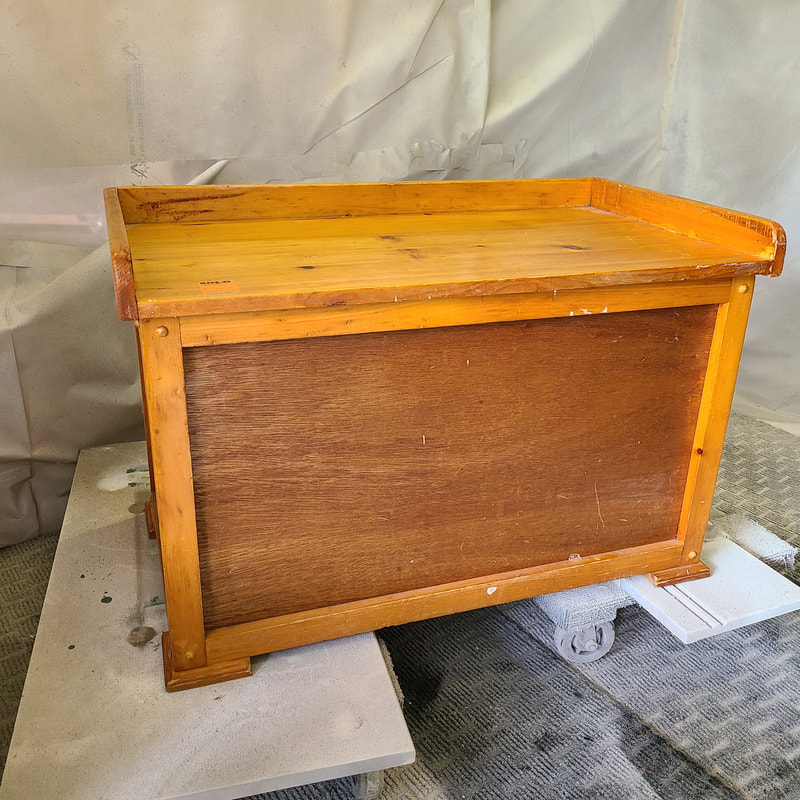 Like I said I found this bin at the thrift store and I wasnt planning on looking for a toy bin at all, I was looking for other pieces for other projects. First I sanded the piece, I scuff sanded the panels and sanded down to raw wood the trims. I then cleaned the entire piece inside and outside with Krud Kutter. 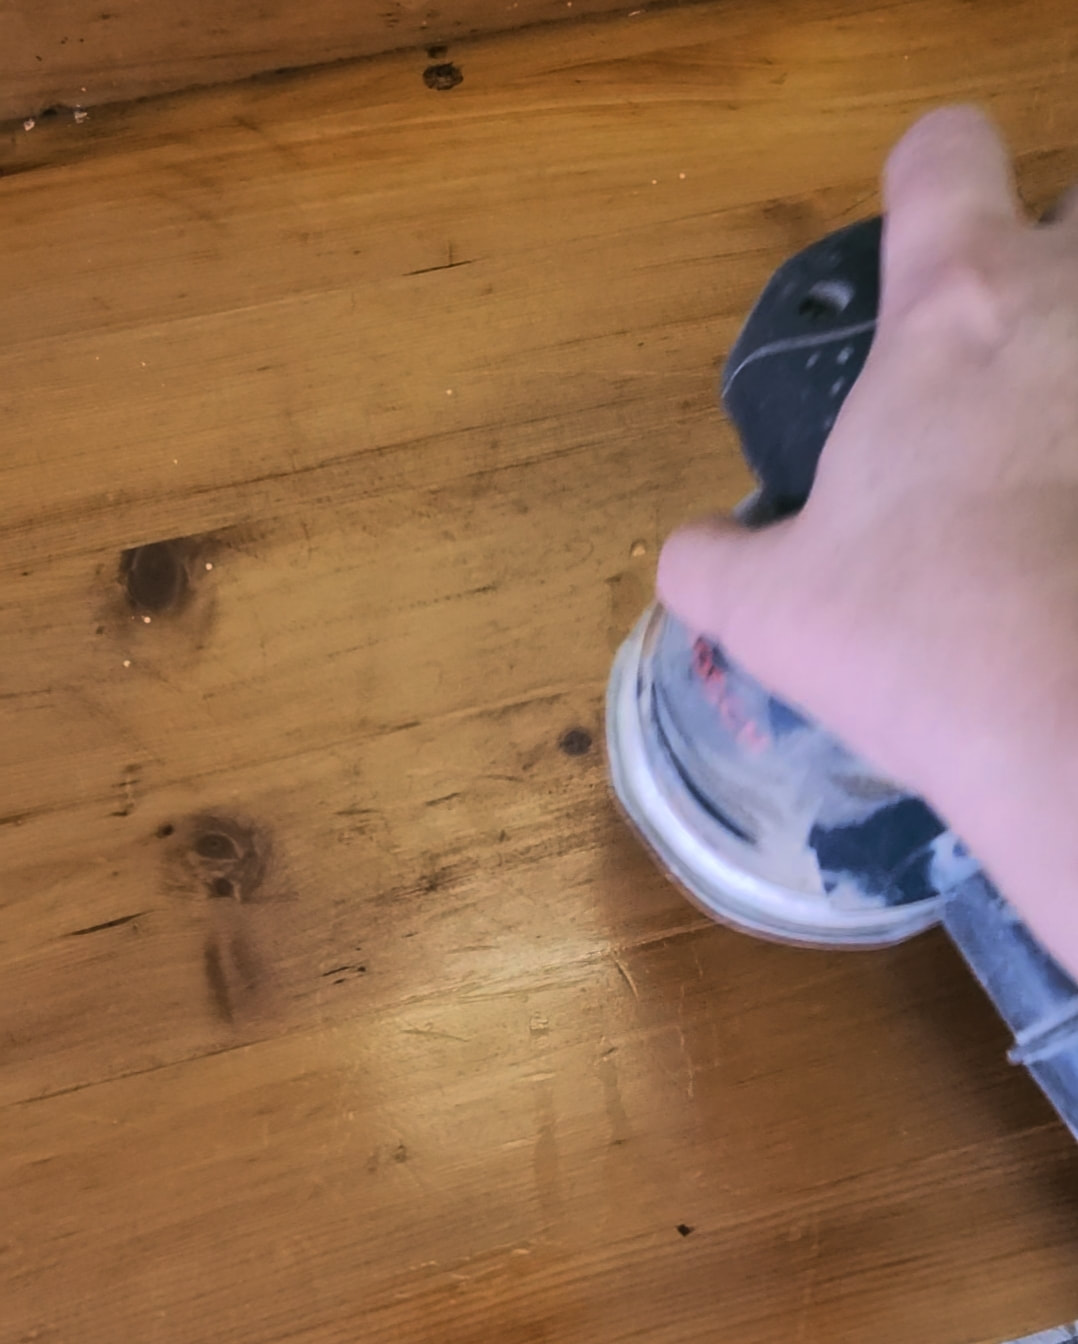 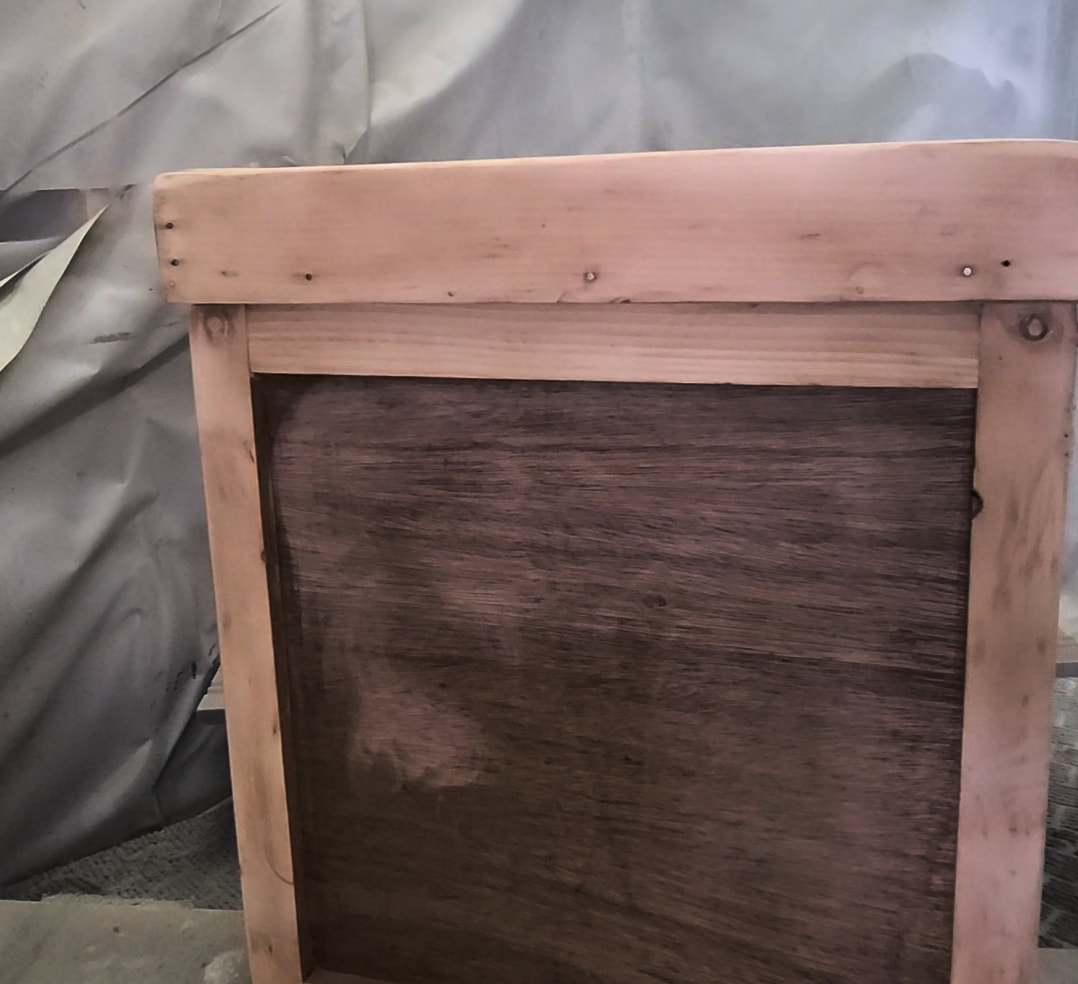 Once that was done I got my paint out and started painting the panels on all sides with Country Chic Paint in Soiree and using my Country Chic Paint angle brush. I did about two coats. 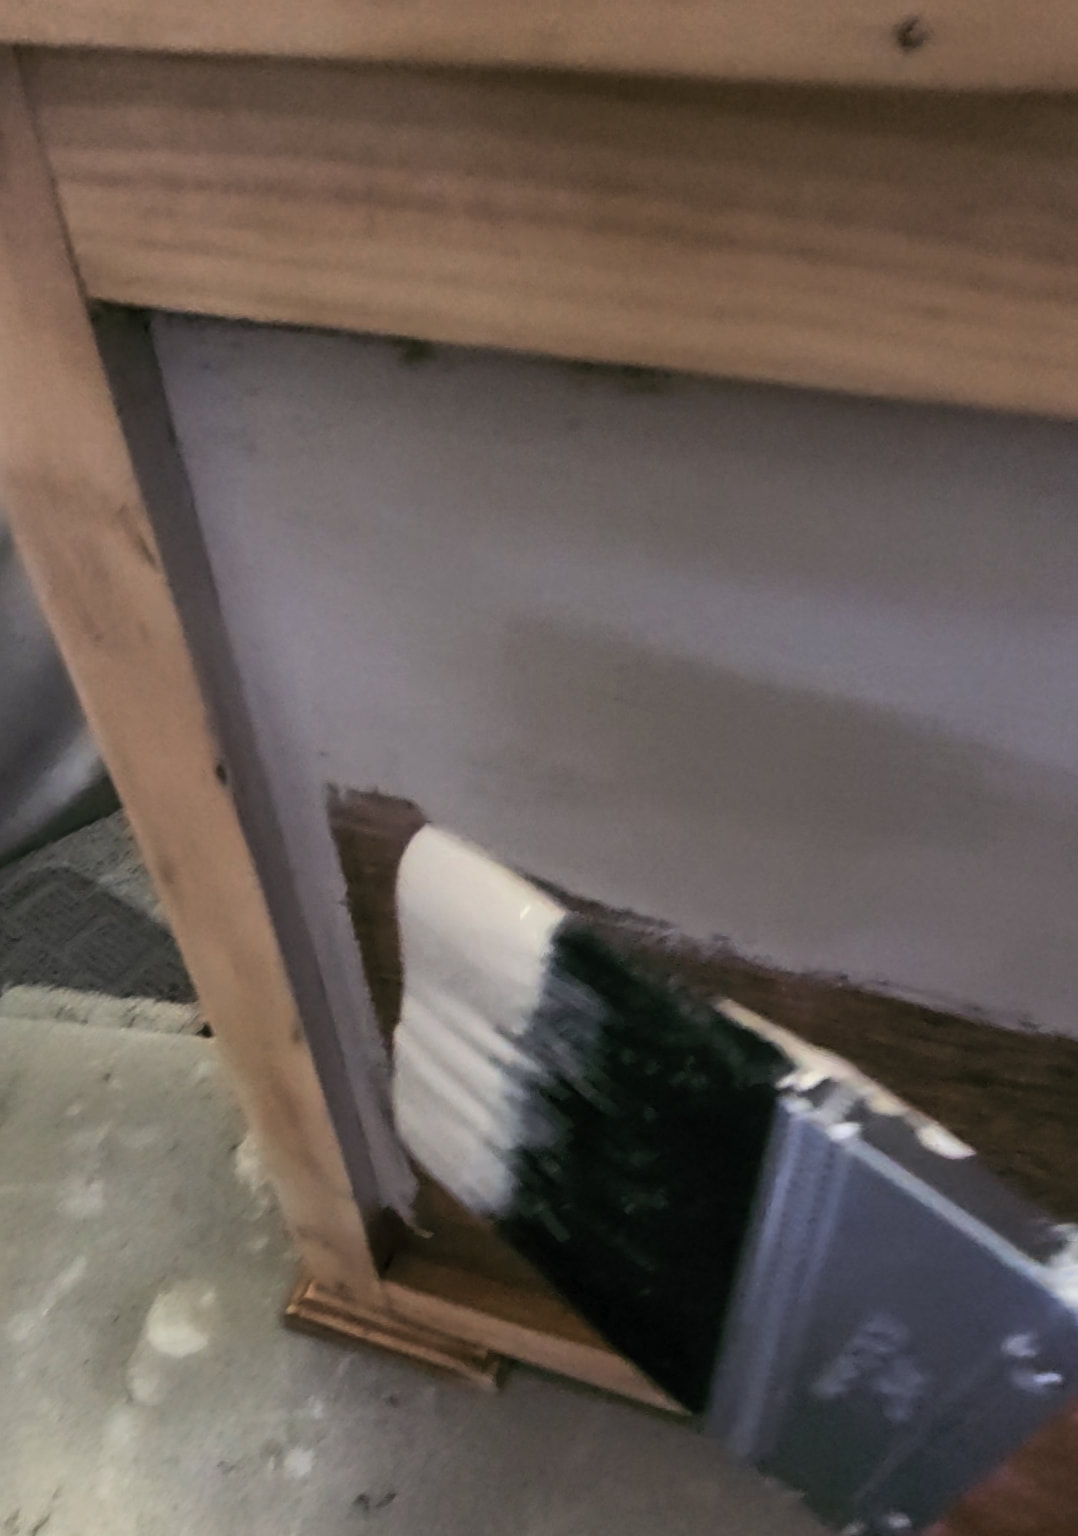 Once I did two coats and they were completely dry I added the transfers, figuring out where I wanted to place them. I also added some tissue paper in the inside of the box. I brushed Clear Coat on the inside panels and placed the paper on top and then brushed the clear coat again to seal. I sealed the entire piece with Clear Coat. To keep the wood trim the natural wood colour brush a soiree paint wash over the wood and wipe excess with a cloth. That way when you seal the bin the wood won't turn orange. Paint wash is spraying water onto the wood and brushing paint over it and wiping, or you can add a little water to your paint in a separate bowl. 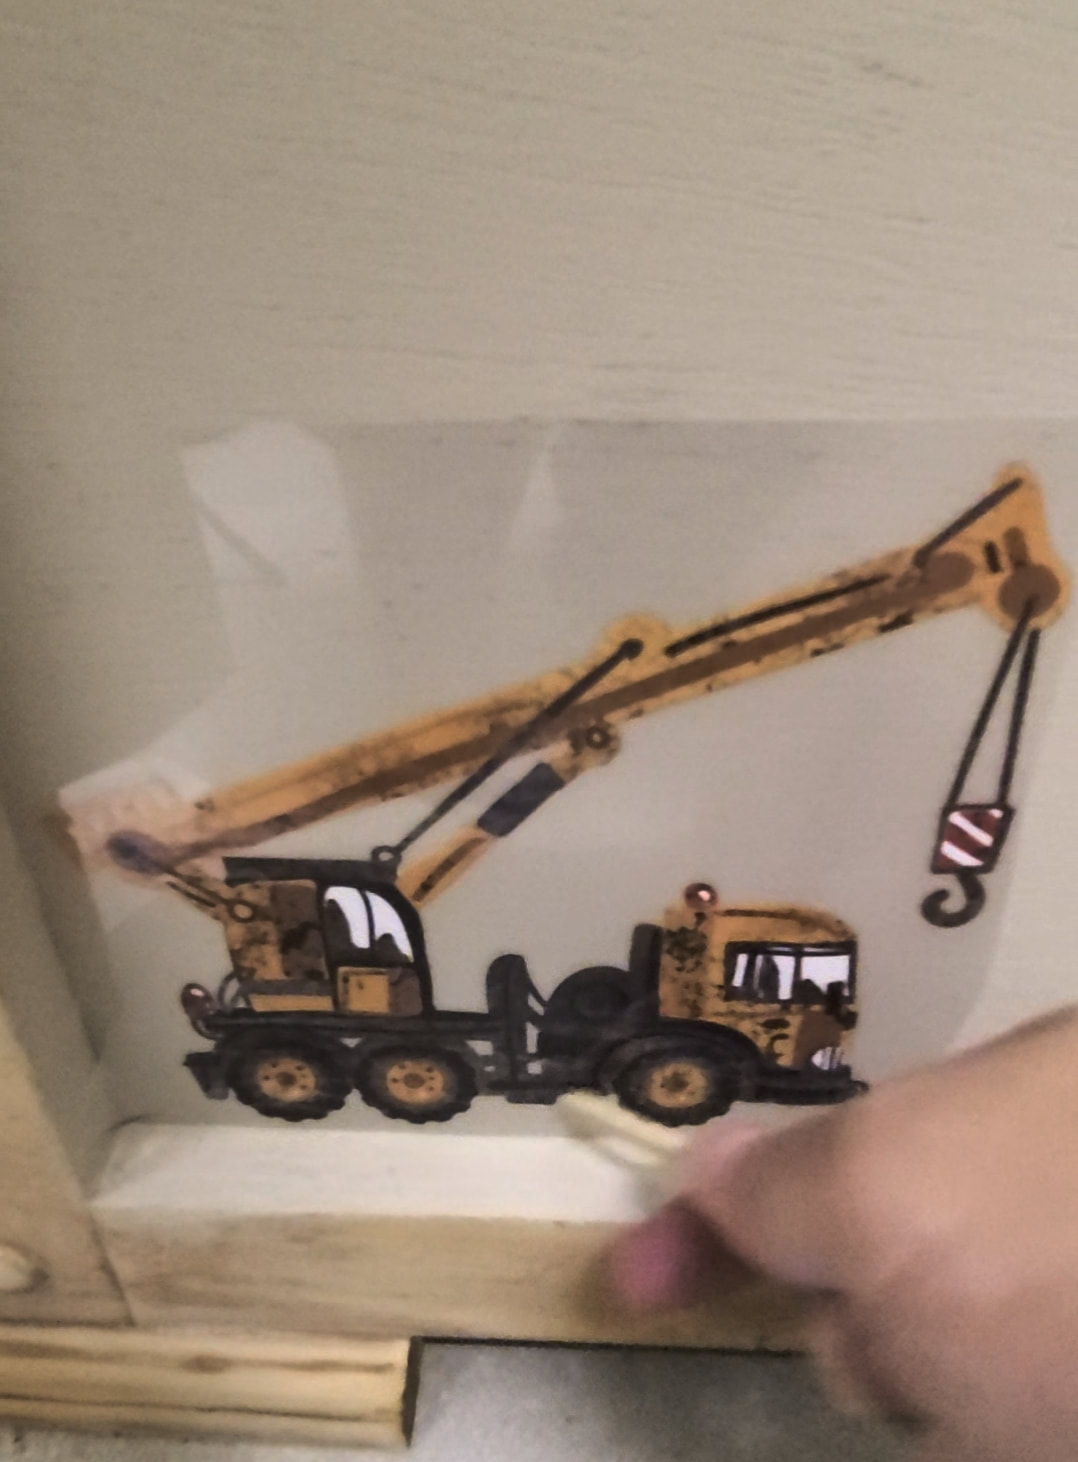 With the transfers you place it on the surface, rub with the tool or popsicle stick it came with and peel off the clear plastic and rub the transfer lightly with your fingers. Below are the final pictures, its really that easy and quick if this is the look you want, you can get very creative. I hope you enjoyed this Blog post and project and next weej ill be posting a brand new project, something for home decor that I love. Dont forget to check out my new Youtube video Take care Meg 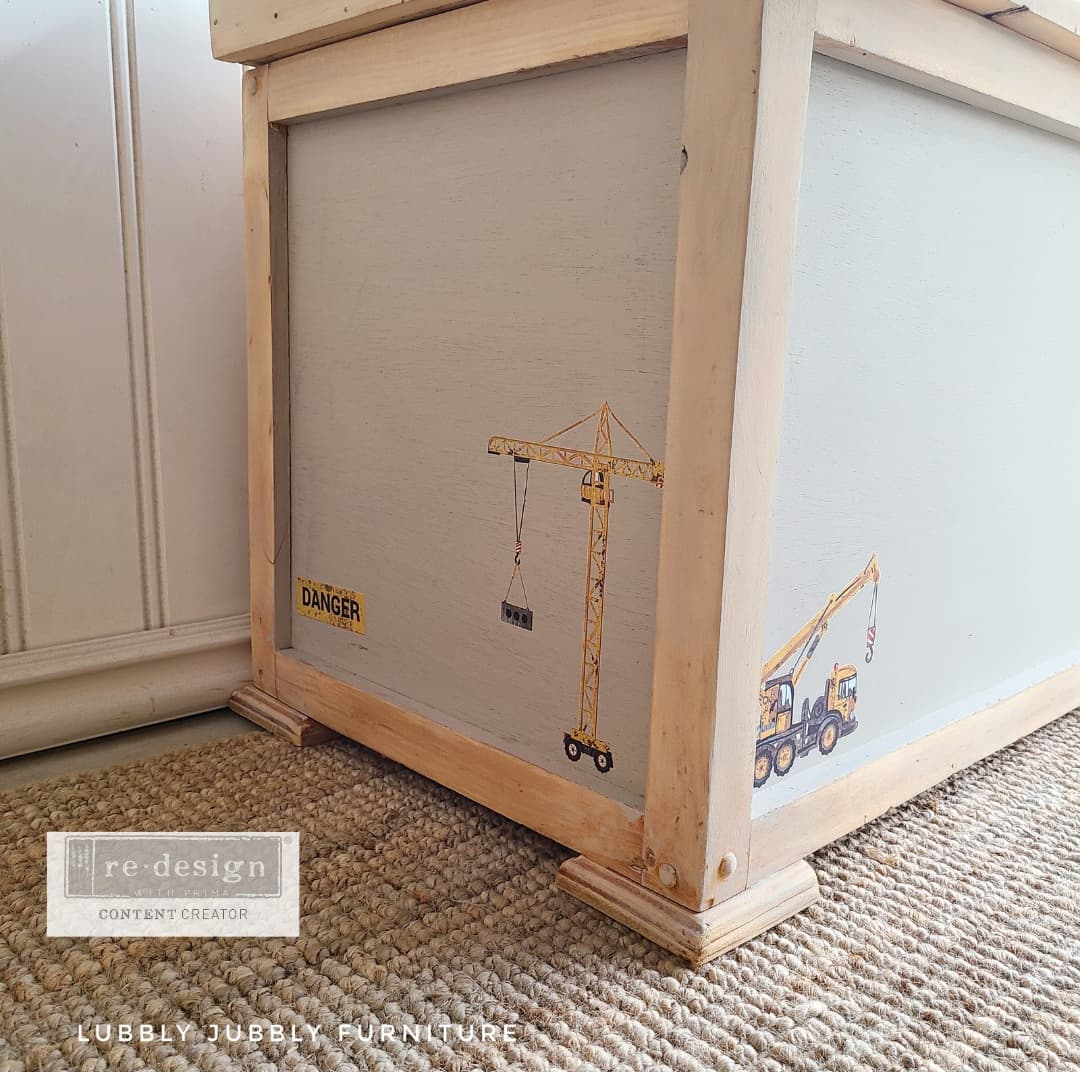 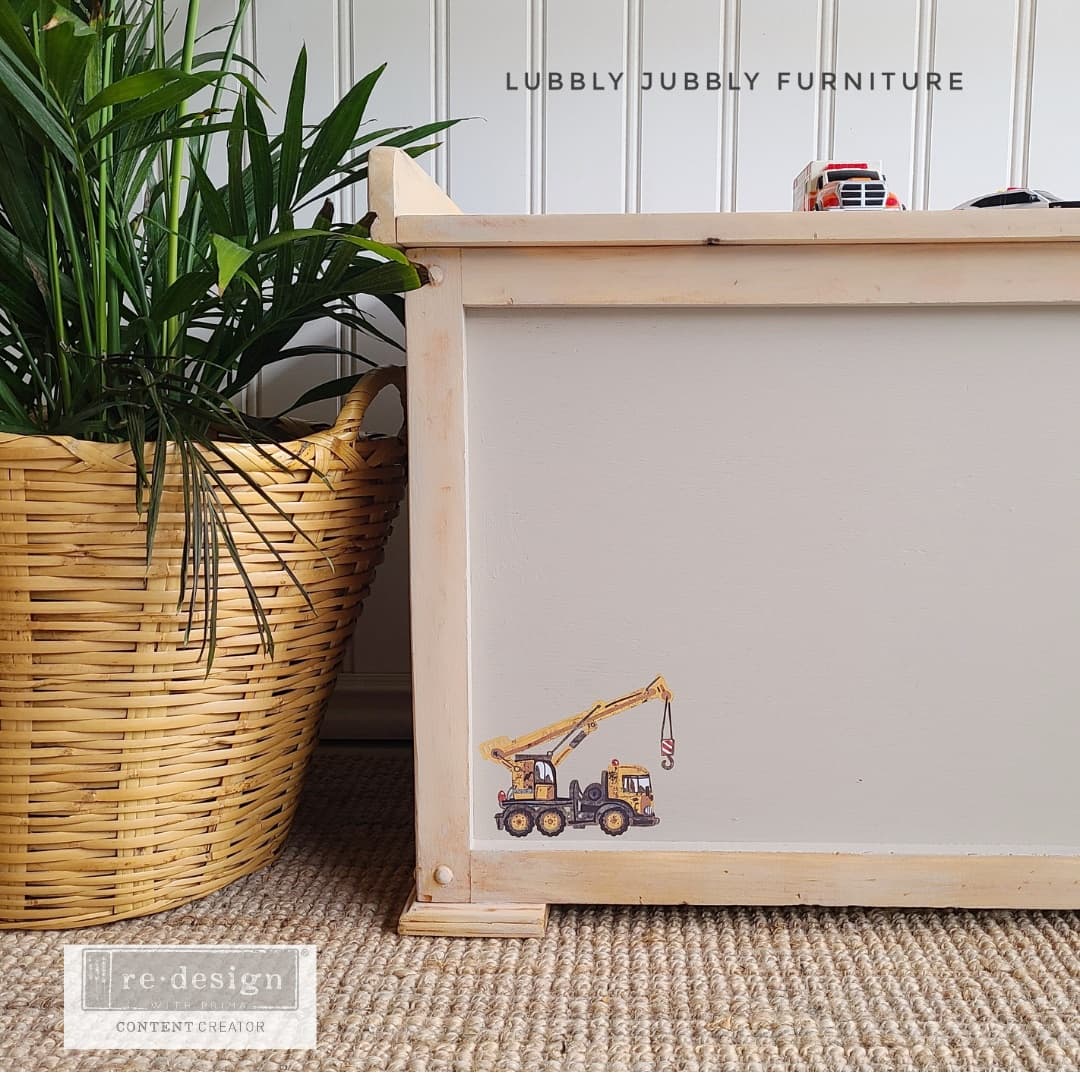 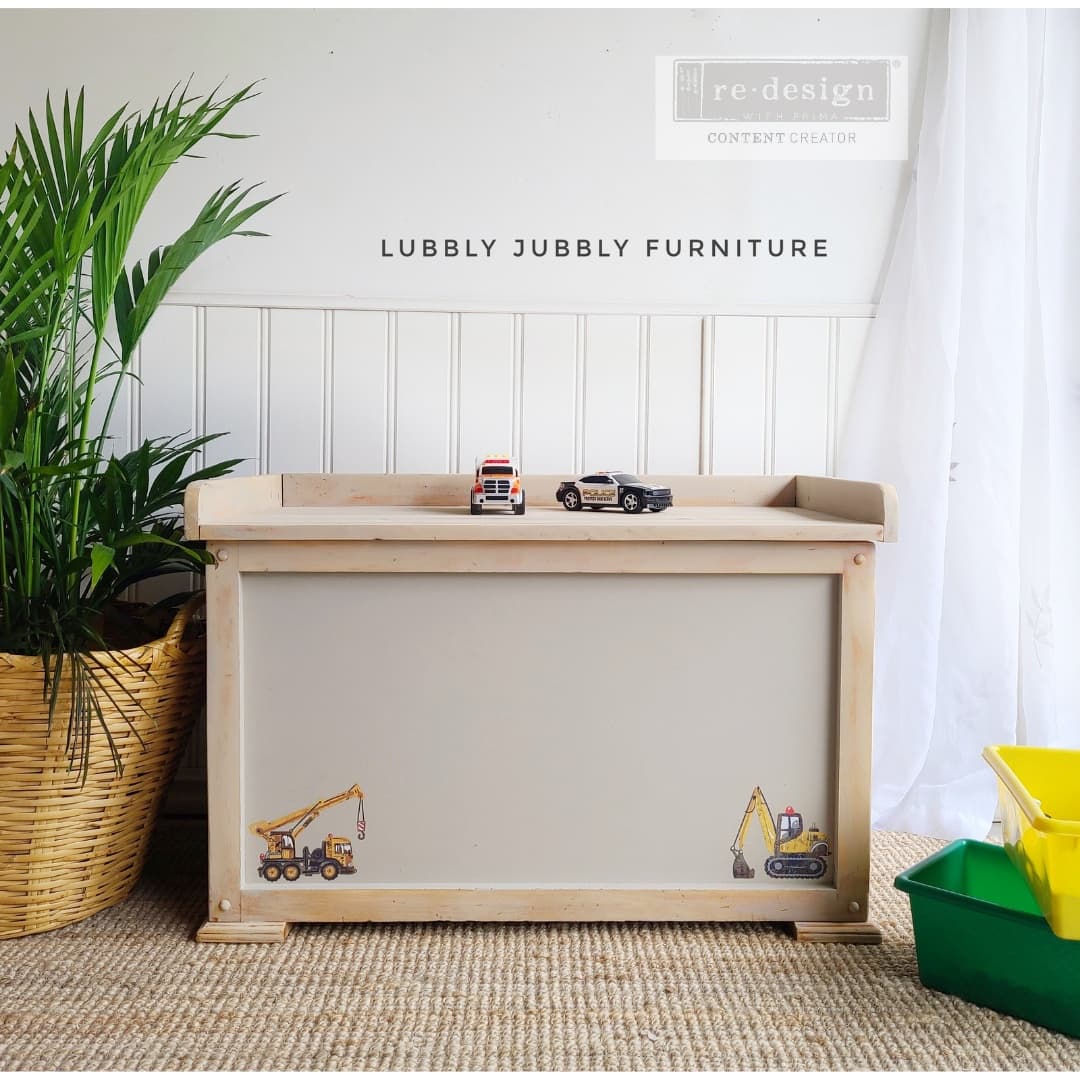 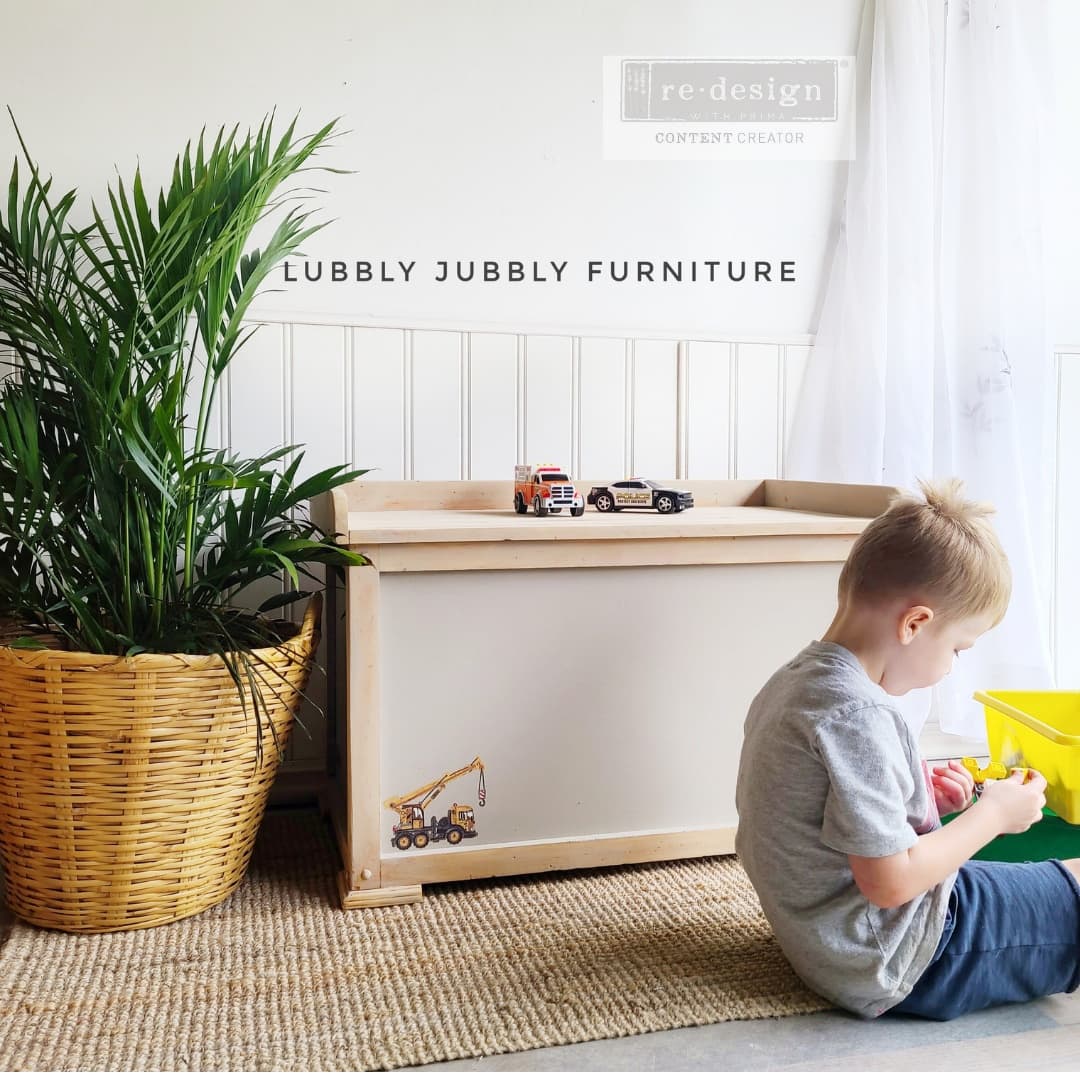 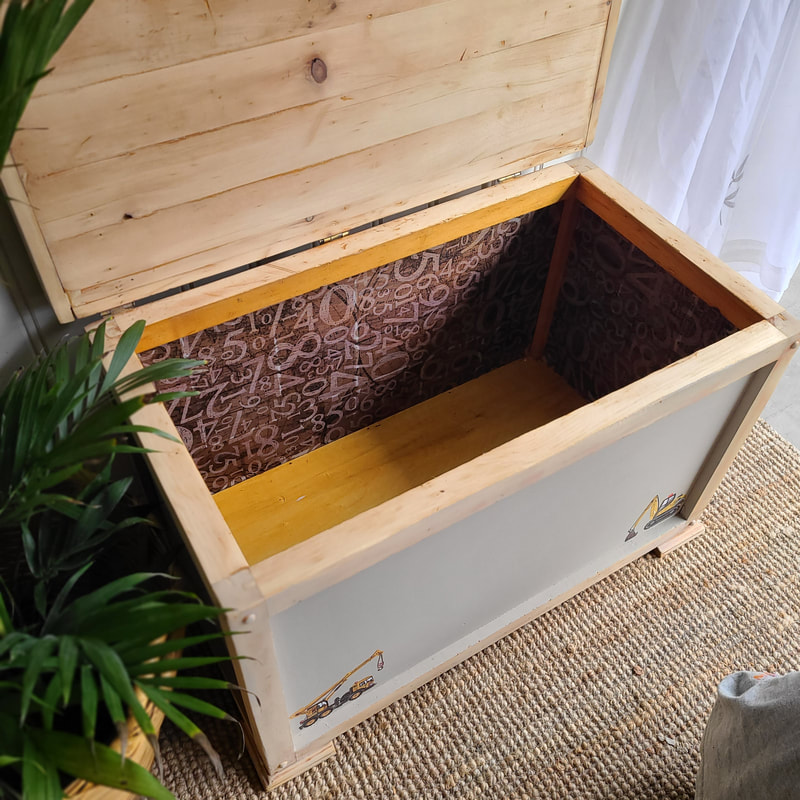 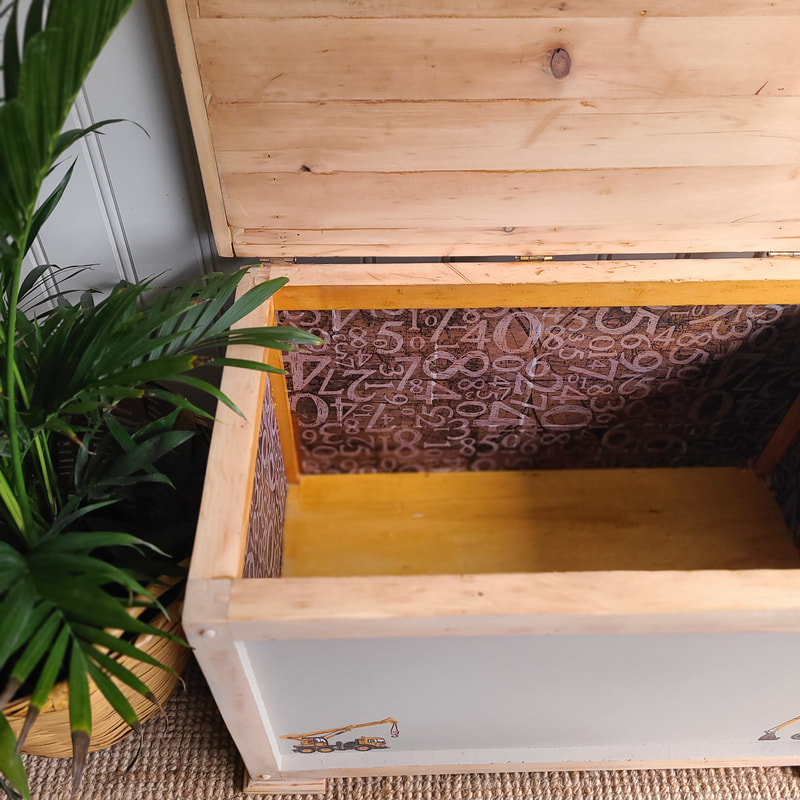
0 Comments
Leave a Reply. |
|
 RSS Feed