 How to make bead garlands..... I was making bead garlands about a year or two ago and it was so much fun, I was selling them at one point and they were very popular. You can make so many colours, I used yellow, orange, green, grey, pink and Jute string. I had stopped making them for a while and thought maybe I'll share them on my blog so you can enjoy making them yourself. It's actually a therapeutic project to do, fun and relaxing and time to create. When I thought of making the garlands, I realized I needed something to add to my furniture staging items and the garlands were perfect for that. They are great for home staging, furniture staging and just have to on shelves and home decor items that look pretty. You can create one for every season and mood and to match your home decor theme. Where to get these items to make a garland you ask.... well the string/yarn I got at dollarama and same with the jute. Make sure you have good string/yarn that won't shred on you. The beads i got 200 in a bag on Amazon. You can even get any size you want or mix and match. lets get started yarn or Jute tape scissors beads  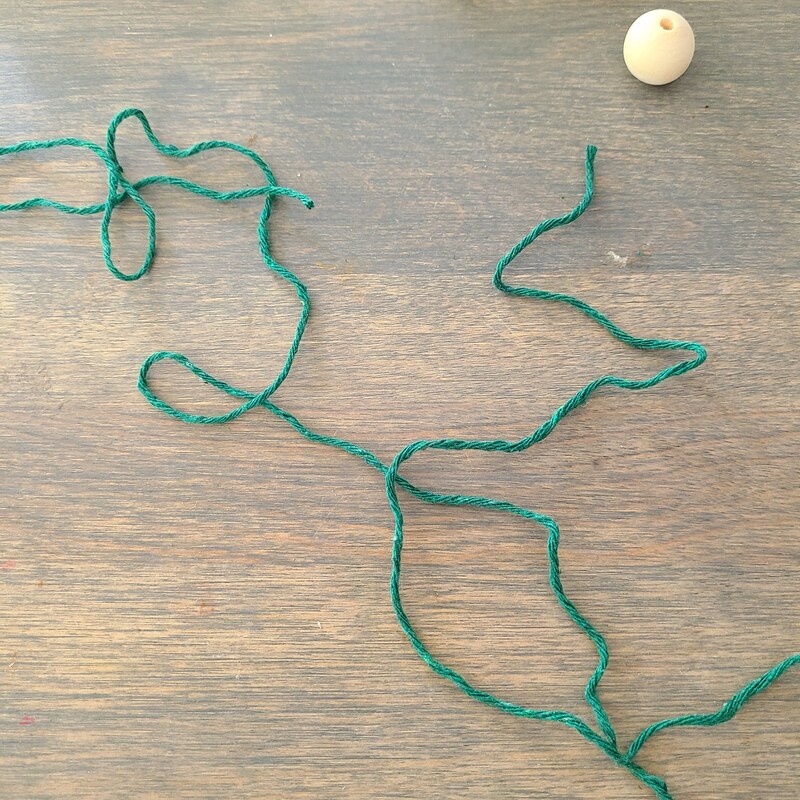 First you need to cut the yarn as long as you want your garland to be and take into account you need at least and inch or 2 at the ends to go through the tassles, add on a little length at the ends. Then you need a card like a postcard, i used a panel off a tylenol box as thats what I had at the time but a postcard width way is better. It all depends on how long you want your tassles at the end to be. What you're going to do is wrap the yarn around you card about 40 times making sure that the end is sticking out ready to be tied. You can wrap it around less times or more, all depends on how thick you want them. You are going to make two tassels. See pictures below 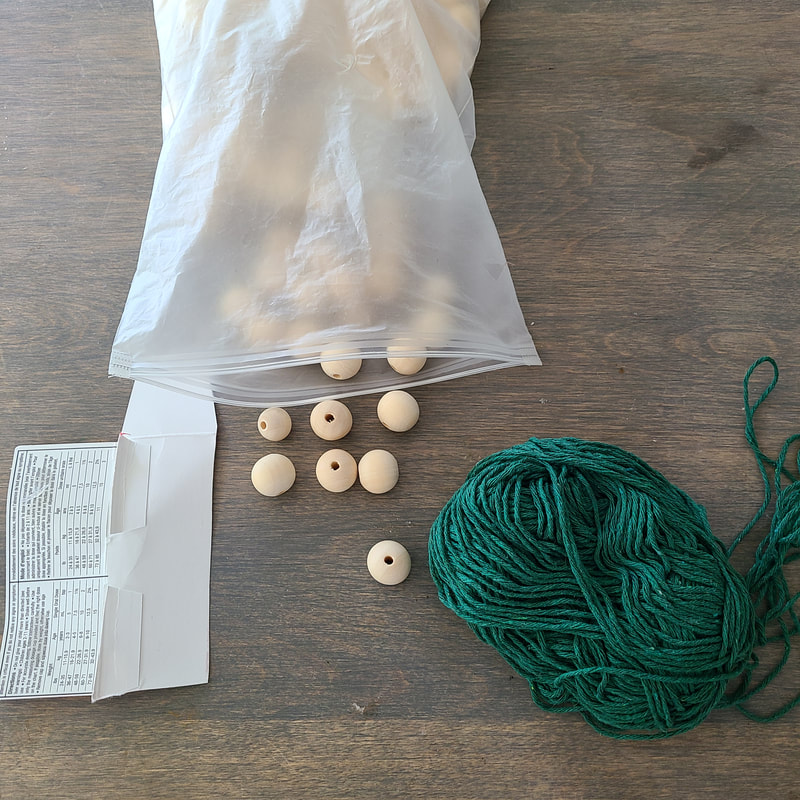 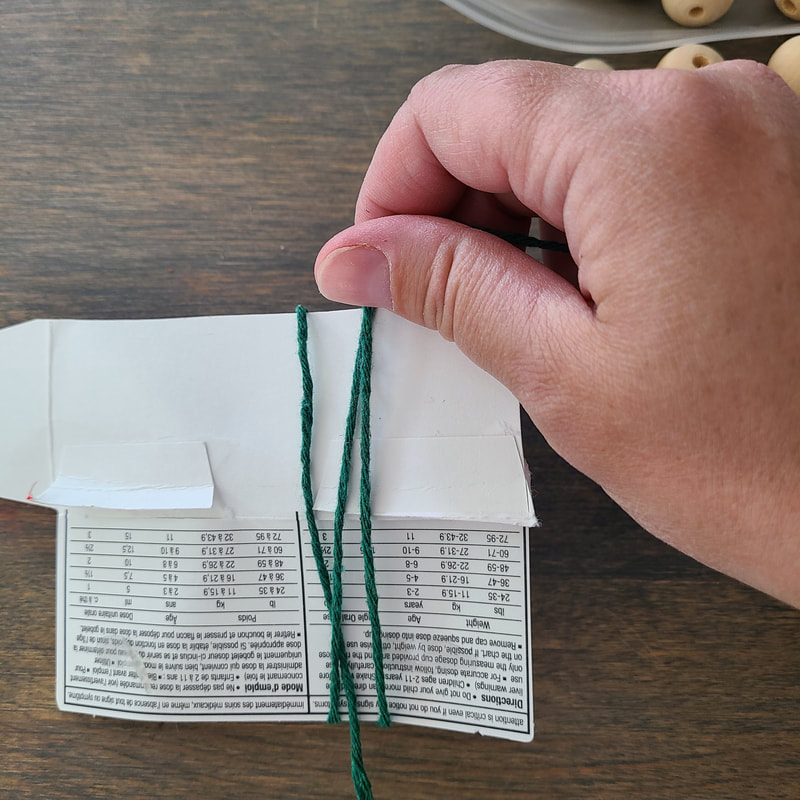 Once you have made two tassels tie the two ends in a small knot, take them off the card holding them in place so you don't lose the loop. Take some yarn about short ruler size, 15cm and tie it in a knot and start to wrap it around the top of the tassel creating a loop at the top. Again make sure the start of the yarn is sticking out the bottom ready to tie together.  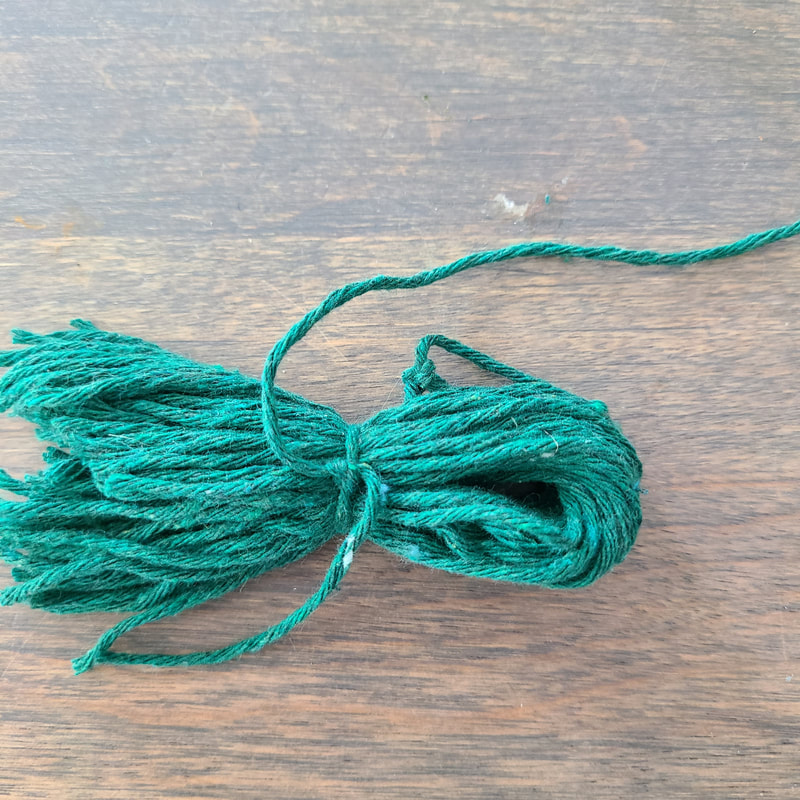 Make sure you have the loop at the top like the picture above. You are then going to take your yarn you cut to desired size earlier. Take your tape and cut two small strips. Wrap the tape around both ends od the yarn. This is to make the ends more durable and secure to thread easily through the beads. 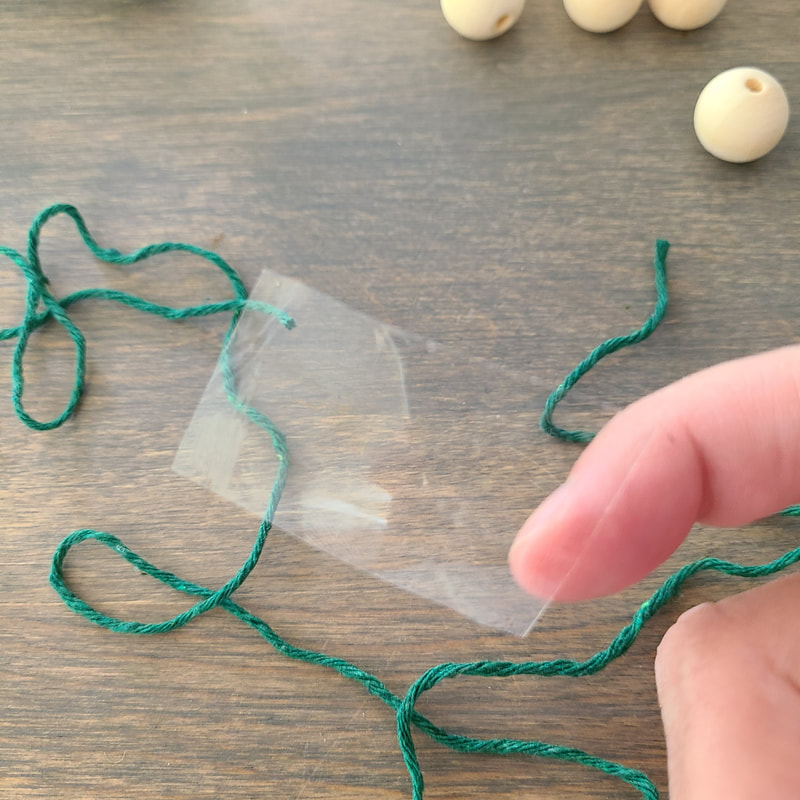 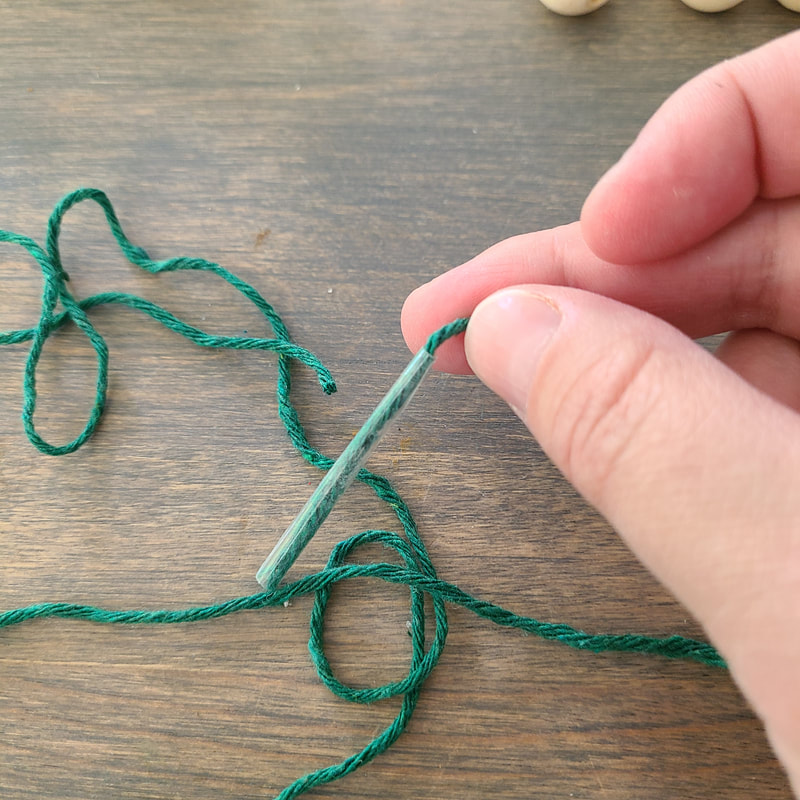 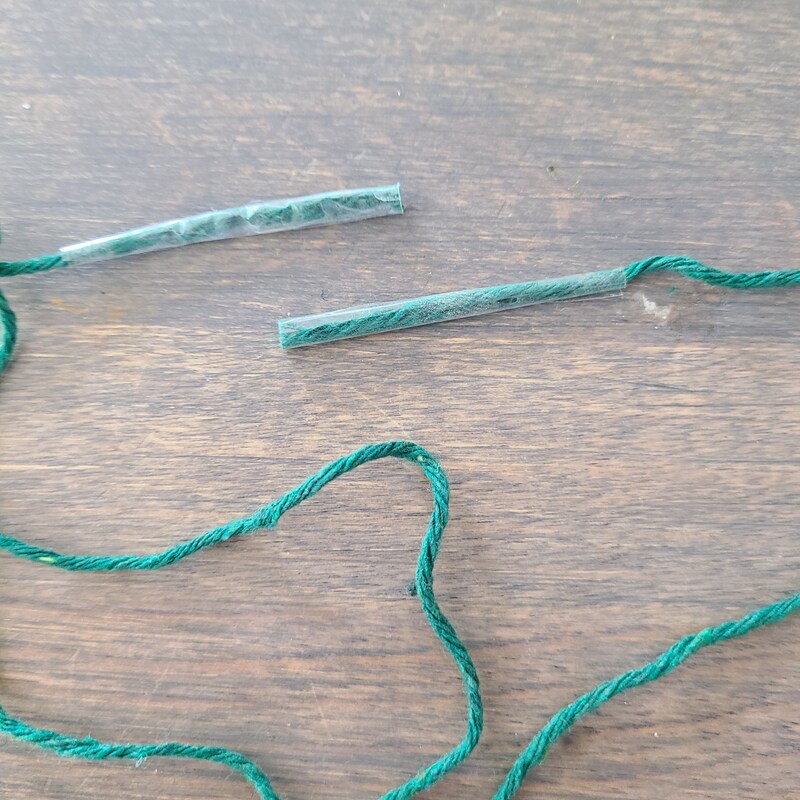 Once you have got tape on both ends you are then going to thread one end through one tassle loop and tie in a small knot at the top twice. You don't thread the whole string through just a small amount to knot. See picture below 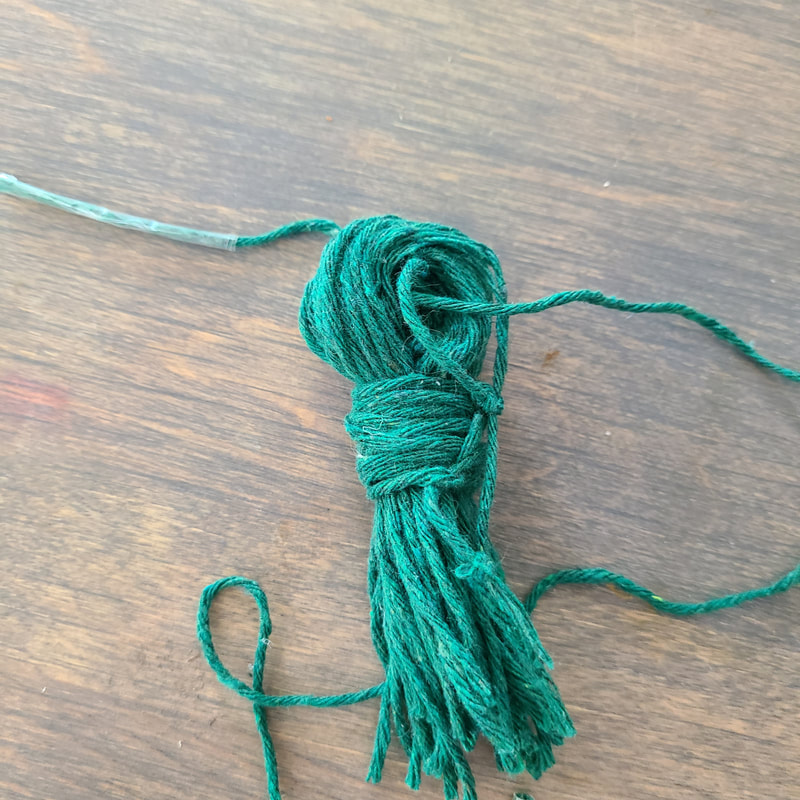 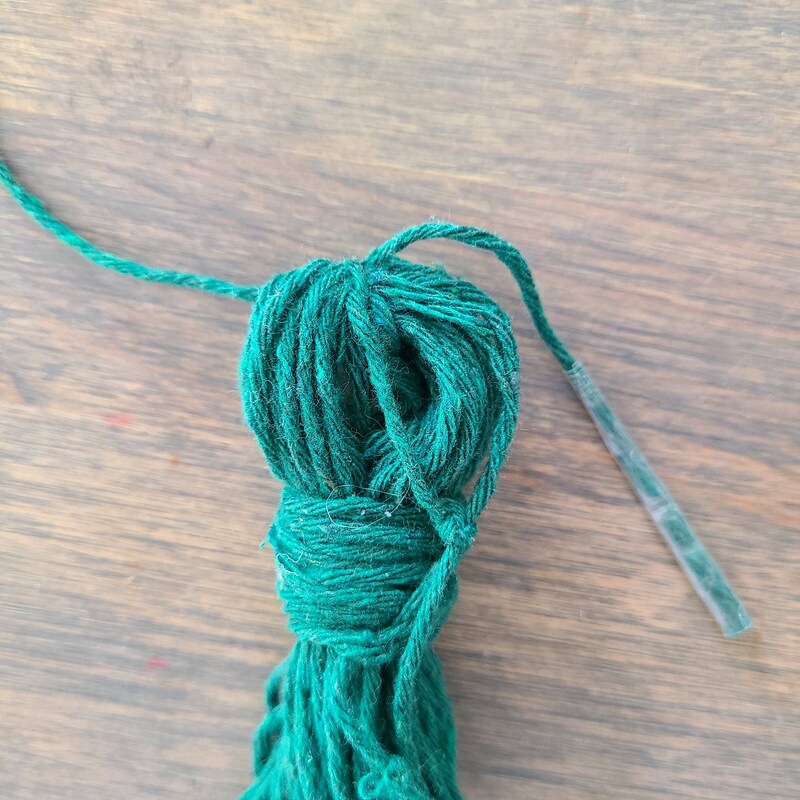 Once this is done you can start threading the other end through the wooden beads. When you add the first 4 or 5 beads make sure when thry get to the tassel that you thread thr taped end through those beads so that its hidden. When all the beads are on, make sure to leave some room at the open end to thread through your second tassle. Do the same with thr open end, thread through the other tassle and knot. Tie the string at the that tassle as close to the last bead as possible and thread the taped end through those beads. 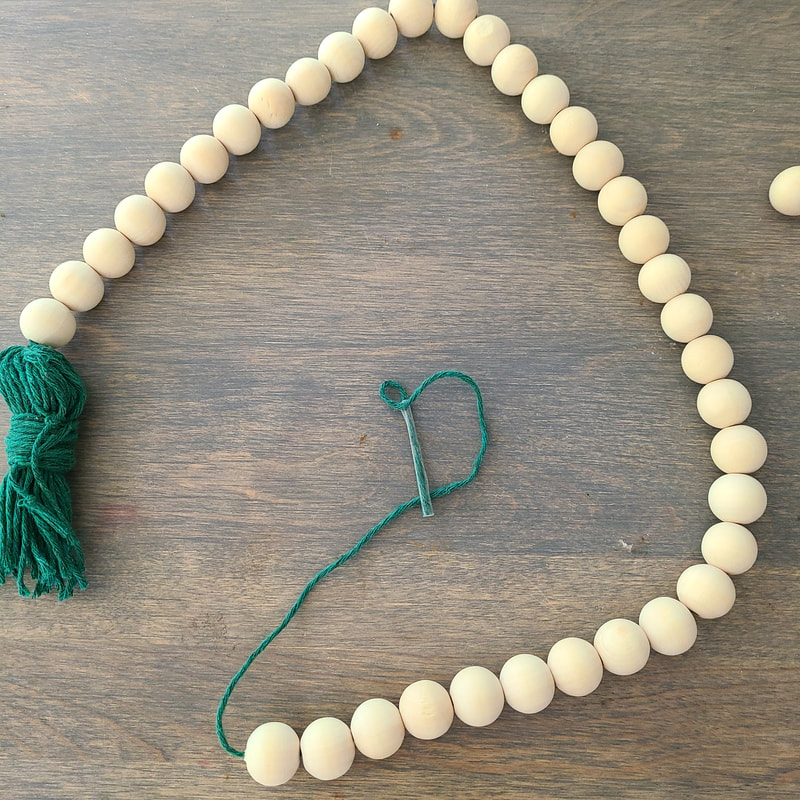 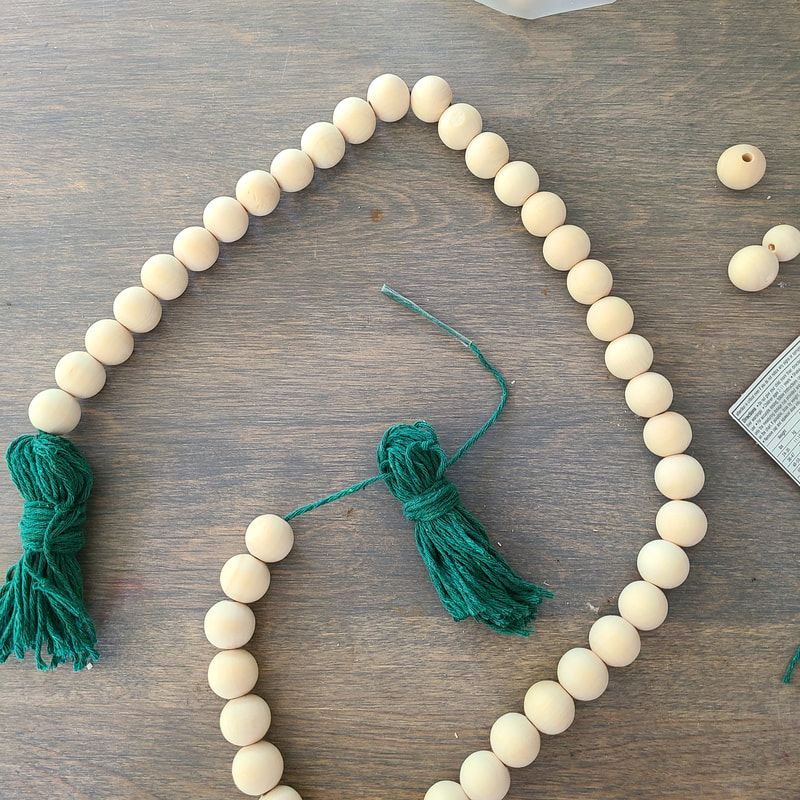 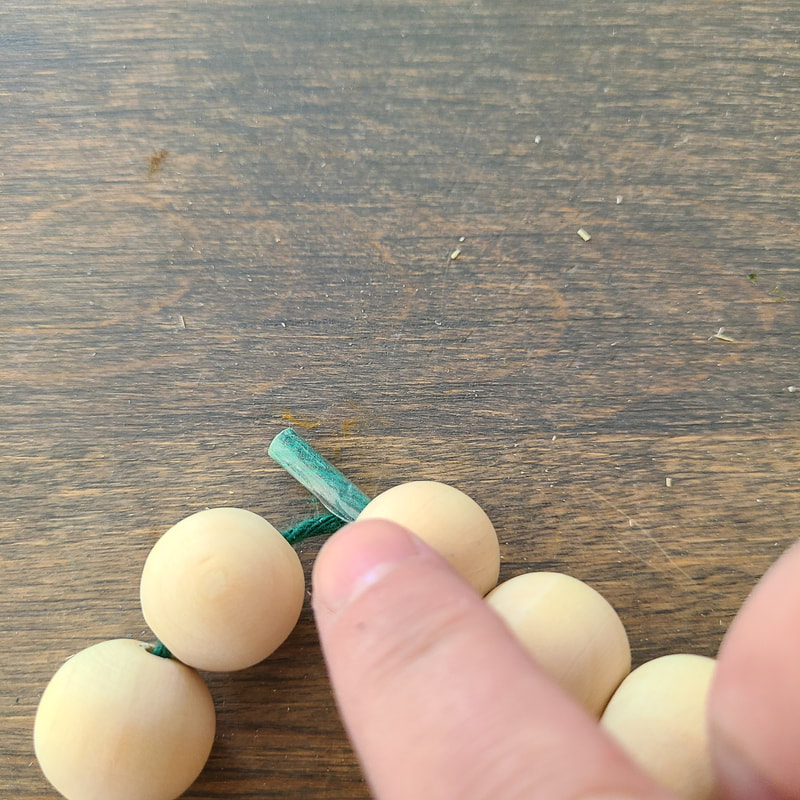 You can see in the picture above that I threaded the taped end through the beads. I also made sure the extra yarn was tied close to the end bead so that it wasn't loose. 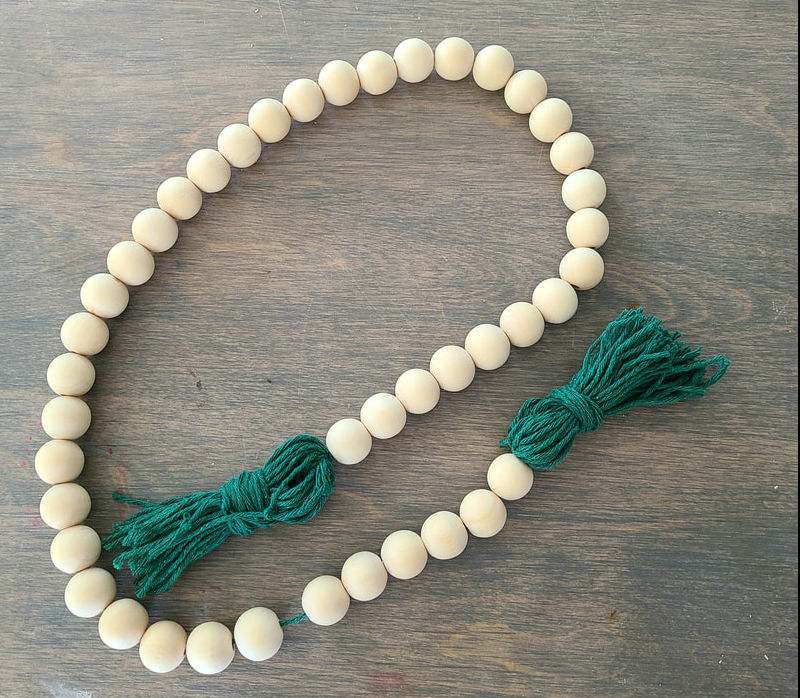
0 Comments
Leave a Reply. |
|
 RSS Feed